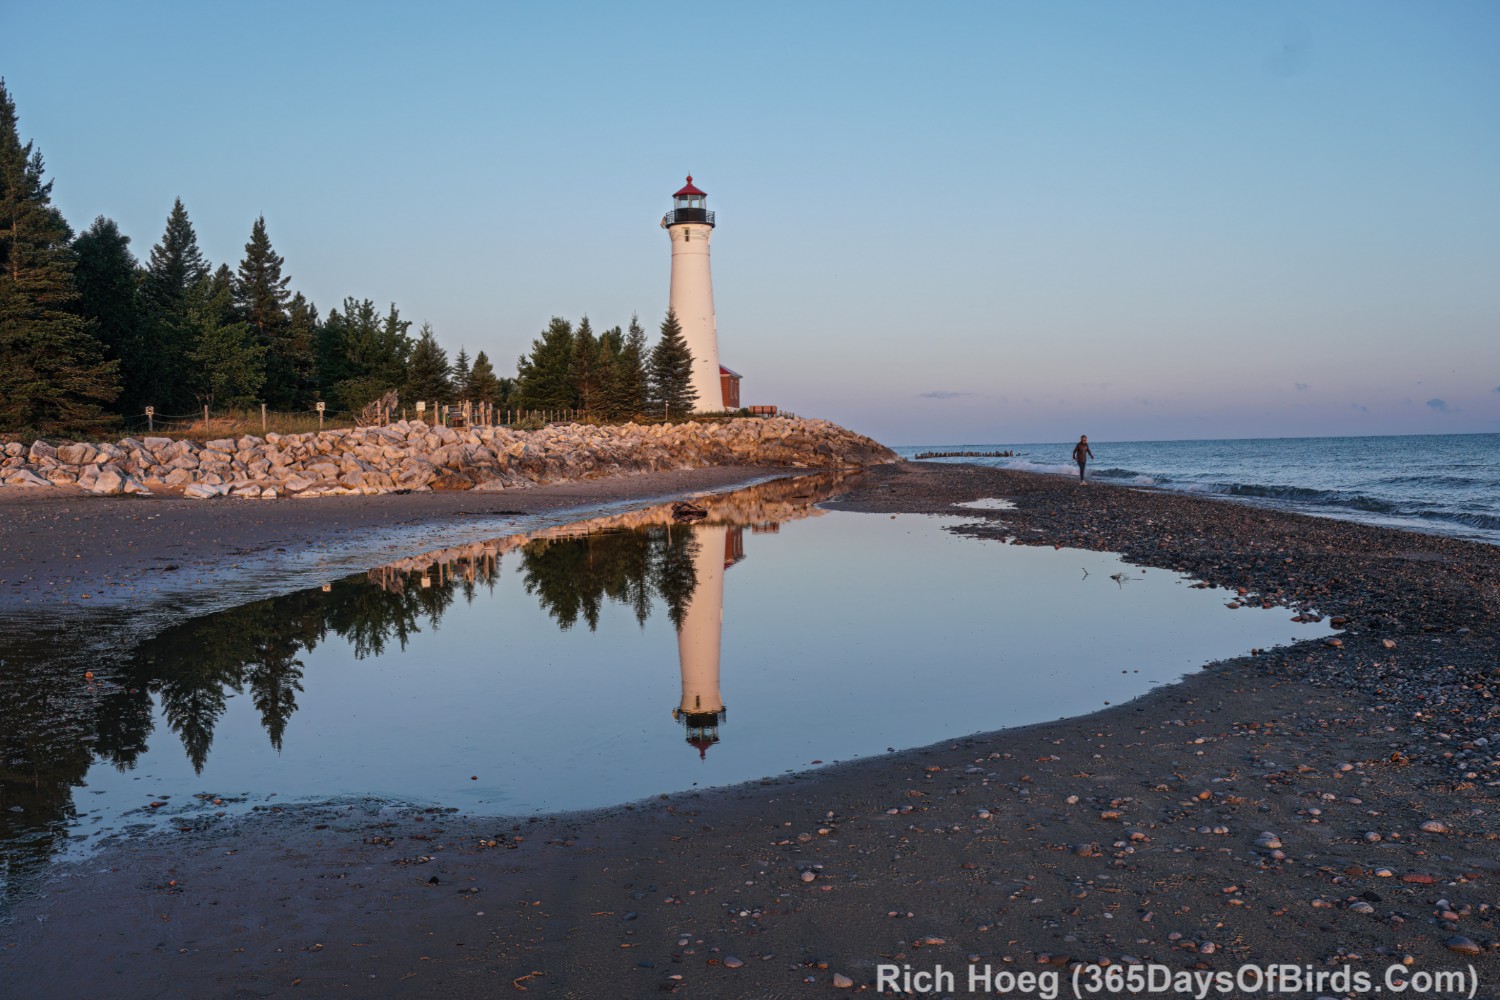
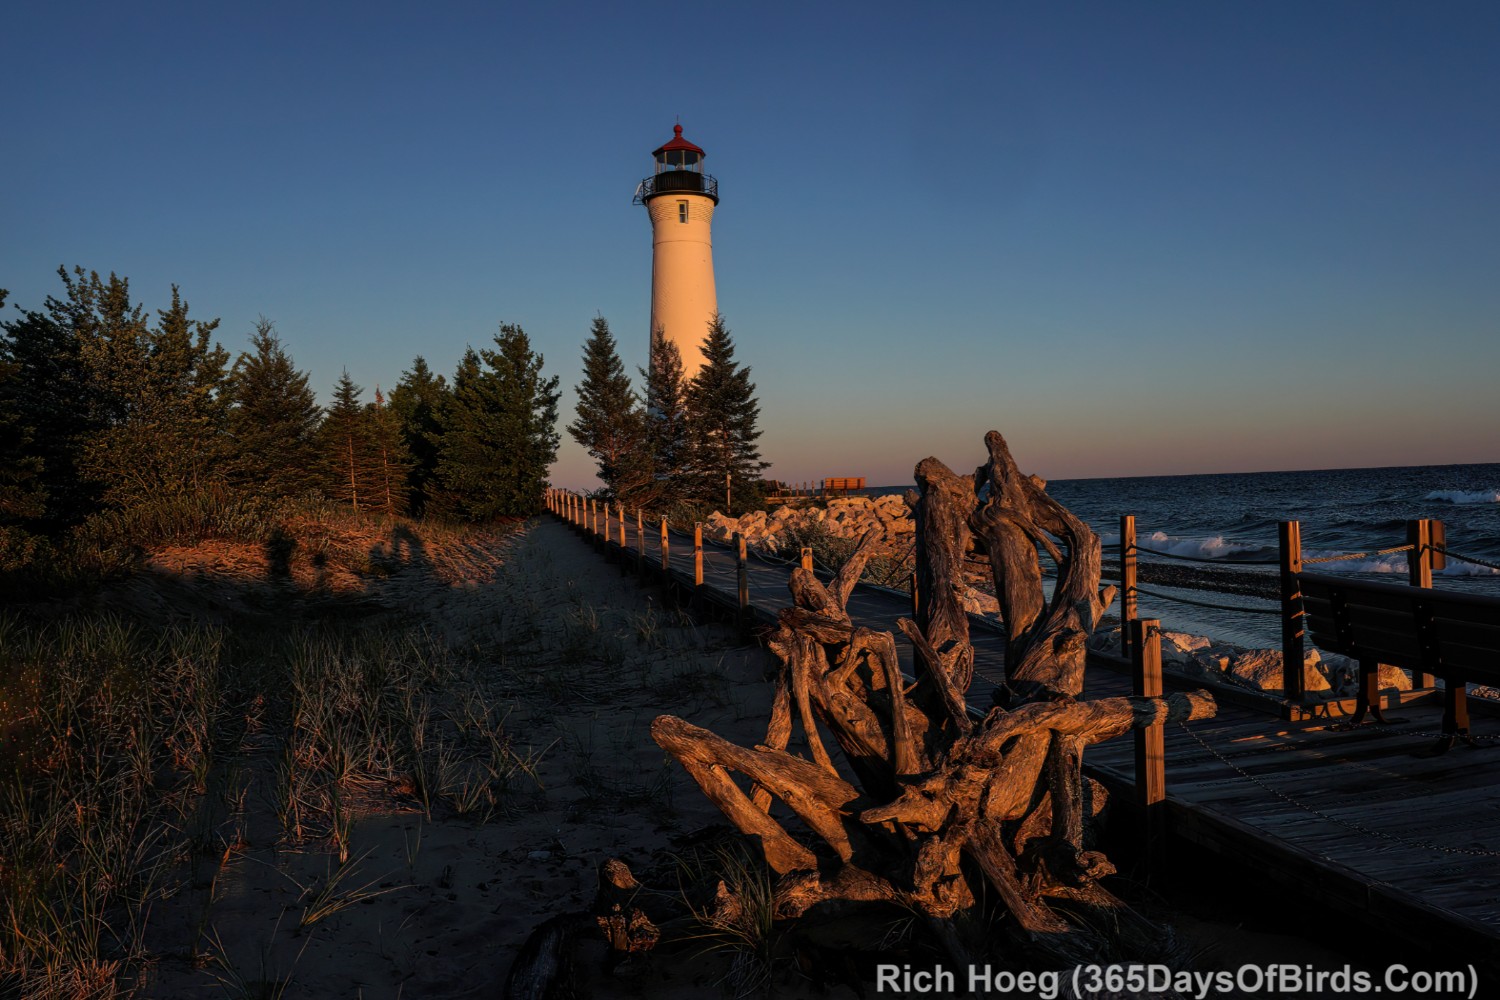
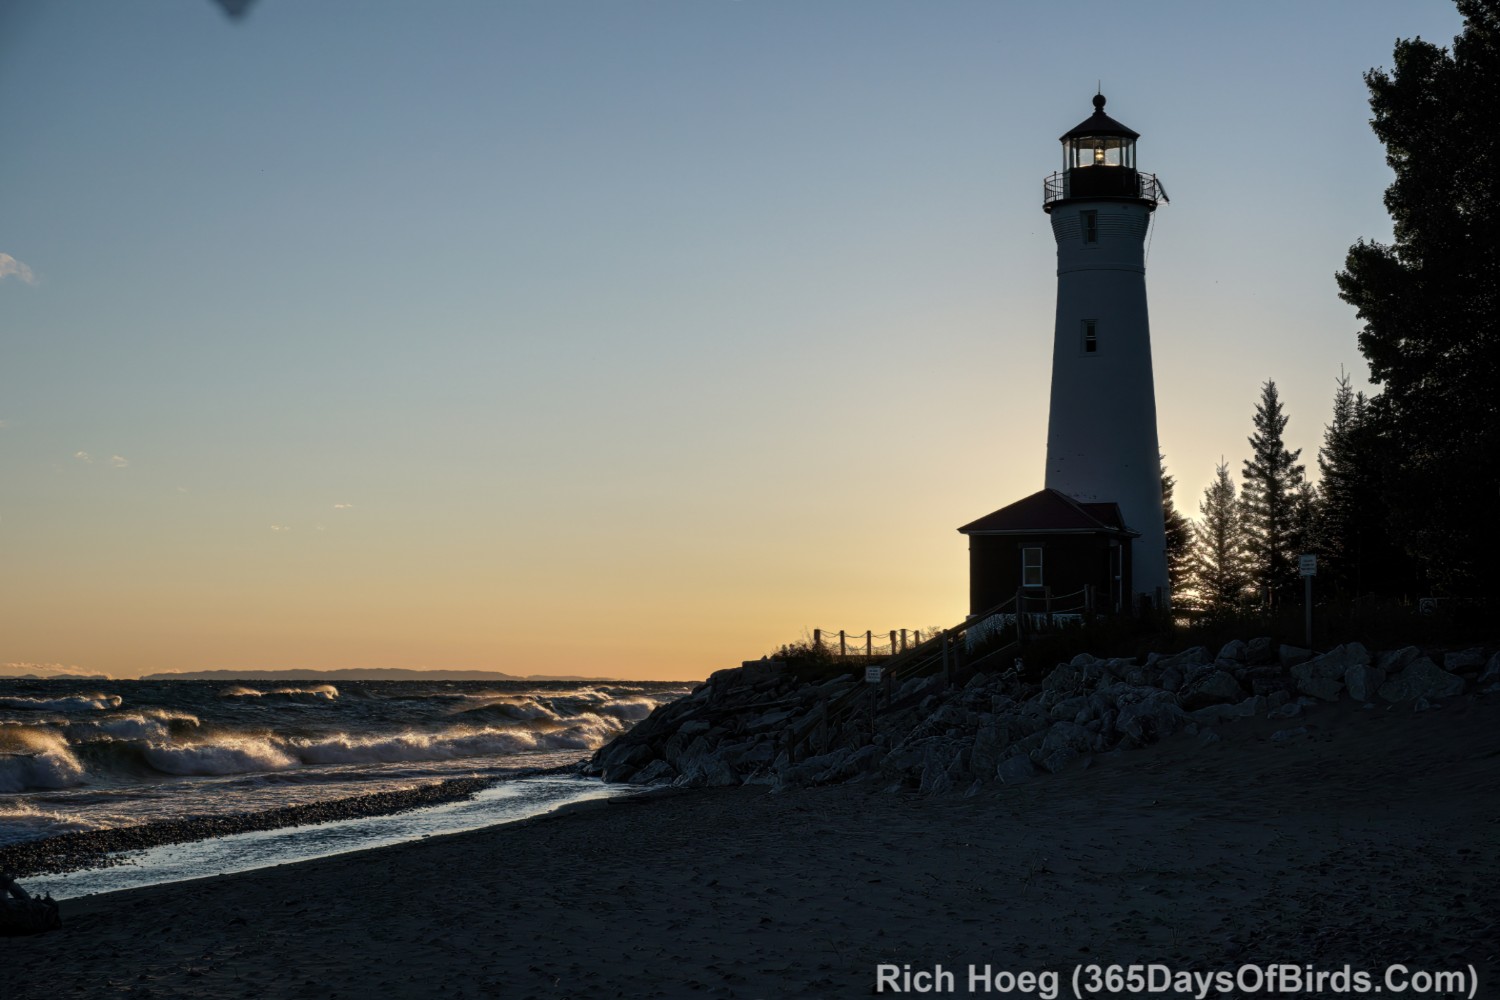
Crisp Point Lighthouse is a magical spot … 19 miles via dirt road from Michigan #123. To reach the closest town of any size, Newberry, it is a 80 minute drive. As a lighthouse keeper, one does NOT go out for pizza (or anything else). Molly and I first became keepers at this remote light 11 years ago. Unlike fancier lighthouses, there is NO keeper’s residence. Our home during our time as keepers is our three person pup tent … pitched only yards away from Lake Superior. Only the current keepers may camp at the light. Thus, one gets a magical spot to oneself with tens of miles of undeveloped, wilderness shoreline.
Some folks have asked me how one may become a keeper. While there is no cost to be a keeper, you must work from 10 am to 6 pm hosting visitors, running the museum gift shop and keeping the facilities clean. On November 1st of any year, people who desire to be keepers for the following summer or fall make their request off the Crisp Point Light Historical Societies web site. Learn more about that process. Select the link to learn more about becoming a keeper.
Crisp Point is at the far eastern end of Lake Superior … about 13 miles before Whitefish Point and the entrance to Whitefish Bay. The Edmund Fitzgerald ore boat sank 50 years ago about 7 miles off this light.
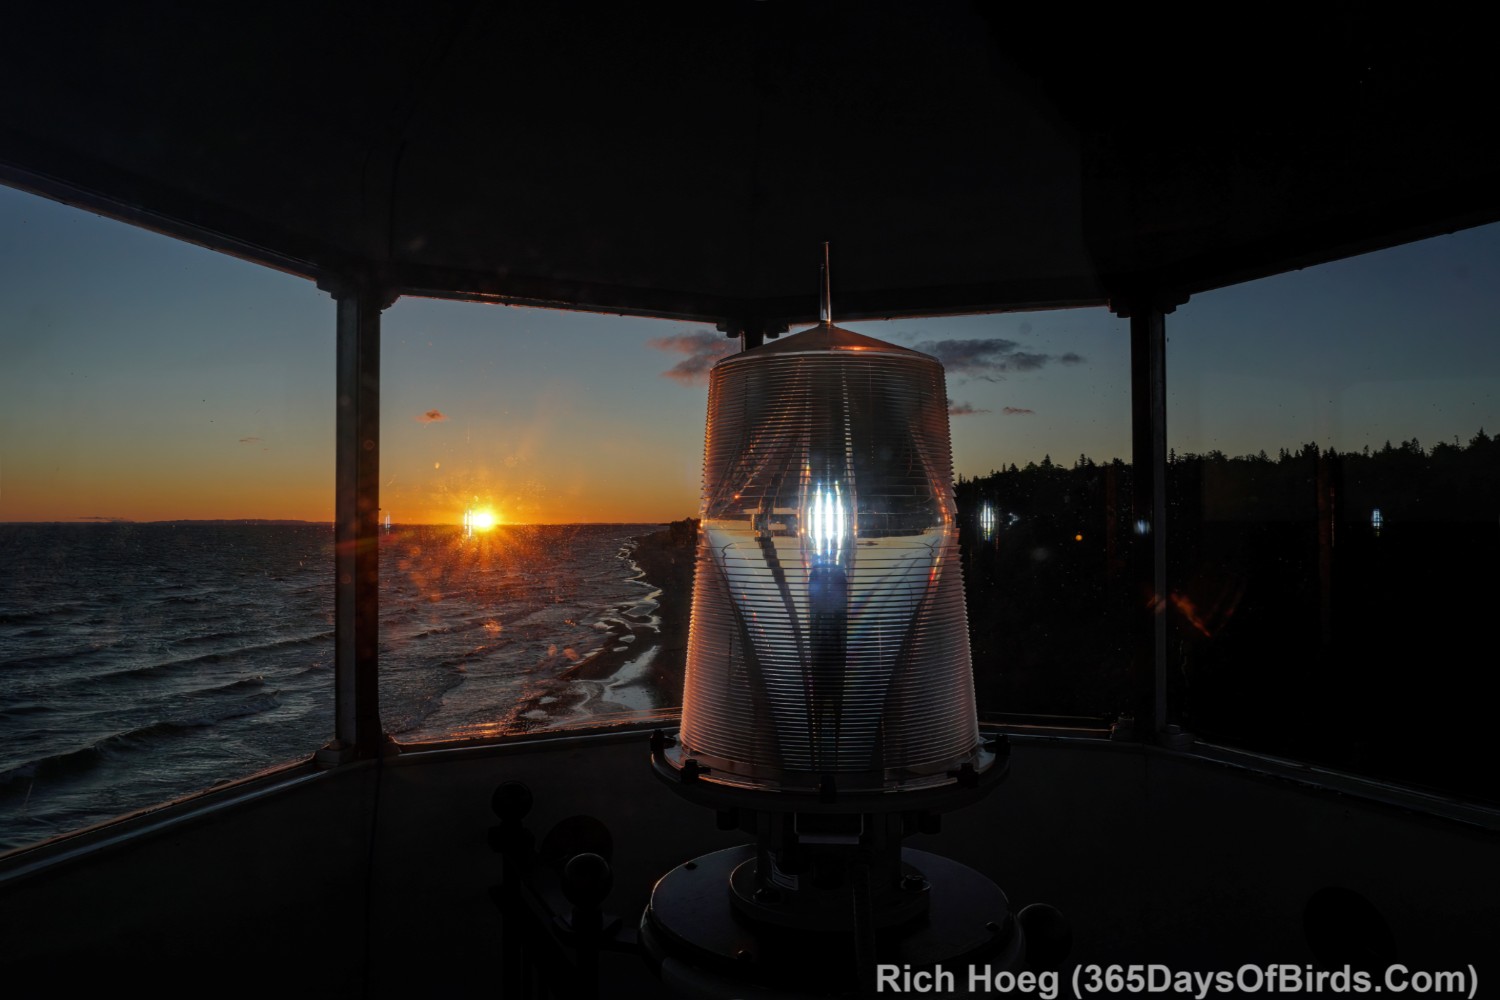
Without further adieu … the moods of Crisp Point Lighthouse over five days. As keepers we may go up in the lighthouse whenever desired, including sunrise and sunset. I have more sunrise images because I tended to work long past 6 pm, keeping the light house open for visitors who also wanted to visit this magical spot towards sunset. All lighthouse keepers are volunteers and unpaid.
I have recently learned how to build a Raspberry Pi bird song listening device. My DYI (do it yourself) device is significantly less expensive than either of the two commercially available alternatives, BirdWeather PUC or Haikubox. In the past two weeks I have successfully built not one, but two Raspberry Pi devices. One BirdNET-Pi is deployed at my house, and the other Raspberry Pi bird song listening device will ultimately be deployed at a very remote location, the Greenwood Creek Boreal Bog where there is no power, network connectivity, or cell coverage (not necessary after build).
I owe thanks to Jim Ancona, who is a Dartmouth classmate, and initially keyed me in to BirdNet Pi (visit Jim’s blogpost about building a BirdNet Pi), and a HUGE debt of gratitude to Paul Patton, who is a software engineer and a fellow retired techie from our Honeywell. Paul and I built our Birdnet Pi’s side by side, and I was able to ask him lots of questions. Visit Paul’s birding blog (BirdsGV).
Before I launch into a discussion about BirdNet-Pi, you may wish to visit my prior blog post from 2023 where I review and discuss Haikubox. I still own a Haikubox and like same. Sometime this fall my Haikubox will be shifting north to my cabin 60 miles south of the Canadian border on Northstar Lake.
Now on to my review and discussion about the process of building my first Raspberry Pi project, BirdNet-Pi bird song listening device. Here are my initial thoughts:
What is Raspberry Pi? The short answer is … Raspberry Pi is a company which makes low cost computers and devices which run LINUX and support engineers and computer enthusiasts who build devices that run open source software to accomplish an amazing number of tasks, including listening and ID’ing 24x7x365 bird songs. If you wish to learn more about Raspberry Pi, you may wish to visit their “About Us” page or watch this short video.
Who might succeed at building a Raspberry Pi project? While a person need not be an engineer, one needs to be computer savvy. While I am NOT an engineer, I did spend my entire Honeywell career working with hardware and software. I am very comfortable around computers. Another way I might explain this requirement is for Windows based PC’s you should be VERY comfortable with Windows File Manager including file names / file extensions (and what the file extensions indicates). In addition you should be an individual who is not scared with the thought of opening up a computer’s case and looking around.
What is LINUX? LINUX is an open source software operating system based upon UNIX. Both LINUX and UNIX are extremely stable (not true of Windows or Apple computers) command line operating systems. Given LINUX is open source software there is NO CHARGE to use LINUX. Learn more about LINUX via Wikipedia.
Let’s move on to BirdNET-Pi … the Raspberry Pi, LINUX open source software bird song listening and ID’ing device. Here are some pictures and screenshots from my Birdnet-Pi build / installation.
This is what my little BirdNET-Pi box looks like. My finger are included some photos to help folks better understand the size of my installation. It is small.
My BirdNET-Pi lives inside my home office, but a small USB microphone hangs out the window.
While wifi / internet access is required to build a BirdNET-Pi, after a successful installation the device runs without the need to be online, but it does need power. Here are some screenshots from the initial days of ID’ing birds singing in my yard. In fact, my installation / build was able to hear and identify birds from along Amity Creek which is across the street from my home and about 225 yards distant.
Amity NorthStar BirdNET-Pi
I have made my BirdNet-Pi public via BirdWeather.com. The BirdWeather site gives access to both BirdWeather PUC and BirdNET-Pi listening boxes from around the world.
Link to ALL BirdNET-Pi public devices and BirdWeather PUC devices
Screenshots from my listening station and the map for listening stations across the USA: (Note: Updates to this free public service sometimes lags my real time results. When I am personally logged in to my BirdNET-Pi I definitely see all identifications in real time. If you click upon my list of birds, and then an individual bird specie, you may listen to actual recordings from my device)
Okay … this begs the question, for the owner’s BirdNET-Pi software installation, which only that person may see and configure, what does that installation look like and how does it perform?
The short answer is pretty darn well, and even though LINUX is known to be a command line software language, both BIRDNET-Pi and LINUX run using Linux’s graphical user interface.
Here are two BirdNET-Pi screenshots of menu items I often review
Finally I suggest you watch this great video overview of BirdNET-Pi (not mine) which reviews many of the application’s features (video link for blog email subscribers)
I am still exploring the various BirdNET-Pi menu options, but I really like what I am able to analyze. There are tools which are worth the effort to explore as this is how one may configure BirdNET-Pi to both your own desires AND geo location. Here is the tools screenshot.
Please note the “Settings” menu is accessed via the “Tools” high level menu. This is by far the most important configuration command area. Although the document for the project mentions this fact but when you click upon “Tools”, BirdNET-Pi will challenge you for a user name and password. The default user name is “birdnet” and there is in fact no password. I recommend you DO NOT change this setup. The software is only installed on your Raspberry Pi computer which is NOT accessible by anyone else.
Instructions …
Building your own Raspberry Pi Bird Song Listening Computer
Hardware Required (includes costs as of August 2025)
Software Required (no costs … all open source … thus free)
Building a Raspberry Pi Computer
Installing LINUX on your Raspberry Pi (includes graphical operating system)
Installing BirdNET-Pi on your Raspberry Pi
Please note these instructions ARE NOT meant to be an exhaustive / detailed list. Rather these instructions are a great overview which will provide you the ability to build upon my information and create your own system given some effort and research.
Hardware Required
Here are the purchases I made to build my Raspberry Pi, BirdNET-Pi Bird Song Listening Device including my hardware purchase costs:
Amazon product links are NOT sponsored (no money to me)
These prices and links were correct as of August 2025
Raspberry Pi Model 4b Computer (4 GB of memory): $63 (Amazon Link)
Raspberry Pi Miuzei 4b Computer Case: $16 (Amazon Link)
Micro HDMI to HDMI Adapter Cable: $6 (Amazon Link)
Total Money Spent: $118
Remember: There is NO ongoing subscription cost but you may also need the hardware listed immediately below depending upon what peripherals you have around the house.
You will need a HDMI monitor, USB keyboard and a USB mouse during your installation / build, but this equipment is NOT required once your BirdNET-Pi is up and running and may be disconnected. If you need these devices, here is what I bought:
64 bit Bookworm version (install the graphical user interface version and not the “lite ” version unless you are Linux command line savvy)
Edit on February 5, 2026: The Nachtzuster project site now recommends new instances of BirdNET-Pi install the “Trixie” version of the Raspberry-Pi operating system. I would NOT recommend upgrading a version of BirdNET-Pi which is running a prior version of the Raspberry Pi operating system.
This option will be available when you “run the Raspberry Pi Install Imager
MAKE CERTAIN you install Linux on the MicroSim attached to your desktop or laptop computer, NOT your own computer
READ this README.md instructions BEFORE you install any software. This README file reviews the BirdNET-Pi installation you will be putting on your Raspberry Pi.
You will need to build your Raspberry Pi computer. There are just a few steps
You need to build a case into which you will inserting your Raspberry Pi mother board / Raspberry Pi computer. This is equipment you purchased.
While building your computer, you will need to attach heat sinks (easy) and pins for a cooling fan (not difficult). The case you purchased will have instructions.
It may be helpful to watch a Raspberry Pi computer being built. You need only watch the first 6 minutes 30 seconds of the linked video. Please understand this IS NOT the exact same hardware and software, but it will let you better understand how building a Raspberry Pi works.
Installing LINUX on your Raspberry Pi Computer
It may be helpful to watch this video which takes one through Linux being installed onto a Raspberry Pi computer.
READ this README.md instructions BEFORE from the BirdNET-Pi project site BEFORE you install any software. This README file reviews the BirdNET-Pi installation you will be putting on your Raspberry Pi.
Make certain to install the Raspberry Pi 64 b\Bit Bookworm version
Edit on February 5, 2026: The Nachtzuster project site now recommends new instances of BirdNET-Pi install the “Trixie” version of the Raspberry-Pi operating system. I would NOT recommend upgrading a version of BirdNET-Pi which is running a prior version of the Raspberry Pi operating system.
This version will be available when you double click upon the Raspberry Pi Imager to start your Linux installation. You may need to find this version via the “older version” options
Install the graphical user interface version and not the “lite ” version unless you are Linux command line savvy
MAKE CERTAIN you install Linux/Bookworm on the MicroSim attached to your desktop or laptop computer, NOT your own computer
During the install, do NOT just accept and install the standard version. Select the option to “edit your installation”. This allows you to configure your own wifi network, select a computer keyboards appropriate to your country (like the USA), as well as other items.
Once Linux is installed on your Raspberry Pi, after a reboot you will be able to issue Linux commands. Remember to insert your MicroSim into the Raspberry Pi’s sim reader before turning on your new computer. Both your operating system, and birdnet database from Cornell are on this MicroSim. No software is actually found on your Raspberry Pi computer.
While you may use the Linux command line prompt, I find it easier to use Linux’s graphical operating system. By using the graphical operating system a person need not remember many Linux commands and their syntax. Should you find yourself looking at a “command line prompt”, you may always start the Linux graphical operating system by issuing this command: Enter “startx” (without quotes) and press enter. The GUI should start. Finally, here is a link to some of the more common Linux commands … a downloadable PDF Linux Commands Cheat Sheet.
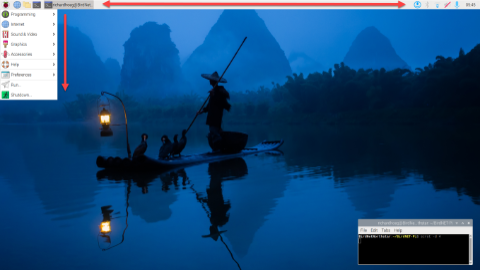
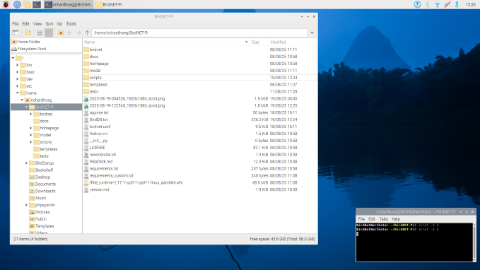
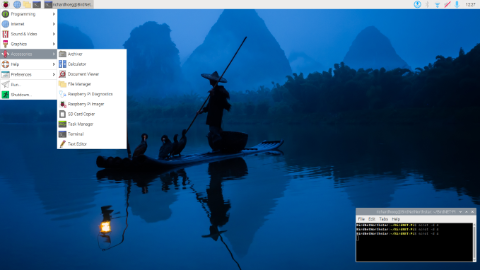
Here are some Linux screenshots from my BirdNET-Pi installation. You may always start a command line session via the “terminal application” (found via the high level graphical inteface menu).
Click or Press Upon any of these images to maximize
Installing BirdNET-Pi on your Raspberry Pi
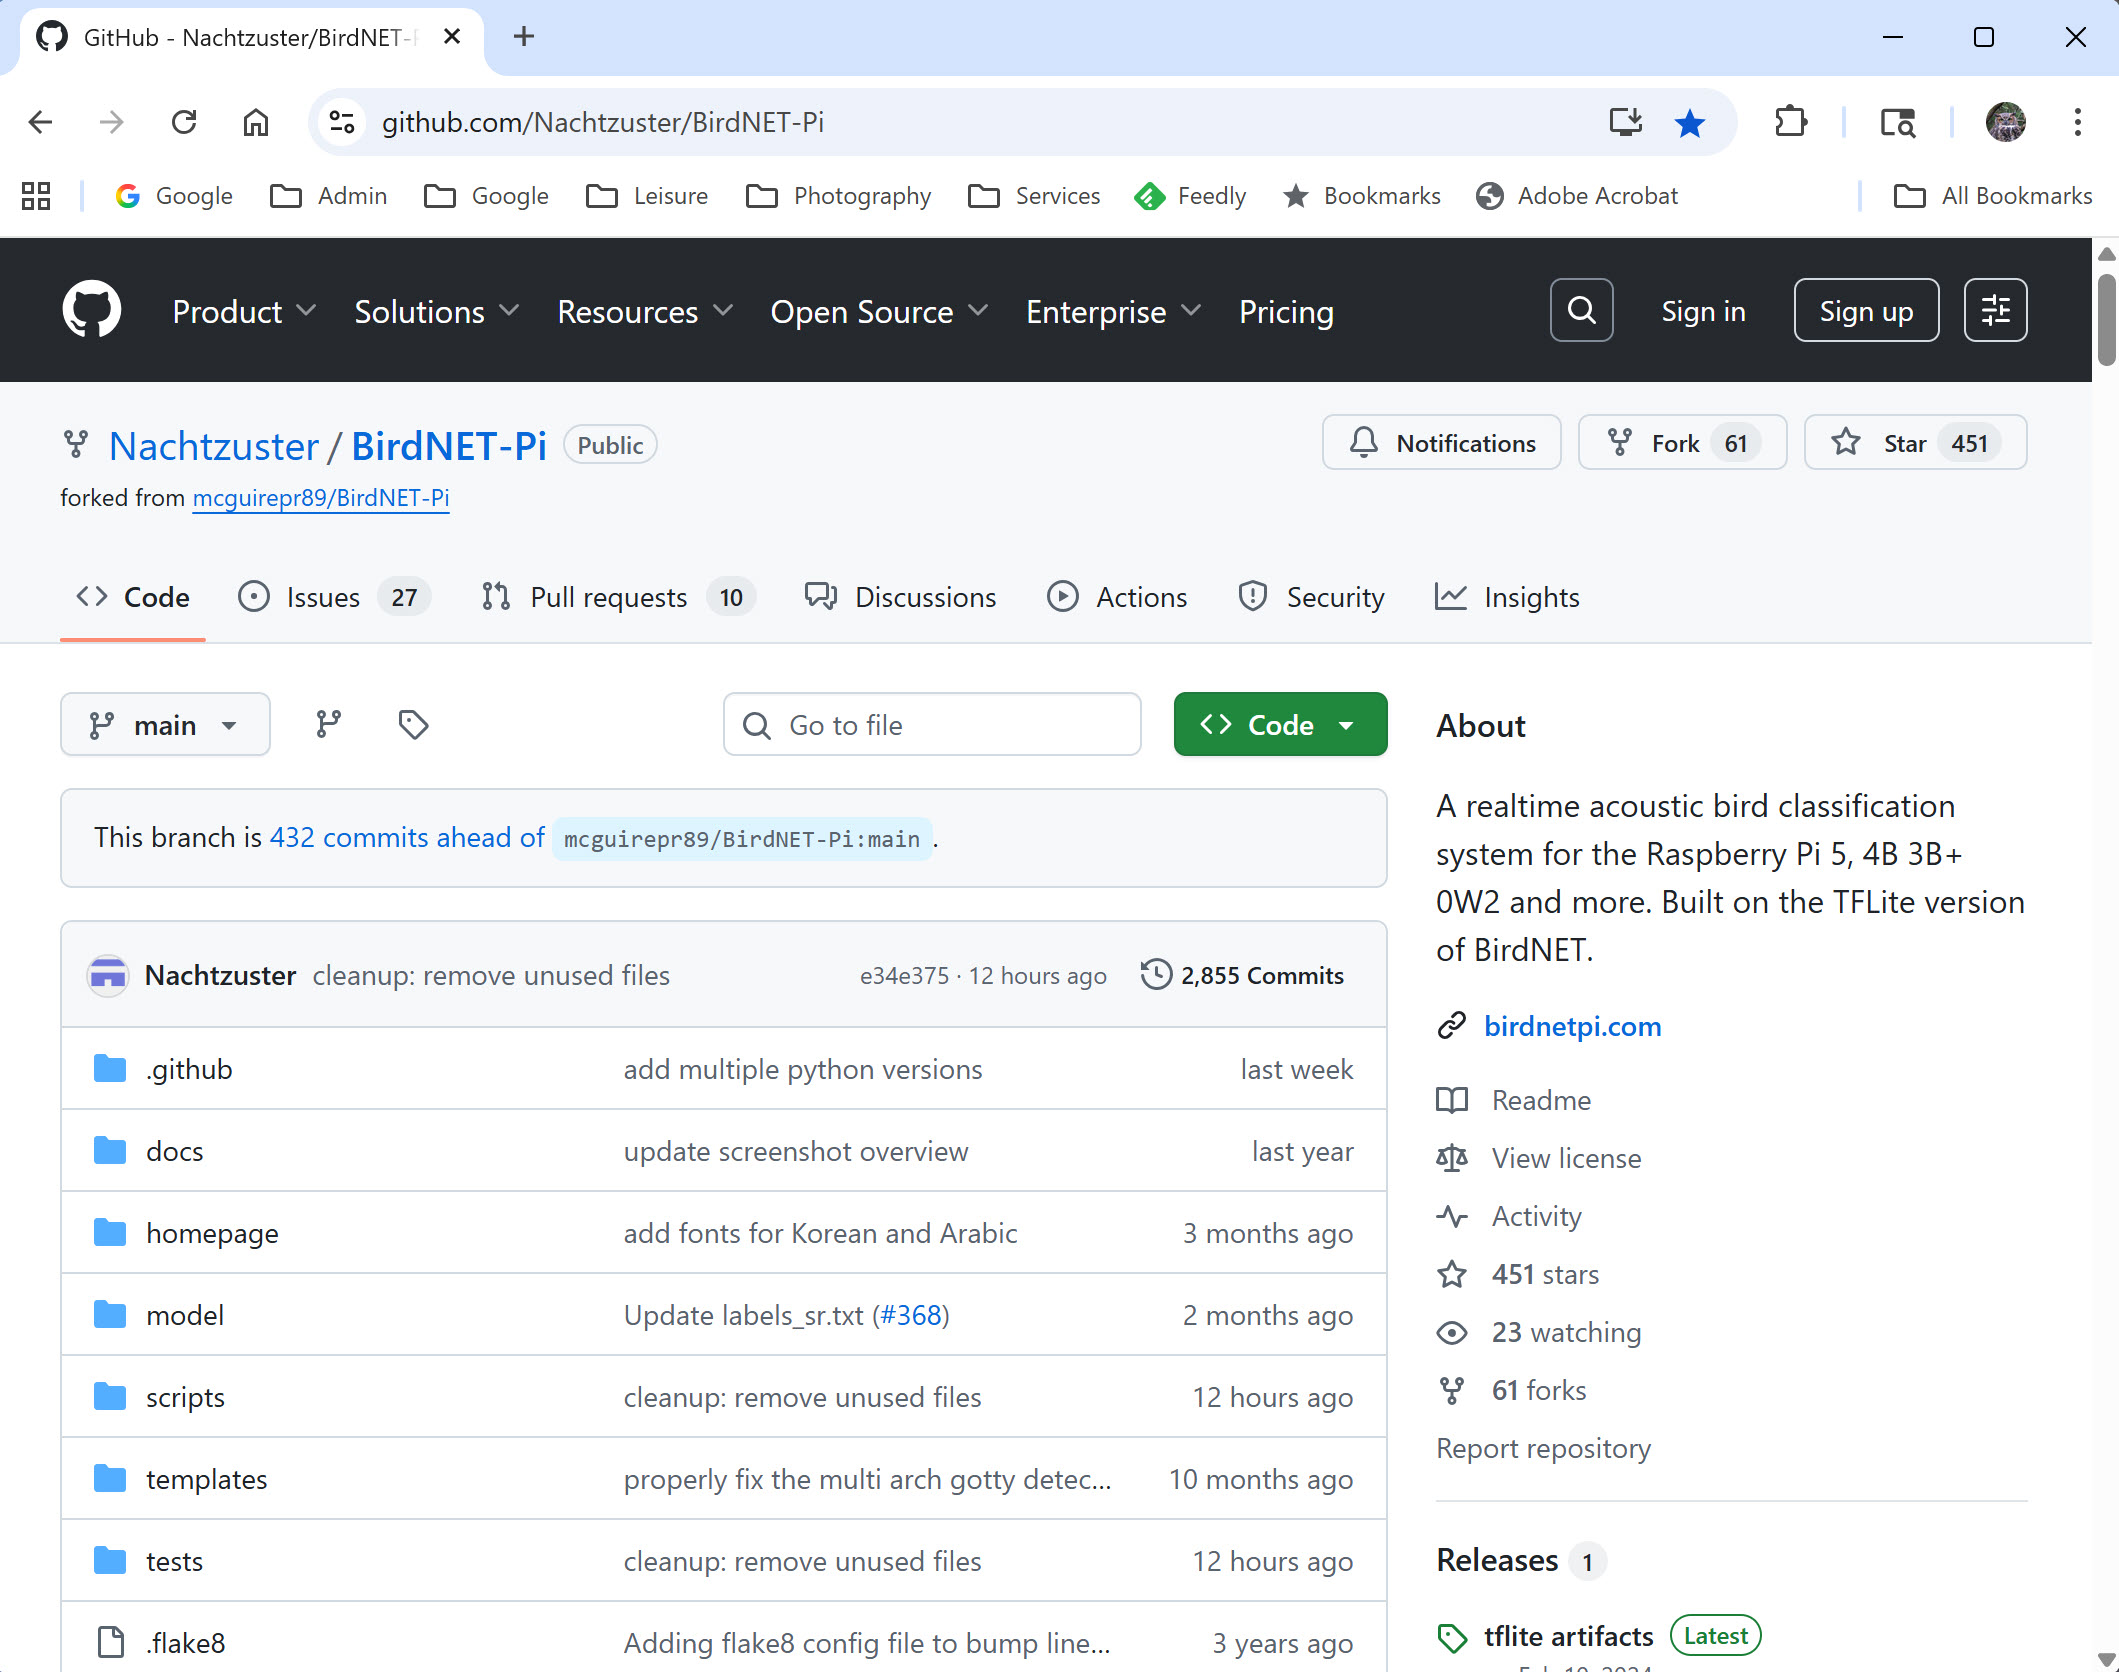
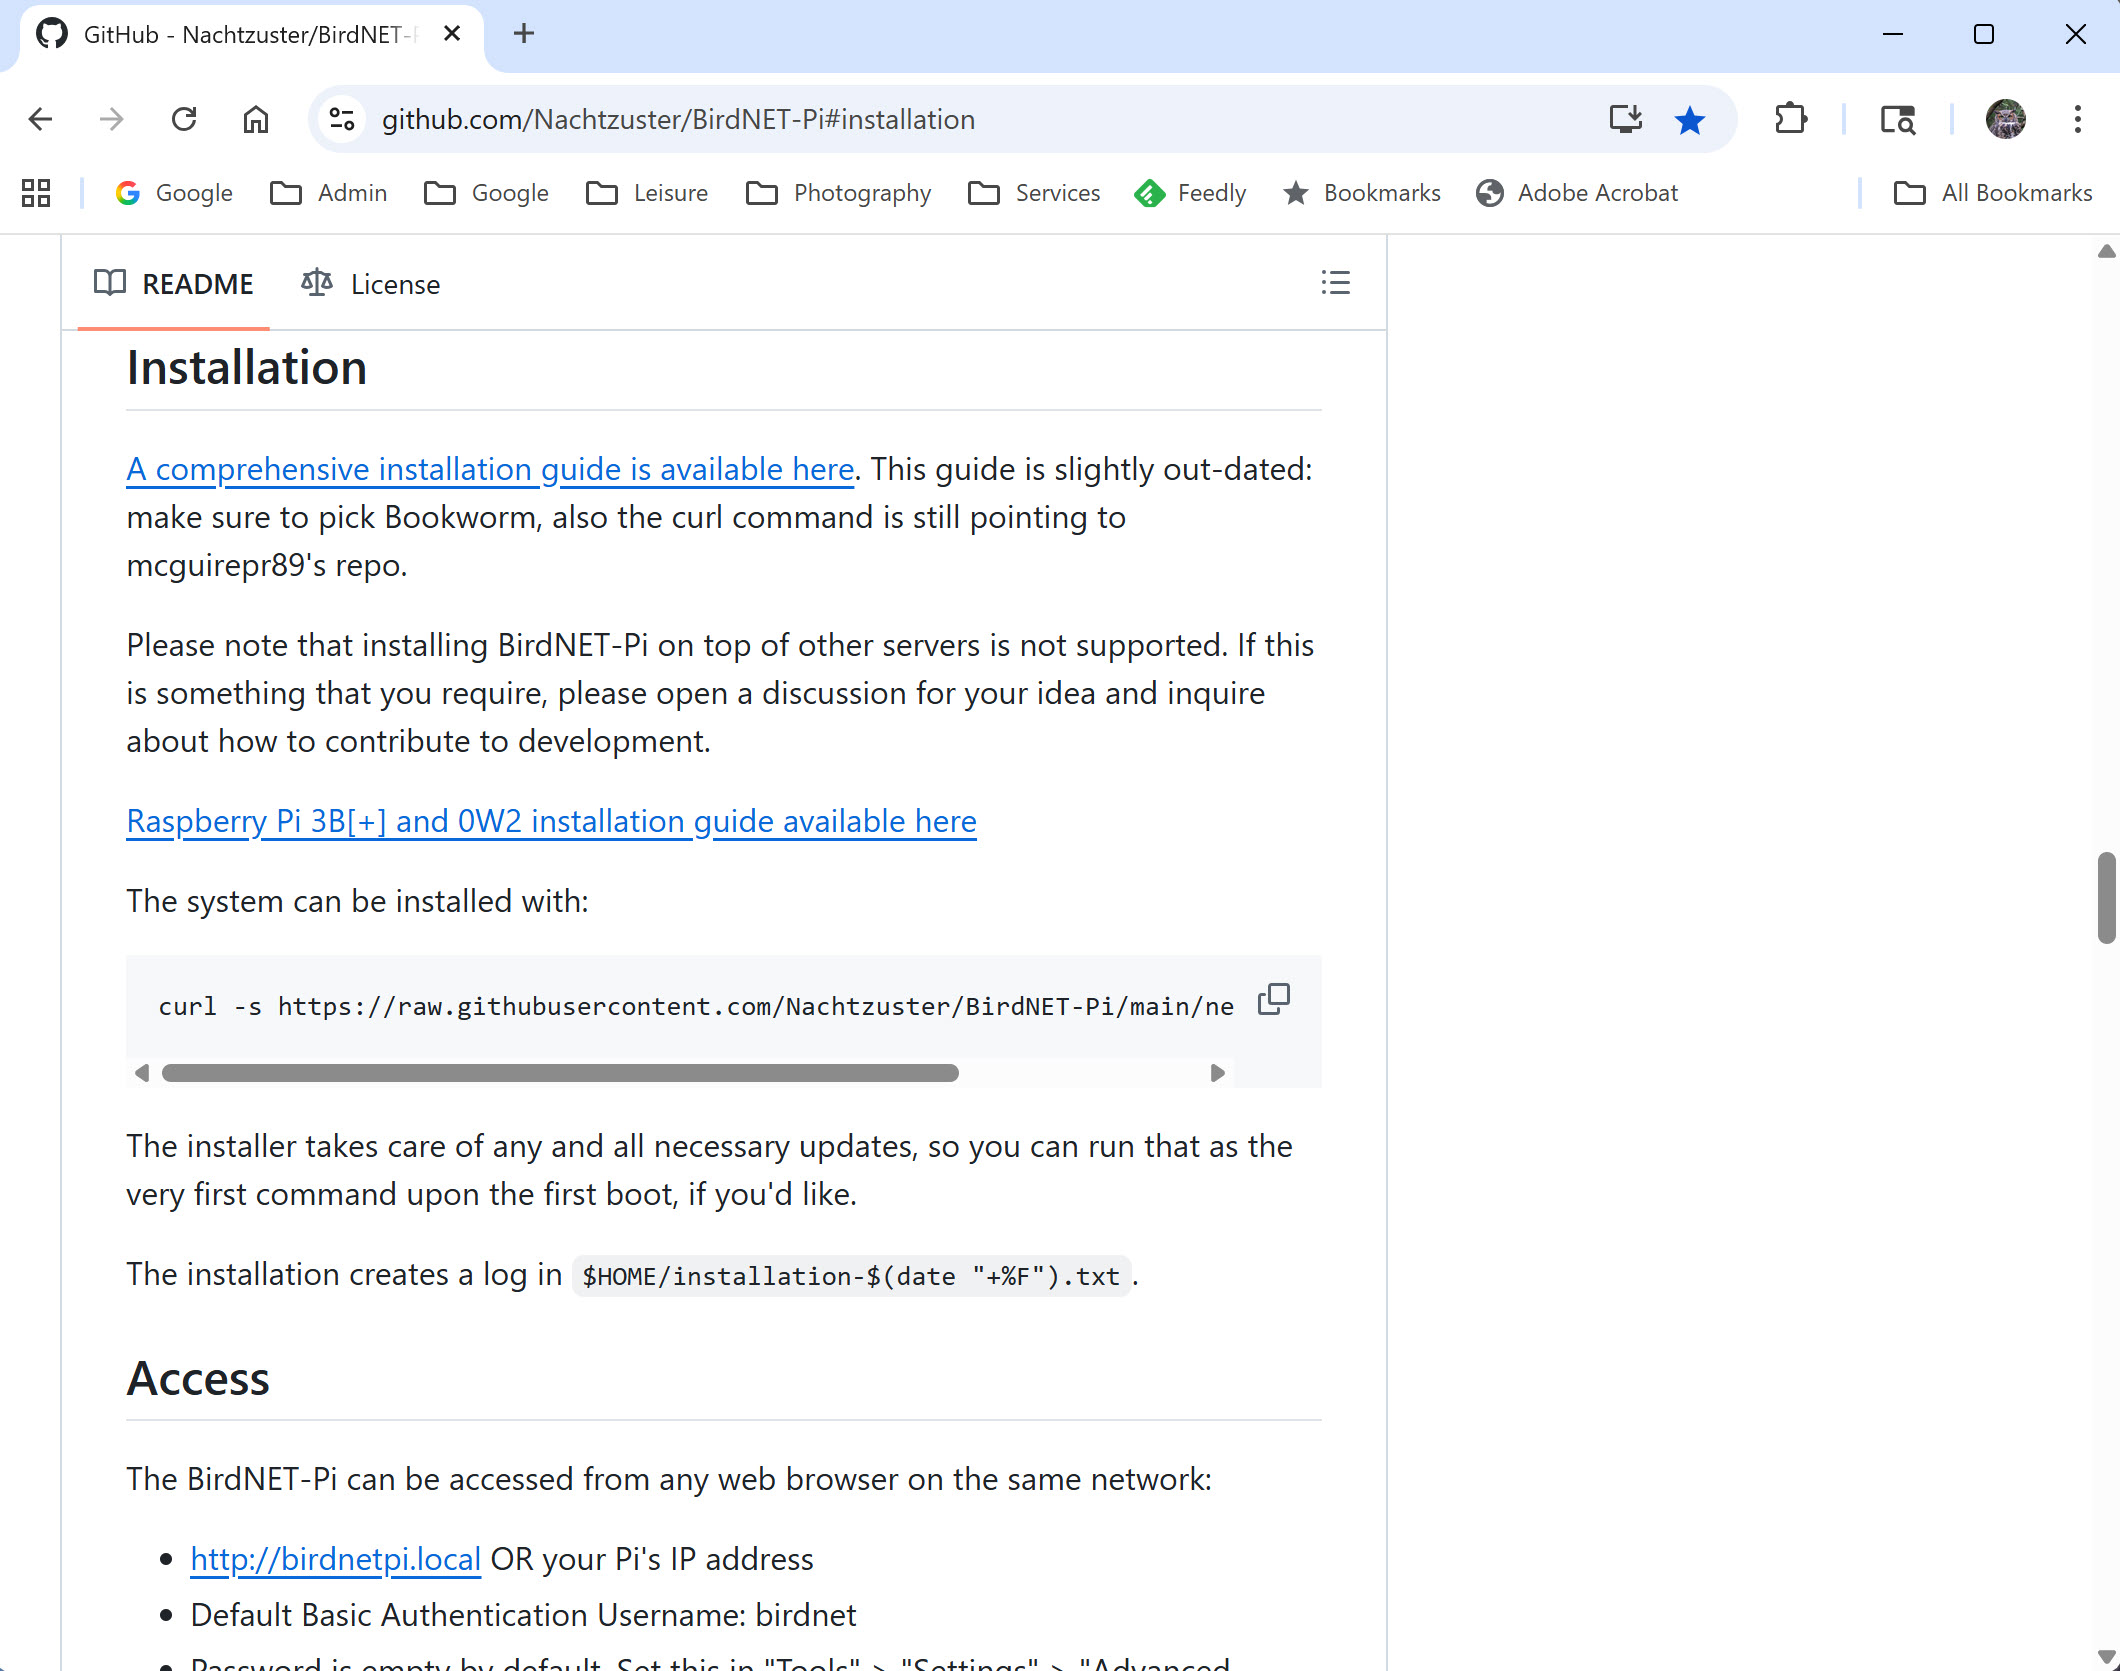
This installation is what we have been working towards, and it actually involves only one command! Once again browse to the BirdNET-Pi project site, Nachtzuster Version.
MAKE CERTAIN YOU READ the README.md instructions BEFORE you install BIRDNET-Pi. This README file reviews the BirdNET-Pi process and software you will be putting on your Raspberry Pi. Although you issue only one command, it will take BirdNET-Pi up to 20 minutes to complete its installation. Go take a break and have a Diet Coke!
Here are two screenshots from the Nachtzuster BirdNET-Pi project site. The actual command and process for running same is found below these screenshots.
Process required to install BirdNET-Pi via the Nachtzuster Project Site
This install command NEEDS to be issued via the command line prompt, not the graphical user interface.
However, one may open a command line session via the “terminal application” which is a service available via the Linux graphical operating system from the root menu (i.e. across the top of your screen). It is named “terminal”.
Once your terminal session is open, from the command line prompt, issue this exact command given below … syntax including spaces is 100% required to be EXACTLY correct. If this command crashes, AND assuming your syntax is exactly correct, you should check on the Nachtzuster project site to learn if the command has been changed.
The curl command is a command-line tool used for transferring data to or from a server using URL syntax. It stands for “Client URL.”
Please note … the “underscores” shown in the command line given above ARE spaces you type in the command, NOT underscores. Syntax must be 100% correct.
Assuming you have done everything correctly, your Nachtzuster BIRDNET-Pi install should run for about 20 minutes and when it completes … Eureka! Be patient, the install will pause for significant periods of time. A lot is going on under the hood, and a large database is also being downloaded from Cornell’s Bird Song BirdNet. Once the installation is complete, reboot and enjoy!!!
Obviously this begs the question, how does one enjoy / run your new BirdNET-Pi installation. Hopefully when you were performing the Linux Raspberry Pi installation and it asked you to name your computer, you wrote that name down (and recorded the password).
From a computer which is on the same LOCAL wifi network as your BirdNET-Pi, open a browser session and enter this url:
<the name of your installtion>.local and press enter
your computer should challenge you that the website in question is not secure (i.e. not https). This is no problem as your BirdNET-Pi service is 100% local. Using the “.local” extension means you are NOT browsing outside your own local wifi network.
Should this browser address not work, then you need to find the I.P. number of your Raspberry Pi Linux Computer. This number is easily found. From your Linux Rapberry Pi box in the graphical operating interface, point your mouse at the wifi network icon. After you pause for a few seconds, a pop-up should appear with your local I.P. number. Go back to your browser and enter this I.P. number in the web address window and press enter.
Okay … some closing thoughts / items NOT related to the install. Most of these points are configuration issues which are not necessary to run BirdNET-Pi, but I have found to be nice settings to configure.
It can be nice to have a free GitHub account, which is the service which hosts a HUGE number of Raspberry Pi projects including BirdNET-Pi. The create free account link is often on the top right of your screen when you are using a desktop PC.
From the Settings menu (reading/scrolling downward)
I change the Species Frequency Threshold Number to 0.001
Update your Latitude and Longitude using the provide link
I have my BirdNET-Pi box listed publicly via BirdWeather. If you wish to do the same you will need to get a free BirdWeather.Com account. Get your free account via this url. Once connected, click upon the “person avatar” in the top right hand corner of your screen using a desktop computer. Once logged in, follow the instructions for adding a BirdNET-PI to BirdWeather. The BirdWeather ID required via Birdnet-Pi is NOT your BirdWeather username, or email address, it is the long code found on your personal account page and associated with your service.
I use Apprise Notifications for GMail which works almost right out of the box. Read more about Apprise.
This is a very long post with a HUGE amount of content, and it has taken me many, many days to write. I am certain there are mistakes, and I will edit this post over the weeks and months ahead to reflect whatever needs changing. Happy Birding!
Post Updates!
August 21, 2025: Remote Control of your BirdNET-Pi – As noted above, I knew I would forget / miss information I wanted to cover. My first addition is how one may remotely control your Raspberry Pi BirdNET-Pi even when not connected to your own network.
Michael Hurben has a super post about BirdNET-Pi and in his post he reviews Raspberry Pi’s VNC Server and Viewer. Browse to his great blog, Physics, Birding and Blindness and read his post. You will find VNC discussed in the body of his writeup. Oh yes, you didn’t read the title of his blog wrong. Michael is in fact legal blind, but also a great birder with a PhD in Physics! Uff dah. I subscribed to his blog last night.
In addition to VNC there is also Raspberry Pi Connect. While Raspberry Pi Connect does not have the capabilities of VNC, the more simple remote control software may be more to some folks liking. Use these links to:
I am volunteering for my 12th year as a lighthouse keeper at Crisp Point Lighthouse on Lake Superior, 26 miles before Whitefish Point in the Upper Peninsula. A 19 mile dirt road is required to reach the light … very remote. Only keepers may camp at the light. My tent is pitched 25 yards from Lake Superior. 50 years ago the Edmund Fitzgerald sunk 7 miles off this point. Took some drone shots at sunrise this morning. Will process videos next week at home.