The rejuvenation of the St. Louis River continues! Early last summer (2025) the City of Duluth, in conjunction with the EPA finished the reclamation of a large point of land that had been part of the US Steel EPA Cleanup Site. Many tons of dirt/slag were removed, the hiking trail along the St. Louis River was extended, and native land / water plants were planted. In the year since wildlife has voted loud and clear; the end result is fantastic! The birding at this location will only get better year over year as the site continues to recover and birds discover this great habitat. While Slag Point is worthy of a visit at any time of year, during migration is when the location shines, particularly with migrating shorebirds and waterfowl. (GPS Location for Slag Point … will be added to my list of Northland Birding Locations … download a PDF copy at no charge).
Should you desire to visit Slag Point, the walk with the loop along the mud flats is just under two miles from the parking area (very easy). However, be prepared for whatever Lake Superior may throw your way. Although the spot is not to far upriver from the harbor, the big lake still rules! Visiting in late July yields a walk with thousands and thousands of Black-Eyed Susans.
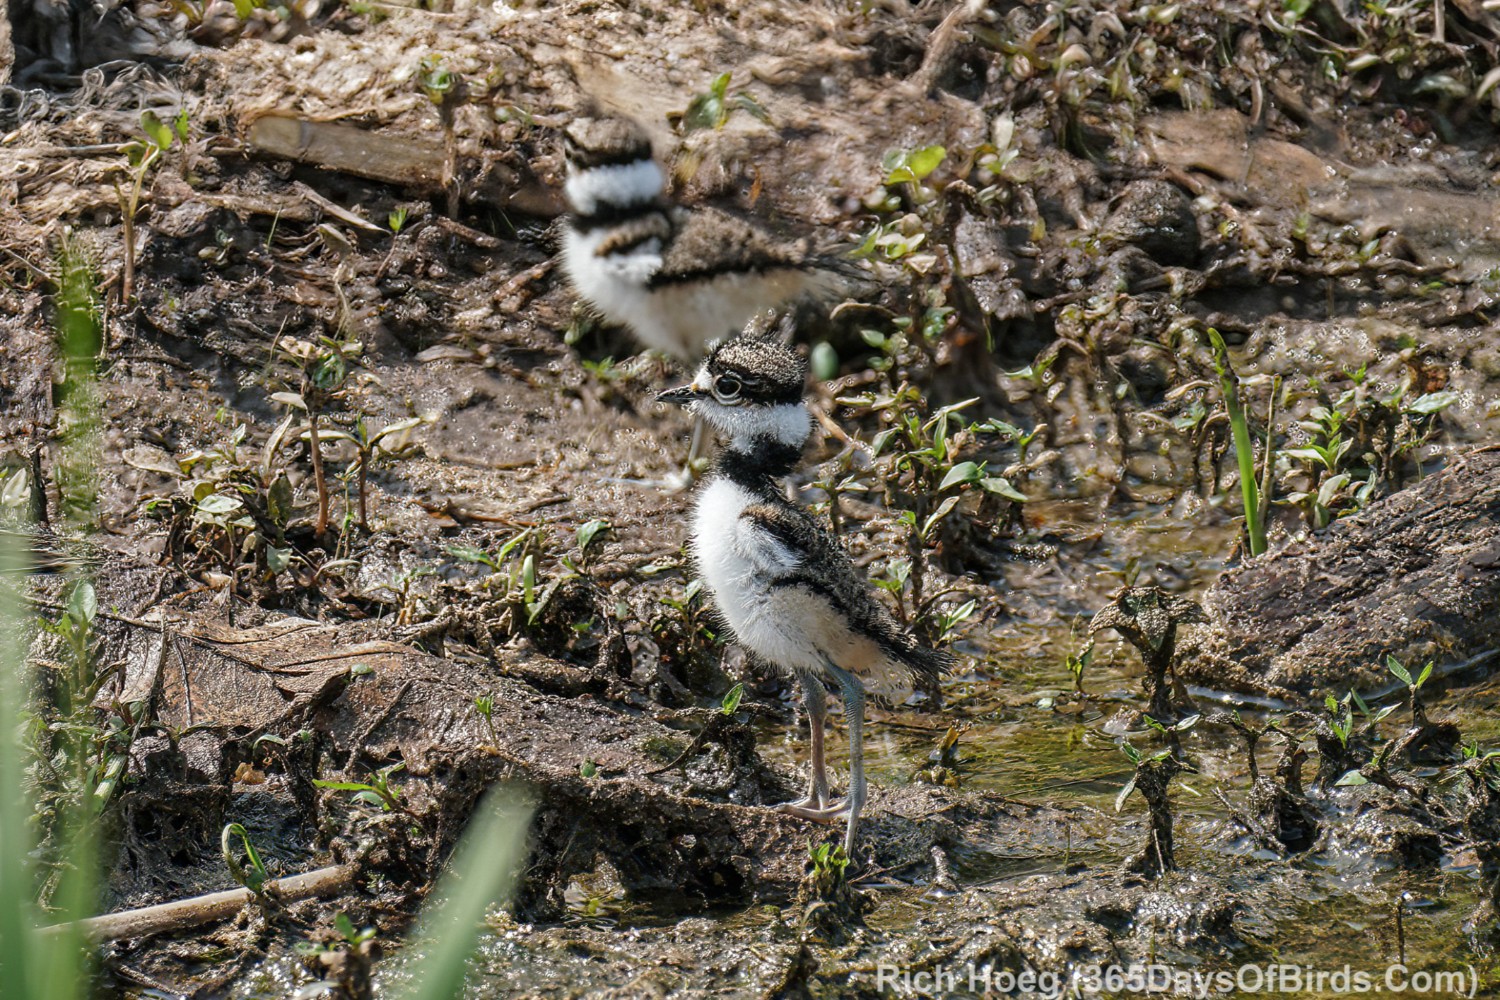
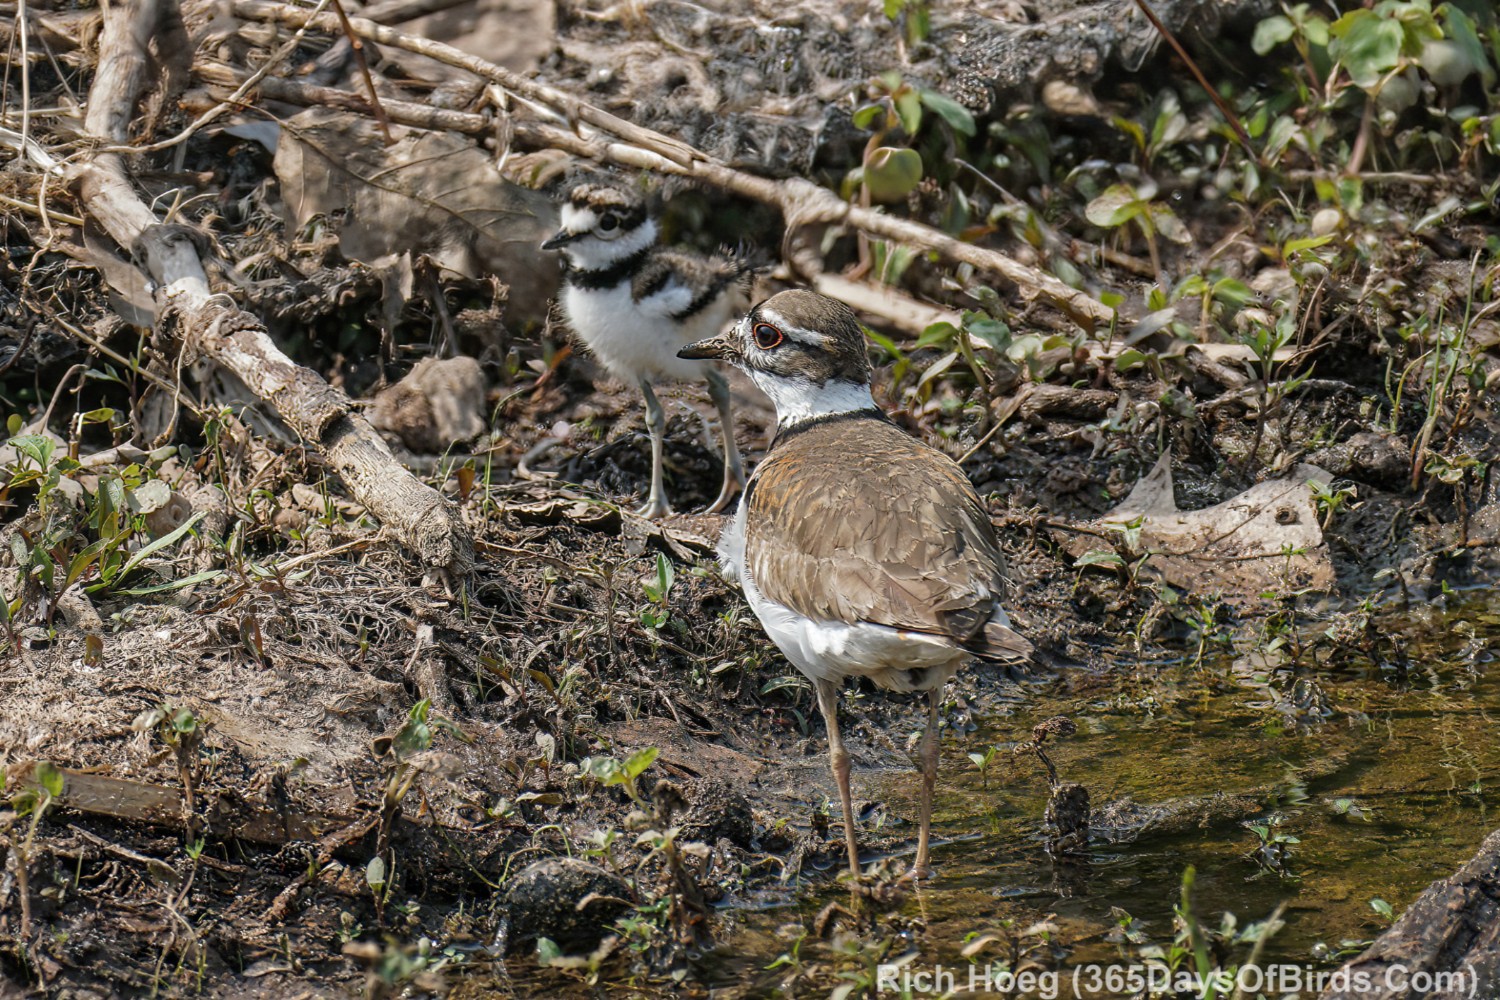
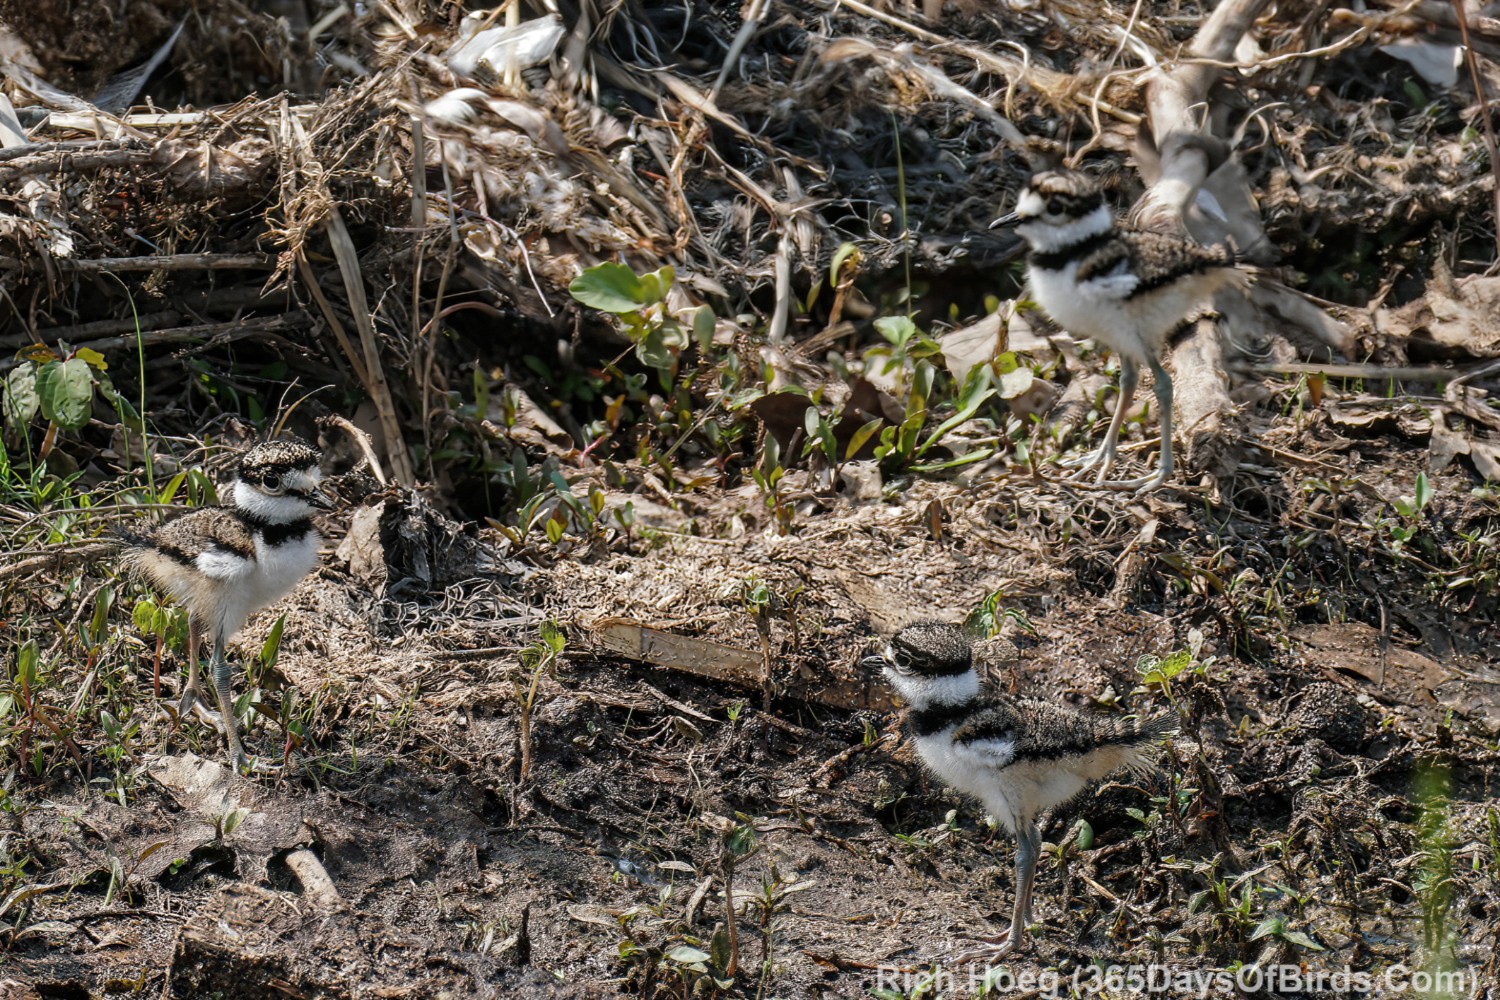
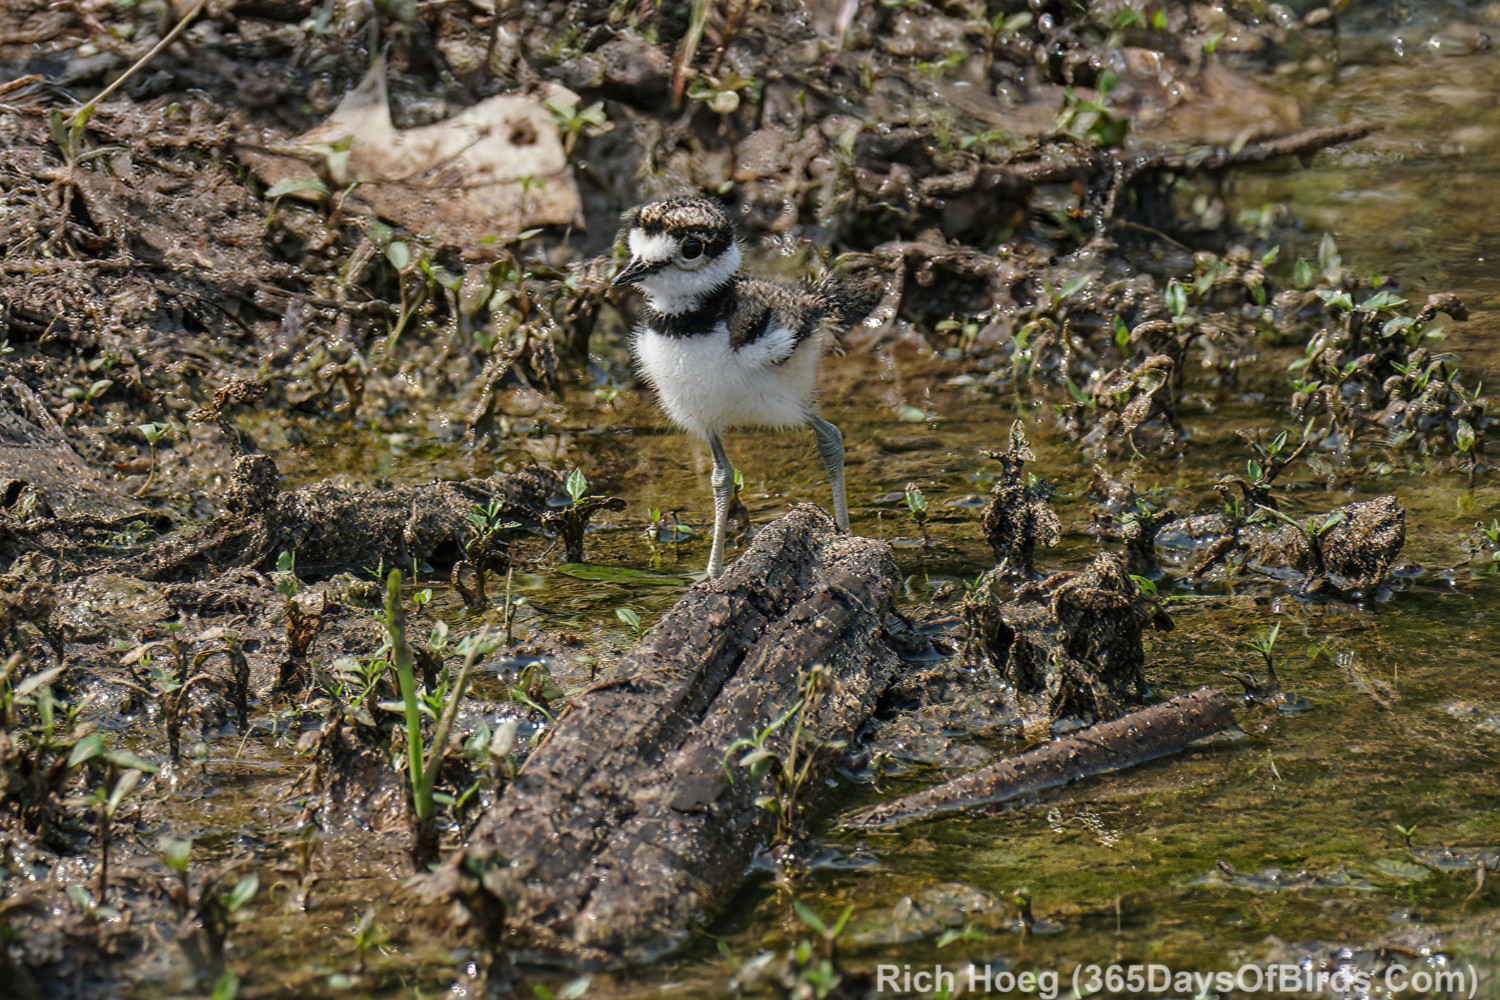
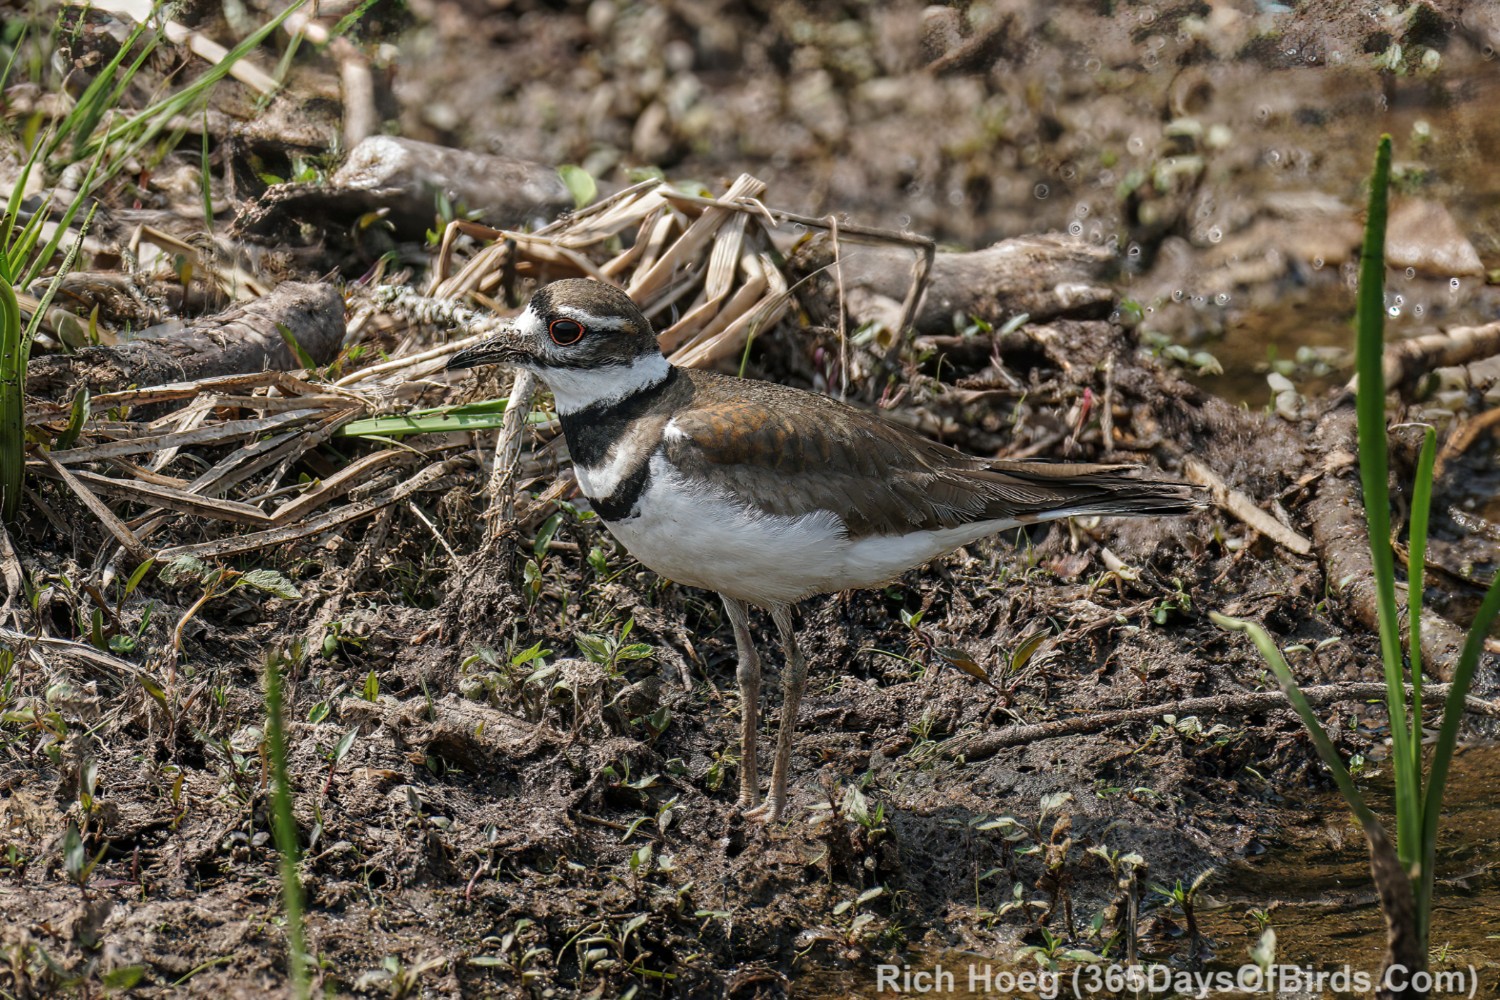
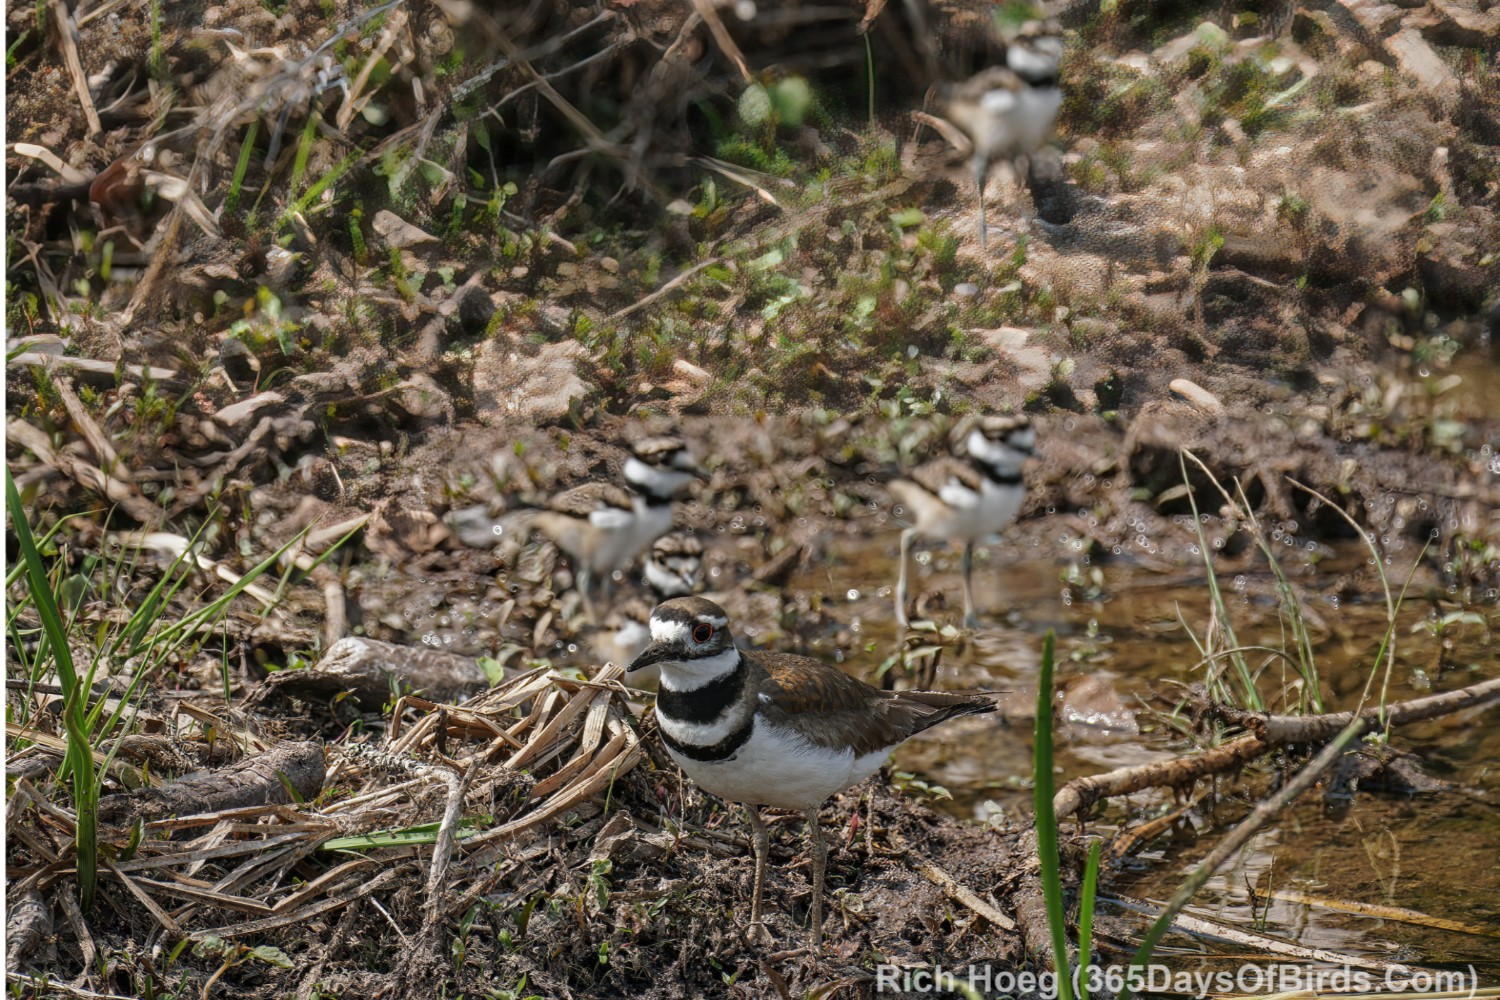
A few days ago Ma and Pa Killdeer welcomed their chicks into the world. I was present to enjoy the experience.
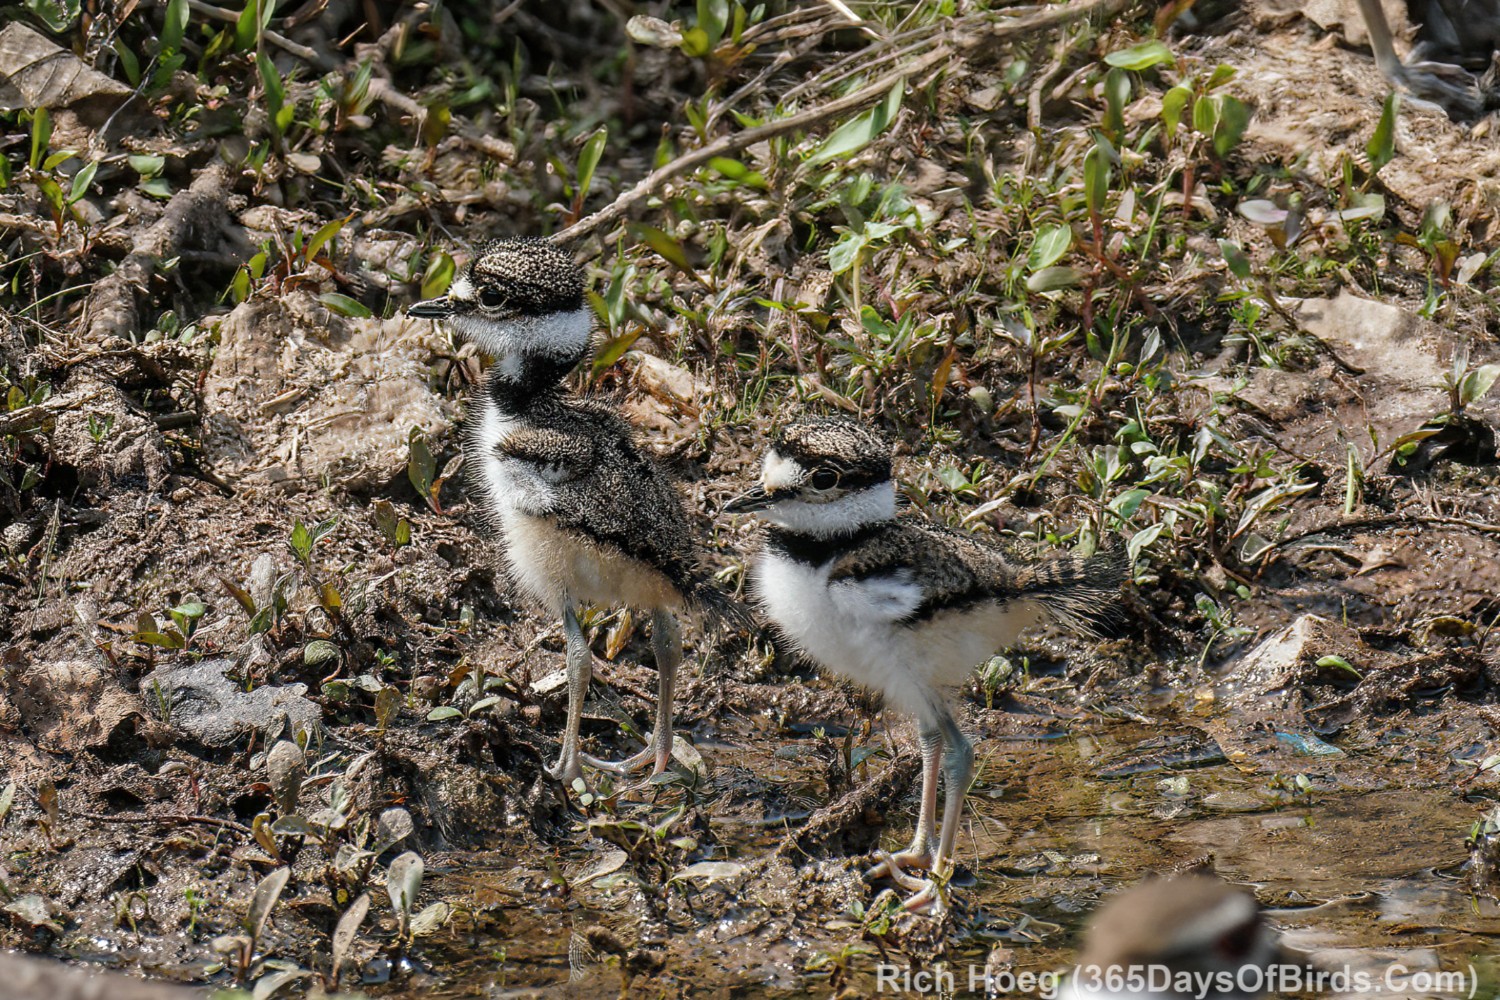
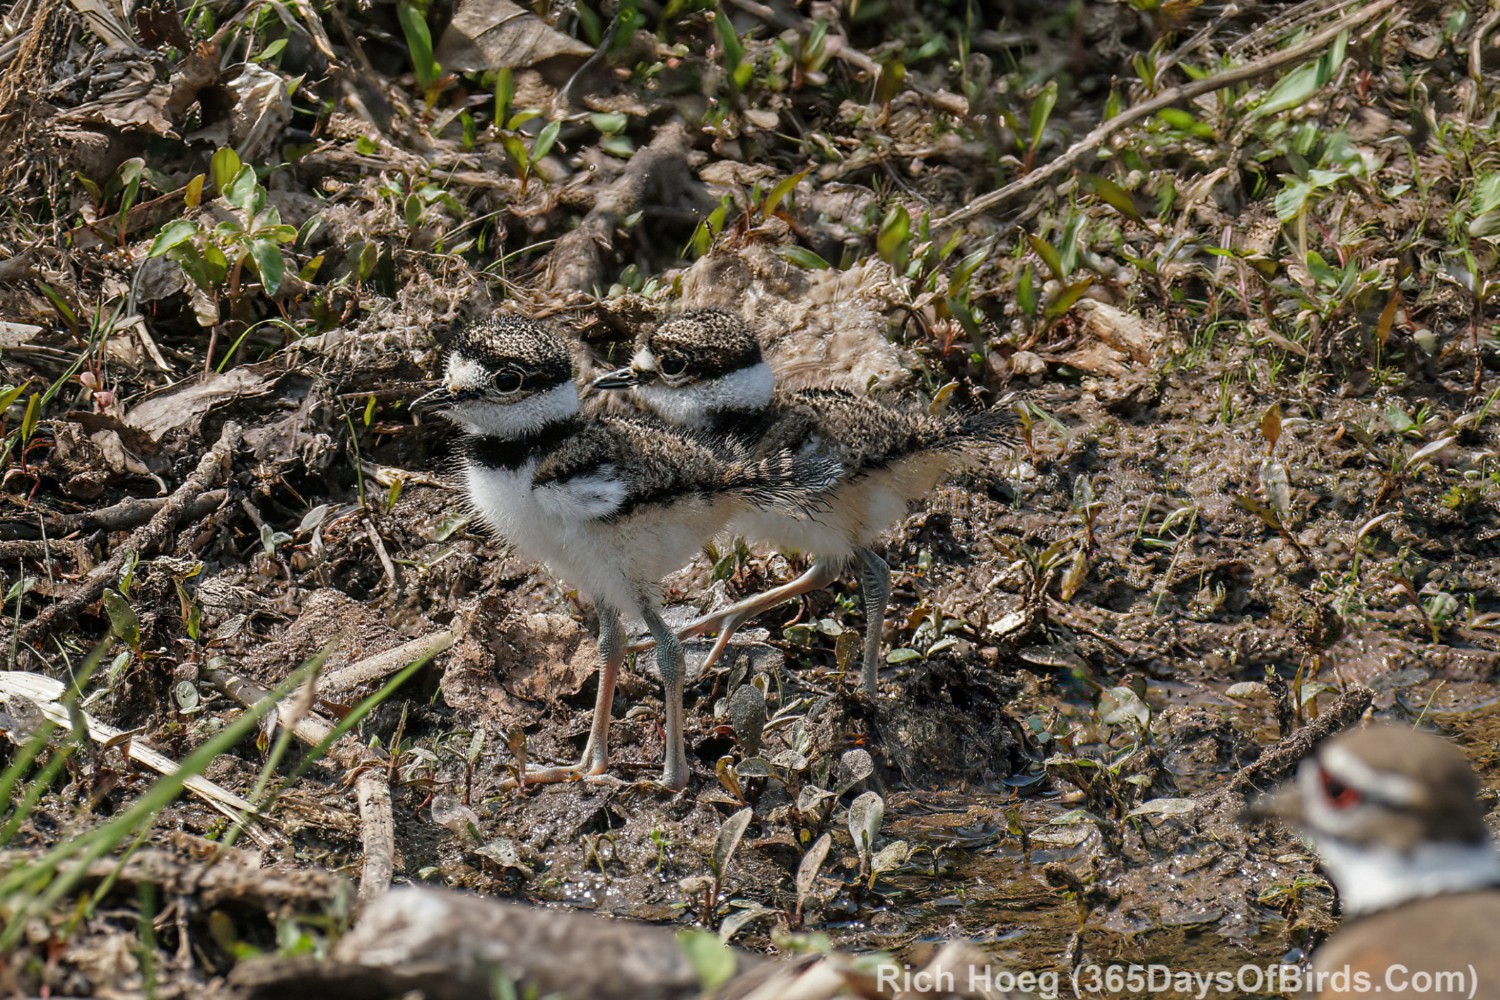
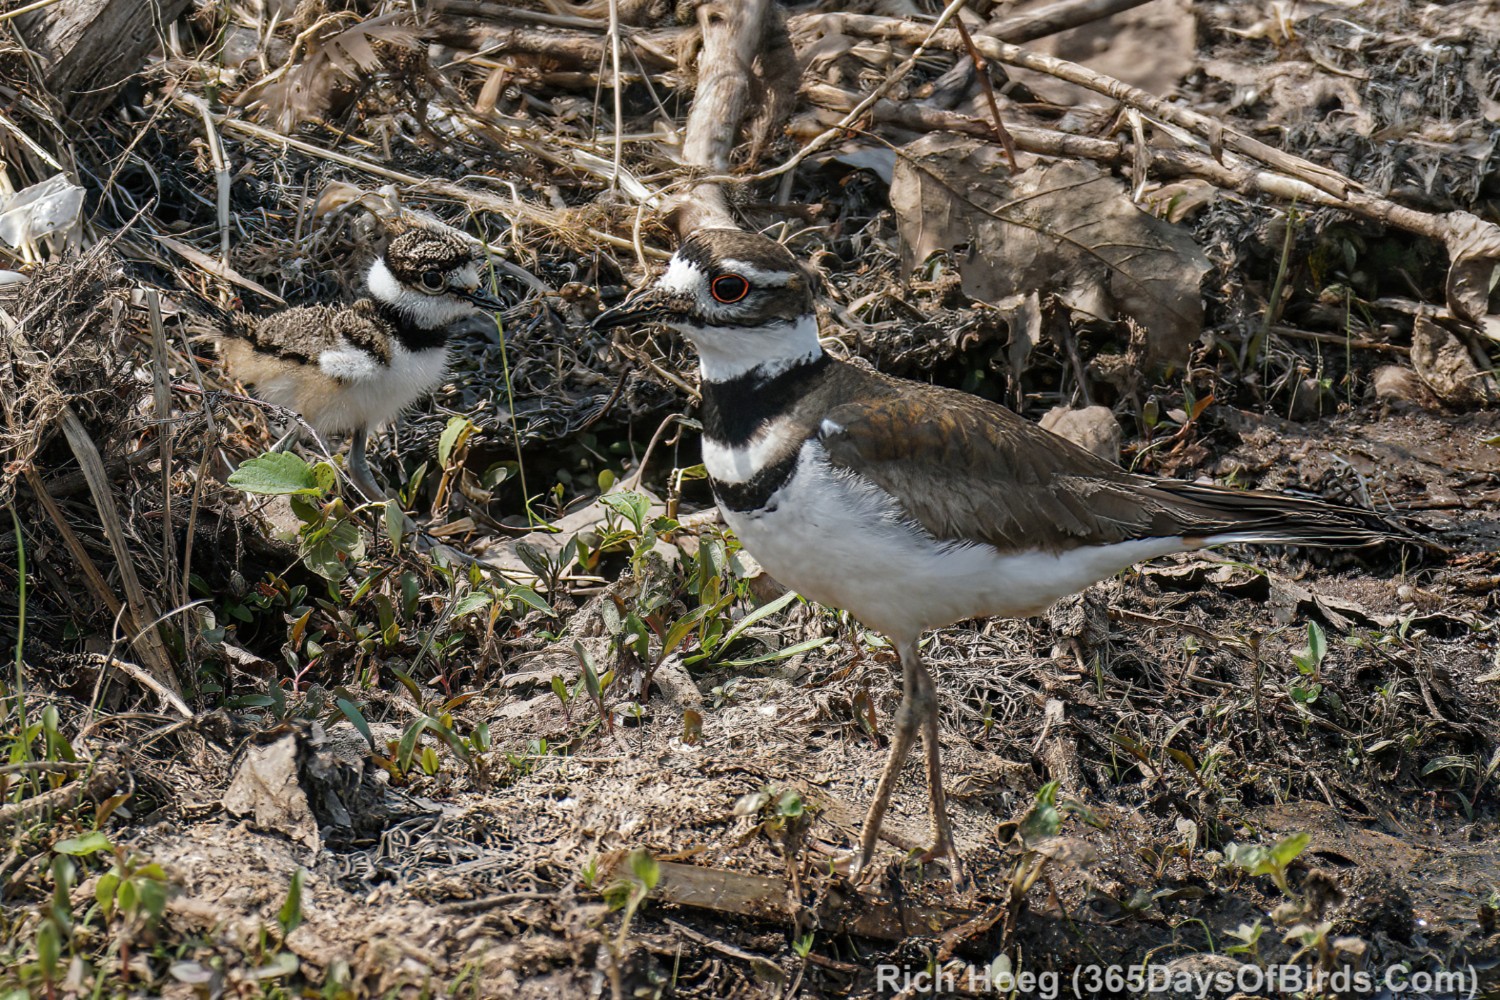
Count the Killdeers in this image!
You may need to maximize the image. It was just as hard to spot all the chicks in real life as it is in this photograph.
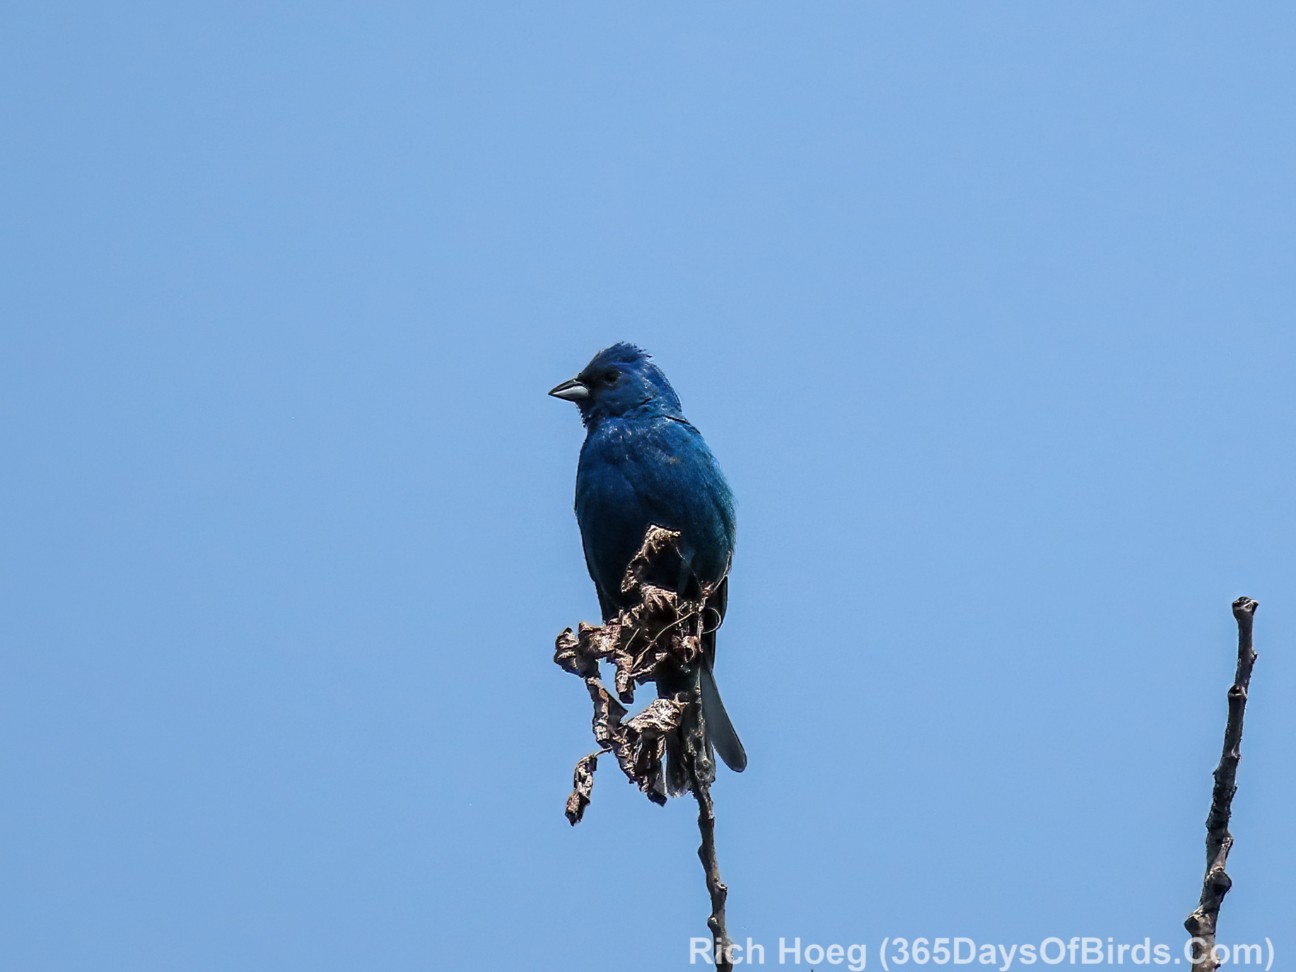
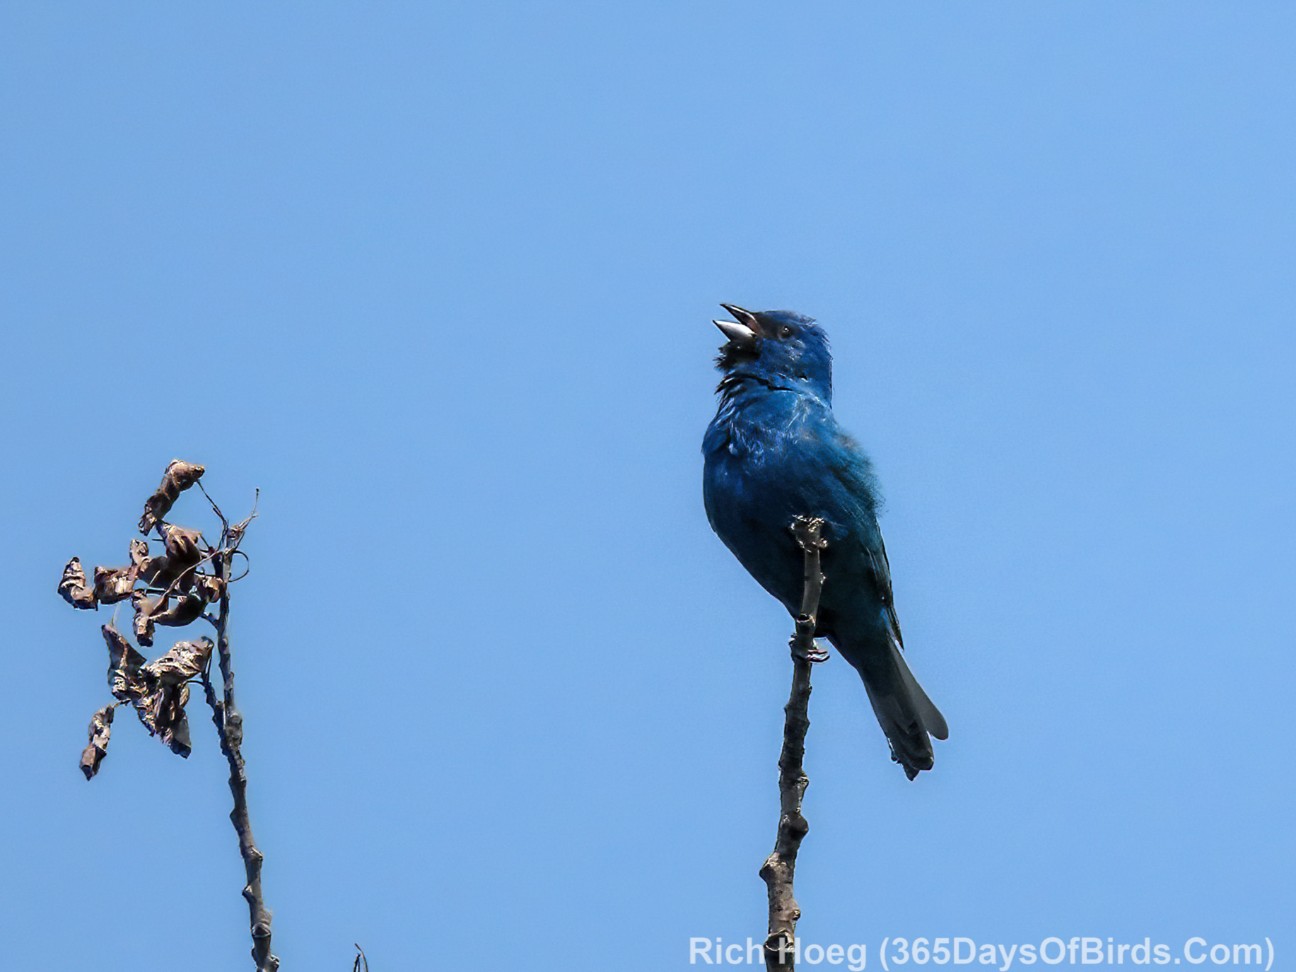
I have visited Hawk Ridge on Duluth’s Skyline Parkway three times in the past week, and each visit has yielded three Indigo Buntings sightings, and I am convinced each sighting in the same exact bird. If you walk down the stairs from the road to the path along the ledges … proceeding to you left (NE) till you almost reach the trees, this bird loves the top branches of the two aspens. Use Merlin to call out once or twice and the bunting will come calling!
Long time subscribers to my website know a bit under five years ago I had open heart surgery due to a misshapen heart valve. While my heart is doing well, the days of my powering up Duluth’s steep hills on my bicycle and also taking month long self-supported bike tours were over. Given I love the outdoors, and refuse to give up the things I love (birding, biking, etc.), I needed help with my bike rides. Enter eBikes, and in this case the Pikaboost 2 eBike conversion of my Specialized gravel bike (the conversion works for most bikes and is NOT brand or model specific). My gravel bike cost me about $2000 five years ago, and I was not ready to stop using it after my heart operation.
First an aside, my long time blog readers know that I NEVER accept payment for product reviews. In addition, I always purchase any equipment or services mentioned / reviewed on this blog with my own money. Finally you will never experience a sponsored link, advertisement or pop-up on 365DaysOfBirds (i.e. this web site). This website is 100% non commercial.
Here is my Pikaboost 2 eBike Conversion Kit Review
At a high level Pikaboost 2 works well (I was a backer / purchaser of Pikaboost 1 via Kickstarter). Pikaboost 2 installs easily and is better than Pikaboost 1 with a few exceptions (reviewed in detail later). When the cost of Pikaboost 2 (about $400 as of June 1, 2025) is compared against a full eBike the capabilities provided by the conversion kit are impressive, but as noted I have some concerns (see below). Please note I also own a TREK Verve+ 3 eBike, which is able to easily tackle Duluth’s hills (my home town), but also costs $3,600. Thankfully I am able to afford that price.
Post Update on August 7, 2025
I learned two very important items during my test rides. 1. When upon turning on your Pikaboost 2 after reinsertion / charging of the battery pack, you may need to reselect your region (I needed to take this action). Otherwise it isnot possible to enable “cruise mode”. 2. When you try to select “cruise mode” for the first time before each ride, the Pikaboost App will ask you to activate / press and release your brakes. MAKE CERTAIN you wait for at least one second till after that message disappears from the Pikaboost 2 App’s screen or you will NEVER be able to activate / enable “cruise mode”. I would pump my brakes while the message was still on the App’s screen and nothing would happen. It was frustrating as I could not figure out why “cruise mode” was not availablel
End of Post Update
Full Pikaboost 2 Review (read my Pikaboost 1 Review much of which is still relevant)
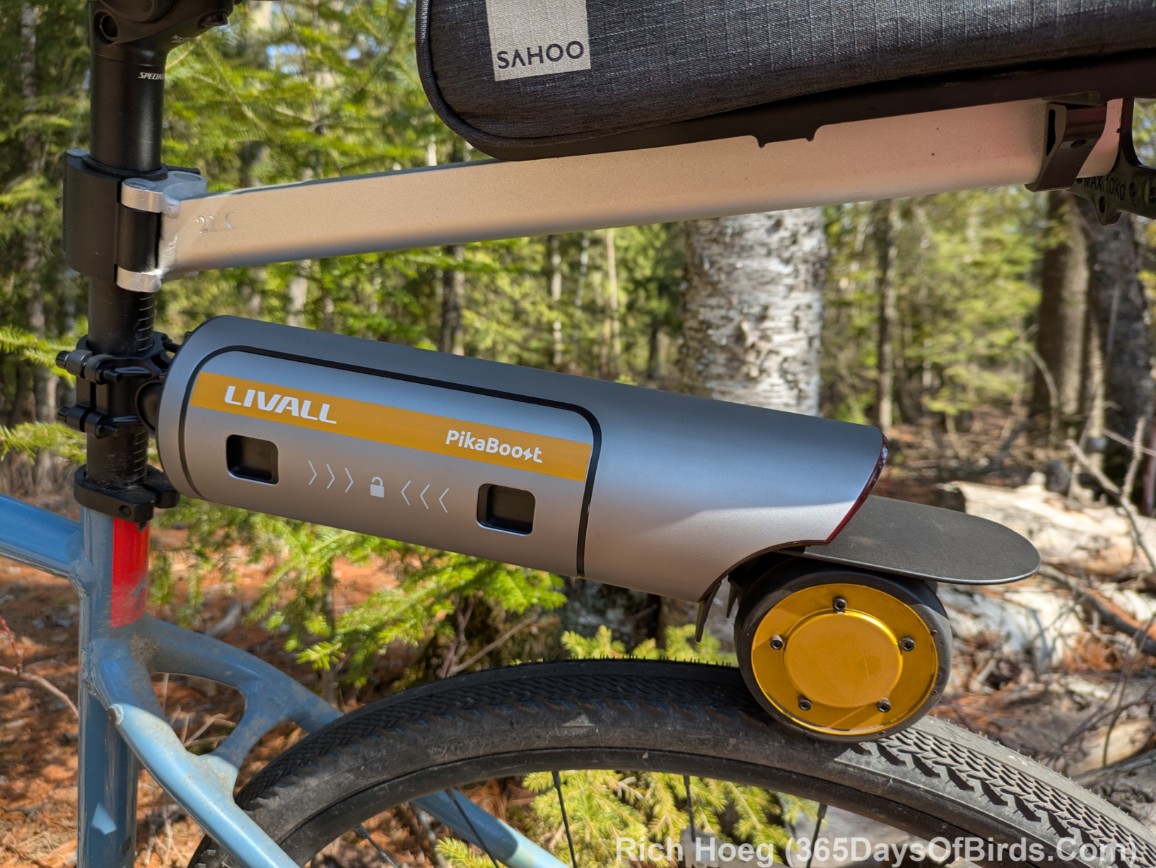
My Specialized bike with Pikaboost 2 installed
Close-Up of Pikaboost 2 (friction drive of the rear wheel)
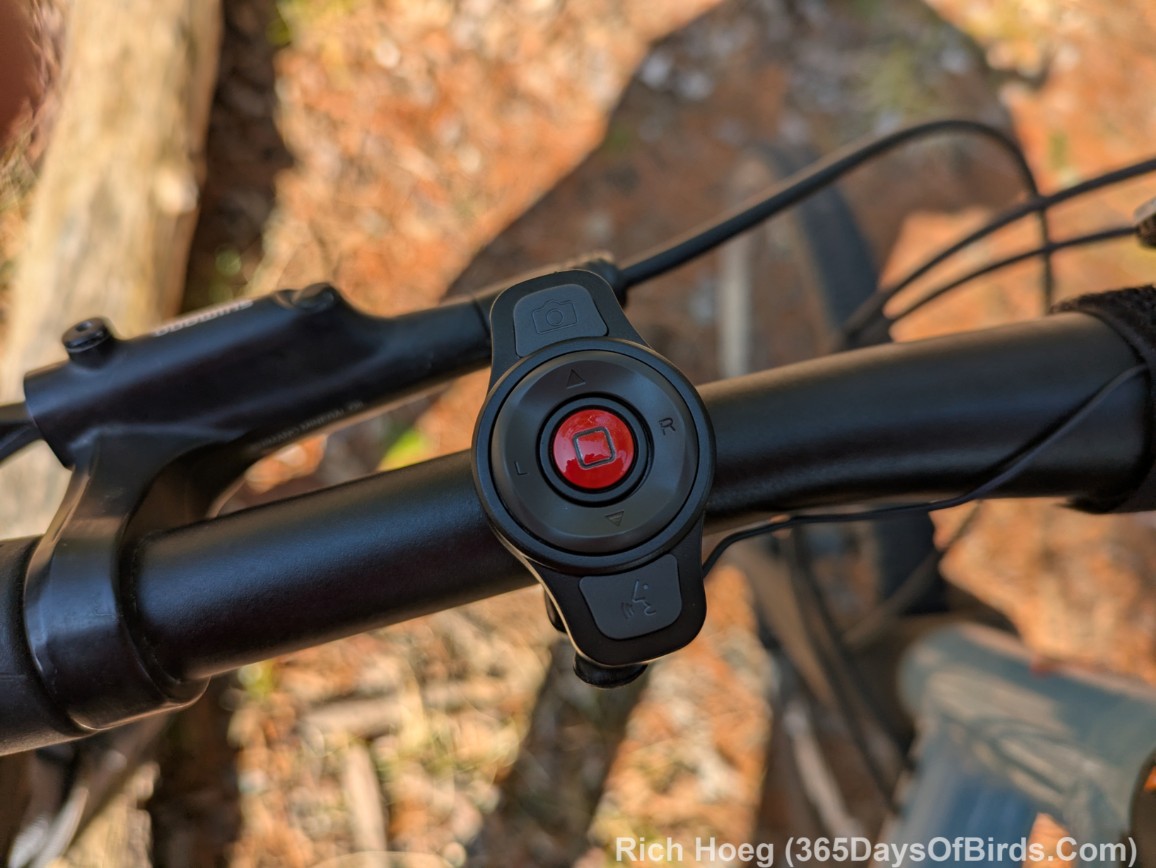
My bike’s handlebars, the Pikaboost Controller (Red Button) and my Jury Rig Brake Sensor Adaptation (Gold Bar with Duct Tape)
Install the drive unit to the rear seat post and tire (easy). Watch this short video from LIVALL, the manufacturer (video link for blog email subscribers).
Install the Controller (Red Button) and Brake Sensor. I had difficulties making the Controller’s brake sensor function properly. I had the same issue with Pikaboost 1. My Specialized Bike’s digital brake handles do not have enough “play” to activate the Controller. Without the Controller being activated, many features of the Pikaboost are not available. Read / see my jury rig solution immediately below this video. (Controller Installation video for blog email subscribers)
My Jury Rig Solution to the Brake Sensor Controller Activation Problem.
A few days ago I worked upon the controller installation, which provides the other eBike ride options. Although in theory the process is simple, my Specialized gravel bike’s Shimano brakes have little play (i.e. brakes are in good shape) and therefore I was not able to have the 2nd magnet on the brake move far enough away to make the Pikaboost controller activate / respond. I very much played around with distances, and confirmed the controller magnet and 2nd magnet worked fine in tandem. However when I squeezed my brake levers, the 2nd magnet mounted upon the brake lever did not move enough for the controller magnet “to take notice” of the change in distance.
I solved my problem with a trip to the hardware store. My solution for the controller magnet and 2nd magnet involved installing a “slider on my front handlebar”. Using heavy duty 2 sided tape squares I mounted a surface bolt upon my handlebar upon which I attached the 2nd magnet. This installation allowed me to increased the distance between the two magnets enough for the controller to activate. The controller now works perfectly. Actually, I only have to slide the surface bolt at the beginning and end of my ride because I use the embedded Pikaboost controller process which allows for a single tap upon the controller to toggle between whatever drive mode is active and standby mode (i.e. Pikaboost goes inactive). While having the 2nd magnet on the brake would be optimal, given I bicycle in a rural area using the “tap the controller” process and then pedaling using the pre-selected biking mode works fine. In heavy traffic this might not be a good solution.
Remember, although I provided the Pikaboost 2 Controller Installation Video, I was NOT able to get my 2 magnets to work in the desired manner. My installation is detailed after this video.
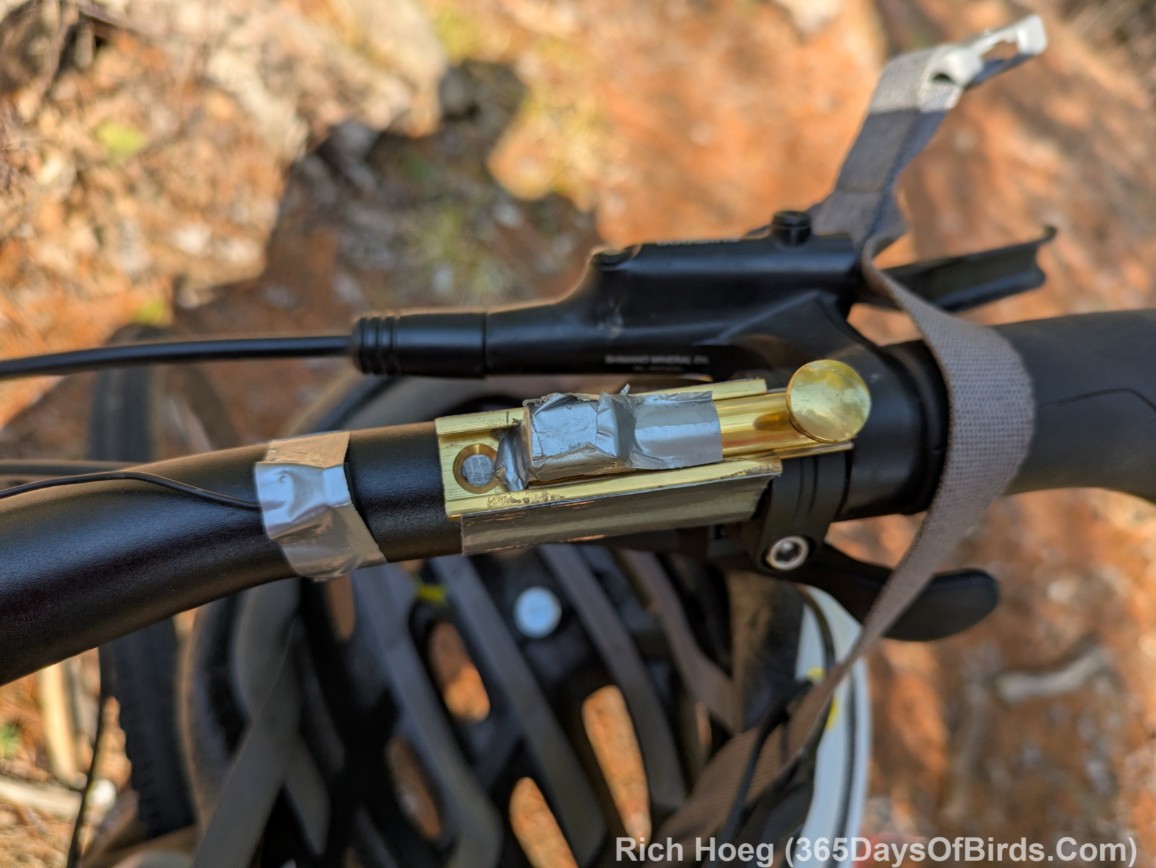
Here are my Installation Images for the Controller and 2 Magnets. These images are from my Pikaboost 1 Review, but my installation on Pikaboost 2 is 100% identical.
Remember … I use “tap the controller” to switch between ride modes and standby. I do NOT slide the “surface bolt” during my rides. The “controller” is the small round device that is yellow and black. The two magnets are black. By installing the Controller I activated/obtained the additional ride modes and features. Duct tape has been used to insure my magnets are secure.
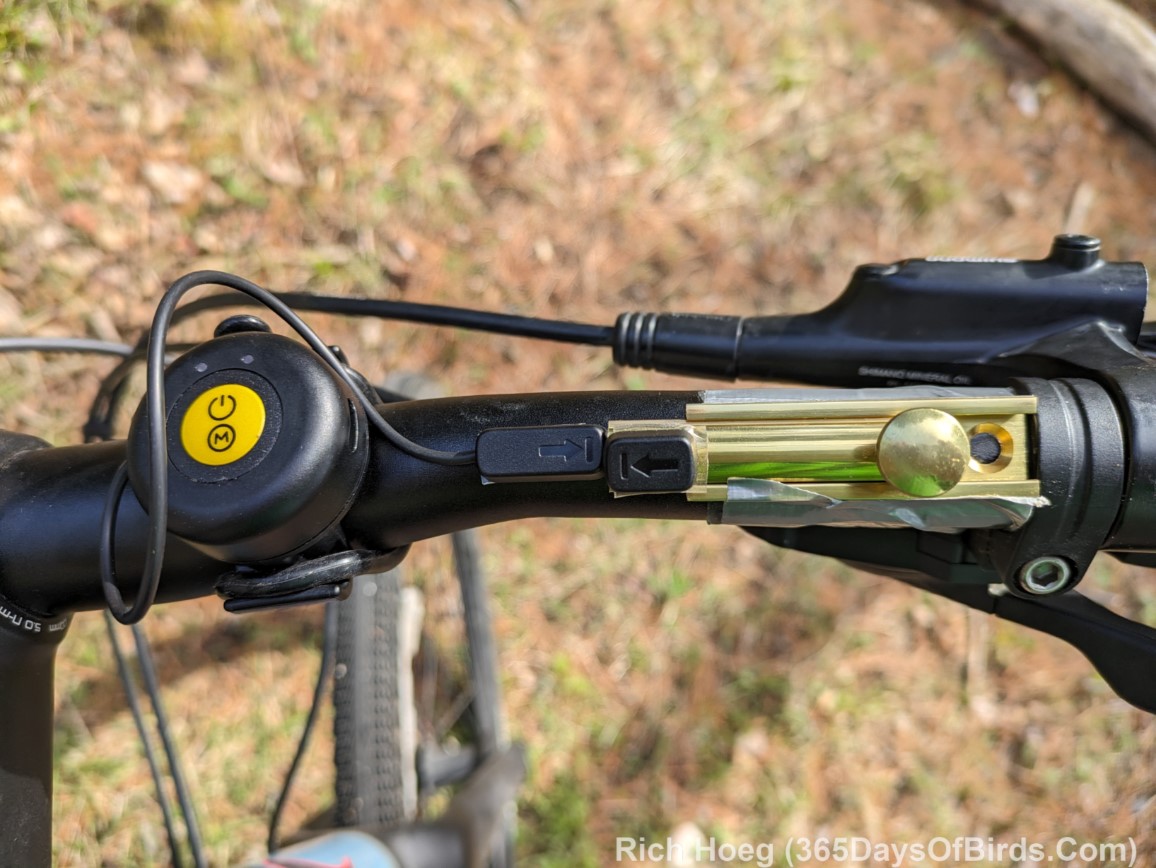
Ready for a Ride (Bolt and 2nd Magnet slid to the left)
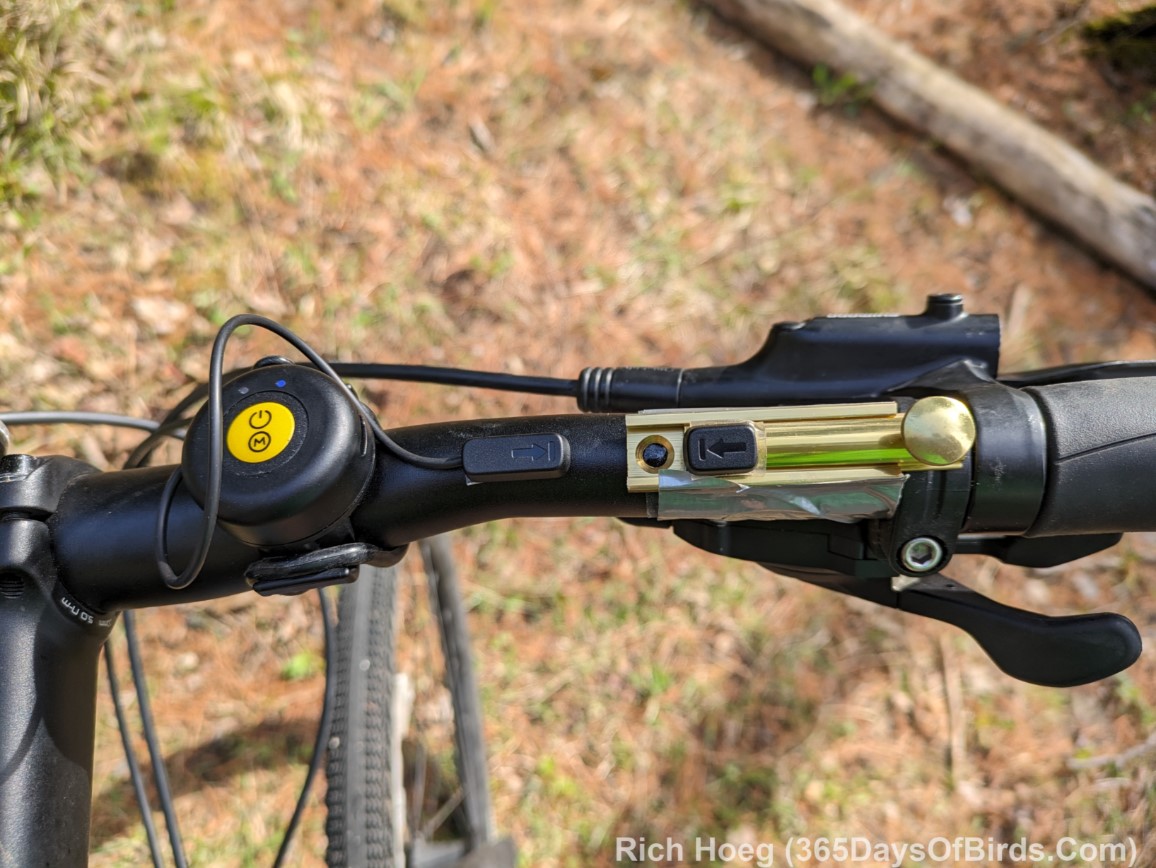
Pikaboost Disabled (Bolt and 2nd Magnet slid to the right)
My Hardware Store Purchases
Assuming you’ve read this far, you would probably like some product links. I provide the Amazon link for your convenience. It is NOT a sponsored link.
Okay … what works and what doesn’t on Pikaboost 2? Remember, you may find it useful to read my Pikaboost 1 Review. For my final synopsis I am going to use the closing statements from my first review.
Here are the words from my Pikaboost 1 Final Synopsis Review in Red with inserted Pikaboost 2 comments in <boldedblack>.
Control via the app was set to slow speed, but hill sensitivity was set to high. I expected my test to fail, but it was a roaring success. The combination of Pikaboost and my pedaling accomplished the 630 foot climb.<Pikaboost 2 has thoroughly updated their Controller App. Cruise Mode is NO LONGER configurable via the App. There is only one Cruise Mode setting which did NOT work for my steep hills. While one may control the Cruise Mode via a small button on the controller, or increasing / decreasing your pedaling speed this is useless for two reasons on hills: 1. Have you ever tried to spin your pedals faster and faster to increase speed on a steep hill? This 69 year old gent is already using the granny gear. Thus, I am not able to activate the increased power of Cruise Mode via pedaling (works find on the flat … increasing pedal speed). 2. Pushing a small button on a small controller is not practical. When I tried to press the “+” key on the controller, I invariably missed only hitting that key and the controller thought I was trying to move to “standbye” (i.e. no power … a non desired mode while climbing a hill)>
Cruise worked much better than Eco for the big climb. Lival had recommended Eco, but I disagree based upon my ride. <Pikaboost 2 … I still find ECO MODE useless, but the Assitance Mode has been greatly enhanced and works VERY well. Make certainly you configure Assistance Mode via the App to Powerful. Whereas Assistance Mode did not actually provide much help with Pikaboost 1, it works very well in Pikaboost 2. The assistance level increases directly proportional to your pedaling efforts, but does NOT fall off immediately if I skip pushing my pedals for a short distance. I really like this mode now. I tend to press the main Red Controller button once (easy to do) when I will be coasting downhill and I want to use Standby Mode. I press the Controller Button once more at the bottom of the hill and I am back to Assitance Mode.
I created my own controller attachment for the magnets because my Shimano brakes did not have enough play (i.e. are too tight and move too little to have the magnet register via the controller) <Identical issue in Piakboost 2 and my bike>
Tapping the controller puts Pikaboost into standby mode. This works well for me in a very rural area, but maybe not for people in heavy traffic areas. This assumes a person is has to use a controller magnet workaround similar to me.<Identical issue in Piakboost 2. I still bike in a rural area>
In closing, in case you missed my link to the Pikaboost 2 Manual, I suggest you download the manual (PDF Link)! (if issues, try this download link). Ask questions about Pikaboost 2 in the Comments. I will try to answer promptly.