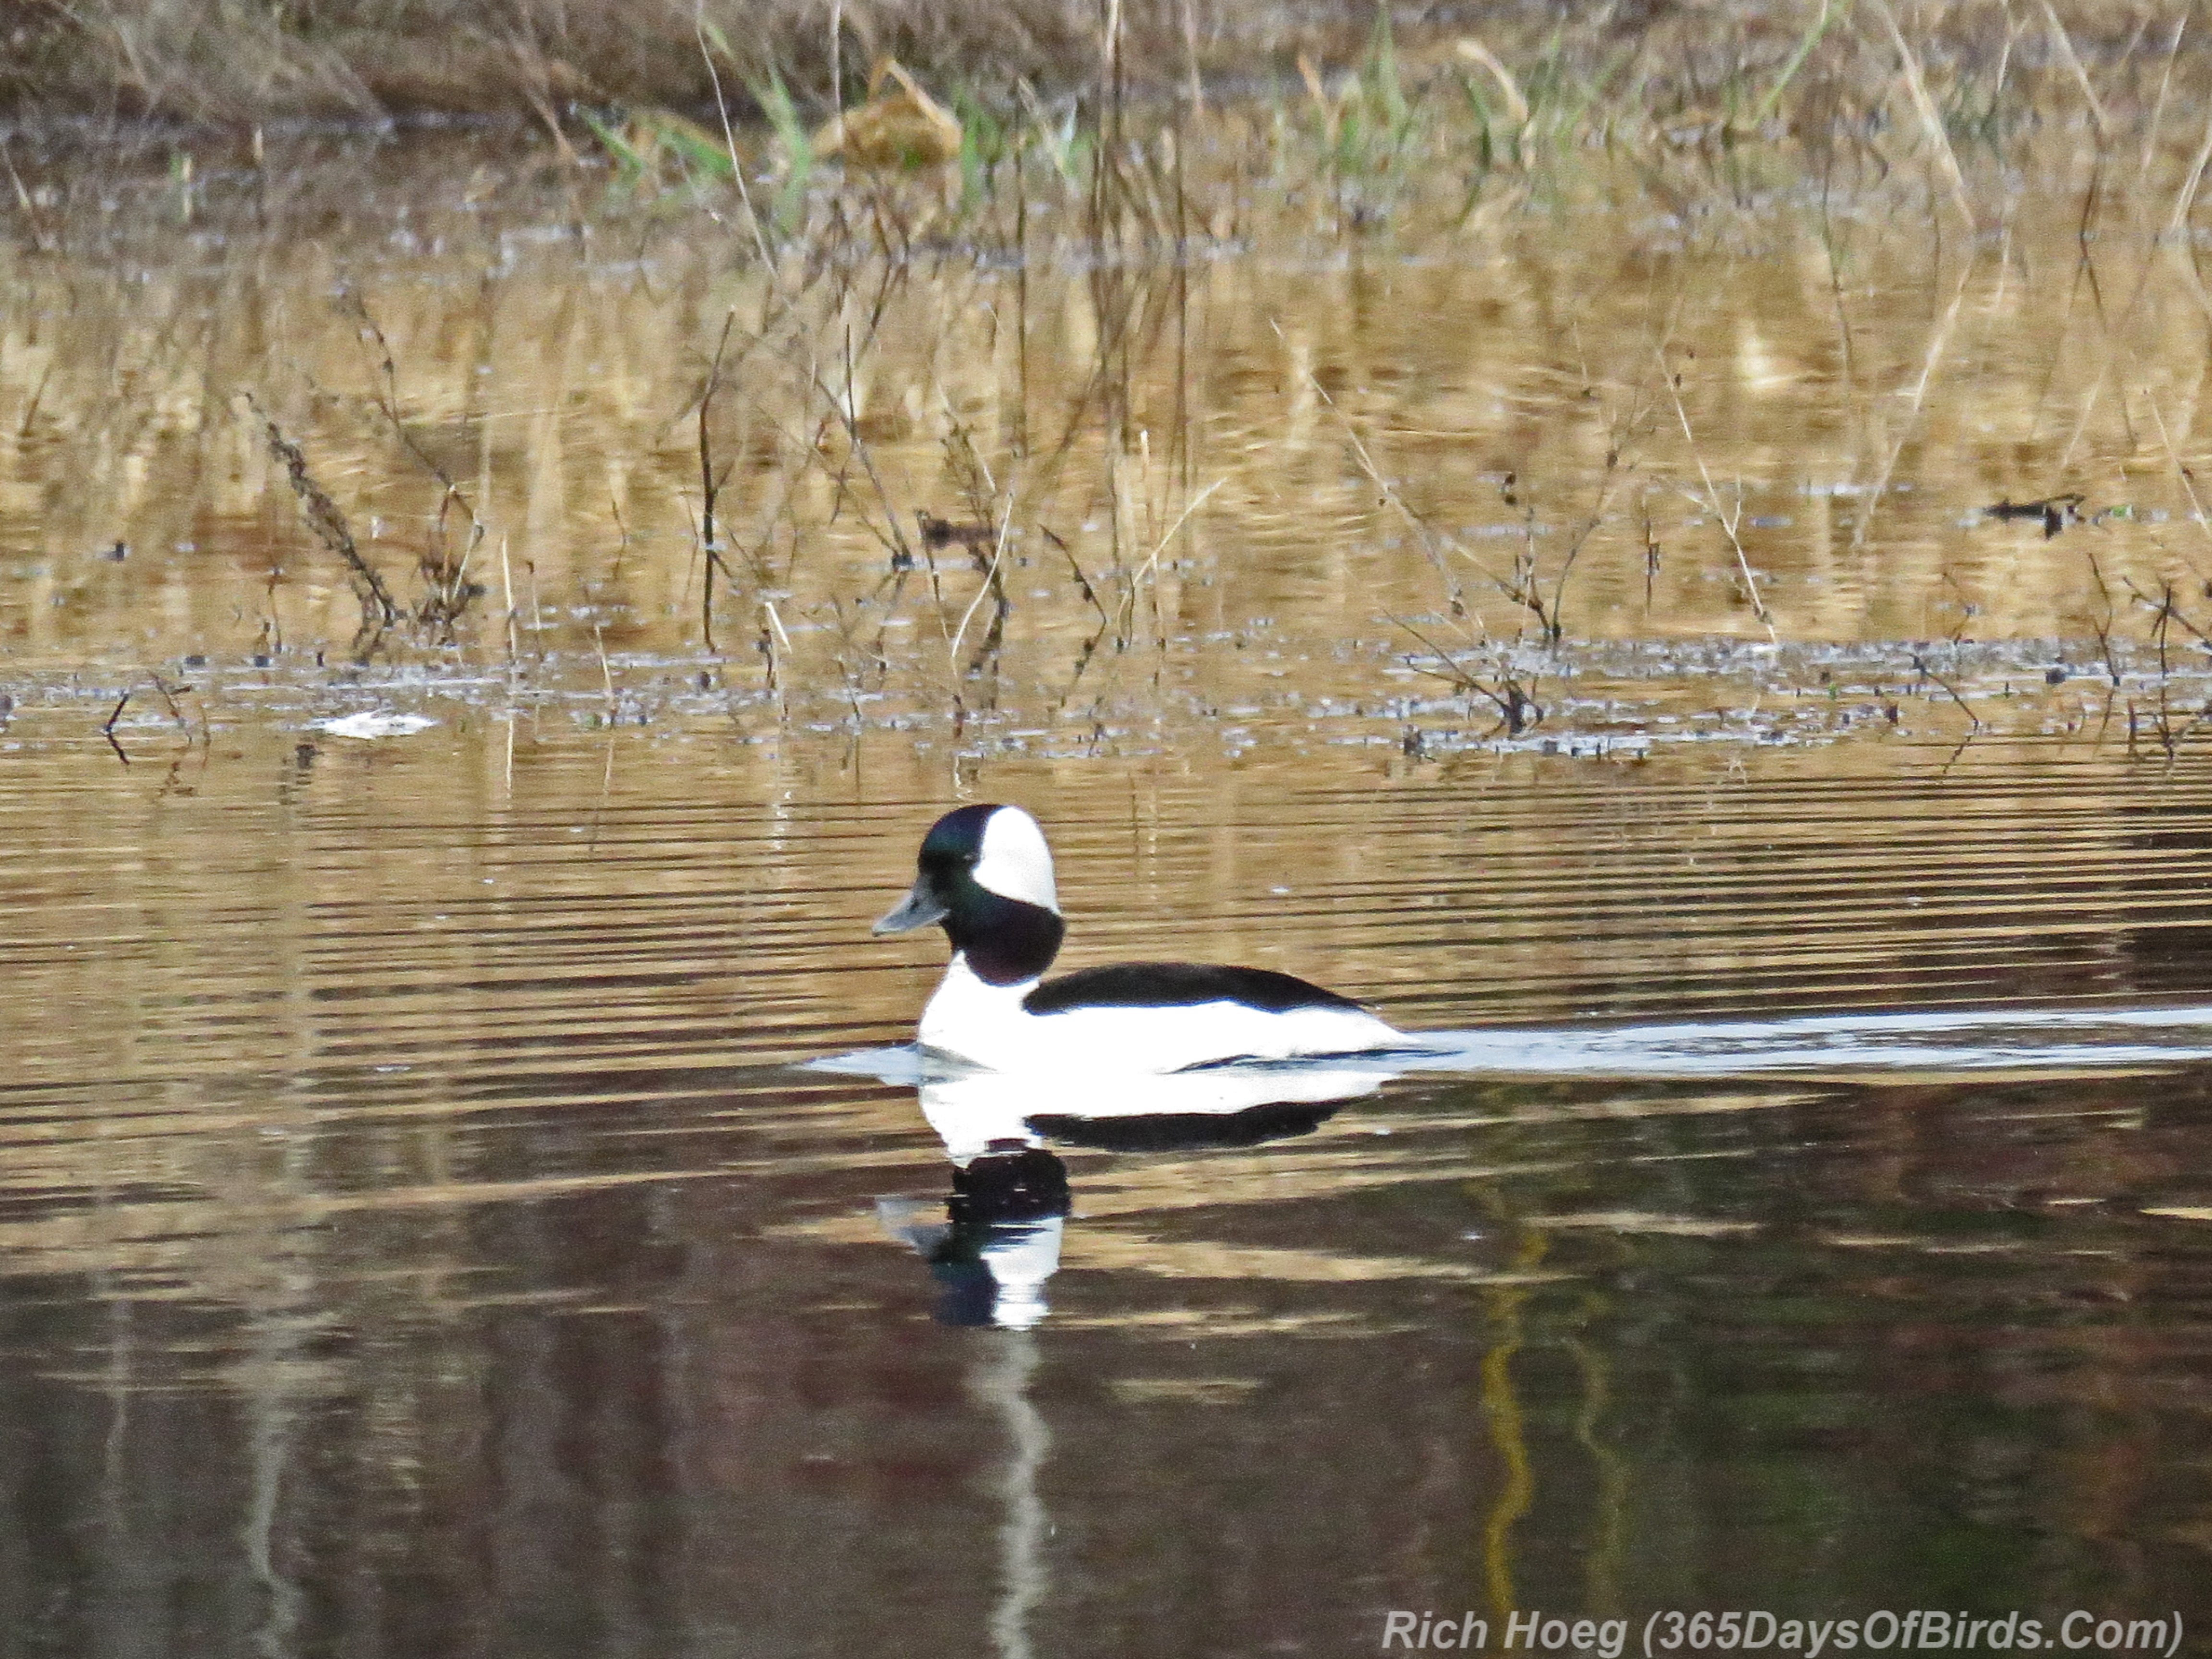
Over the past few months many friends have asked me what camera I use for taking my wildlife photographs. The answer, although not expected, is I do NOT own an expensive DSLR with an even more costly ($8,000+) zoom lens. Instead I own a Canon SX60 Super Zoom Bridge Camera (Amazon link, read reviews for opinions other than my own).
On December 17, 2018 I purchased a Canon SX70. See my review of that camera.
 Follow me, Rich Hoeg, on Instagram.
The optical zoom on this camera is 65x which computes to a 1365 mm lens equivalent. The rest of this post will review how I take and post process images. This information is relevant for super zoom bridge cameras made by other manufacturers (Sony, Nikon, Panasonic, etc), in addition to the Canon SX60. While anyone would love to have an expensive DSLR and lenses, the difference between investments is HUGE. My Canon now lists on Amazon on the date of this post for about $450. If you are willing to step down one current model for any manufacturer, super zoom / bridge cameras may often be found for much less money. Research the differences between the most current two models for a given manufacturer. Sometimes the upgrades in the latest model may not yield an increase in photographic image quality. If the new features are ones you can live without, purchase the older model!
Remember, as with any camera, good photographs are the direct result of the person behind the camera. If you do NOT know how to utilize the intricacies, and understand the strengths and weaknesses of your own camera, it is unlikely you will consistently take good photos. Get off your camera’s AUTO setting and take lots of photographs. Through failure one learns and ultimately succeeds!
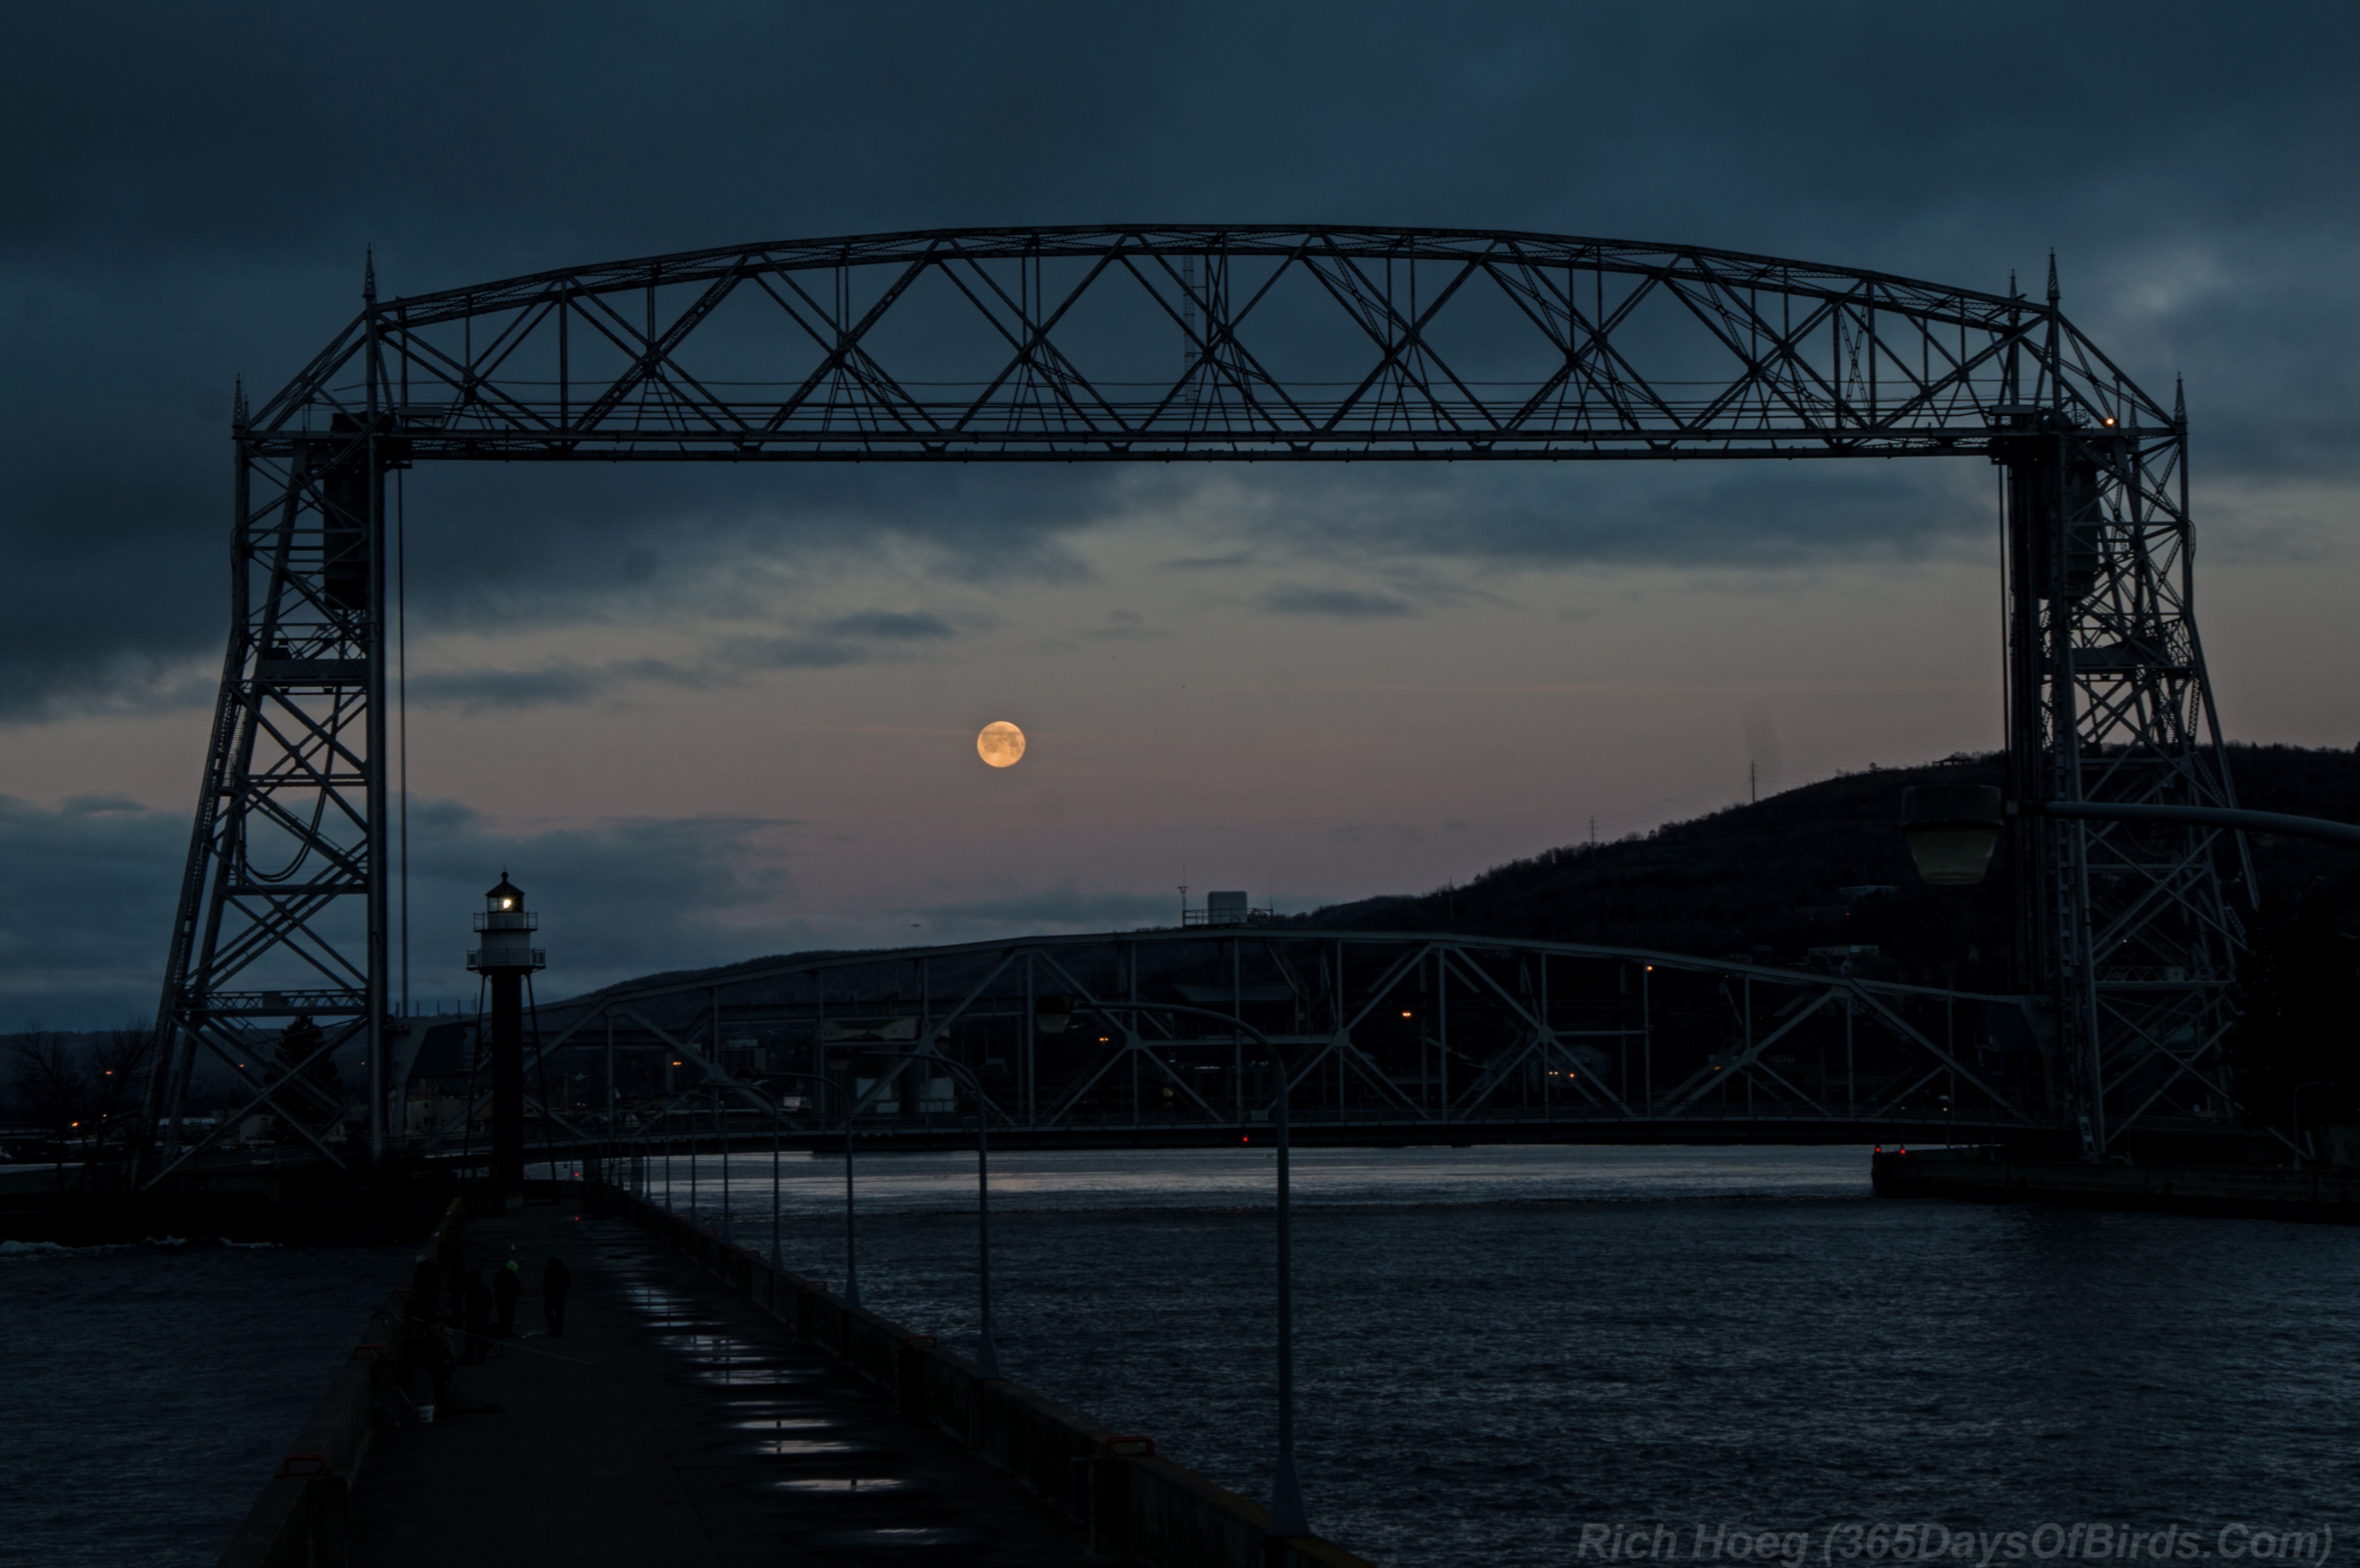
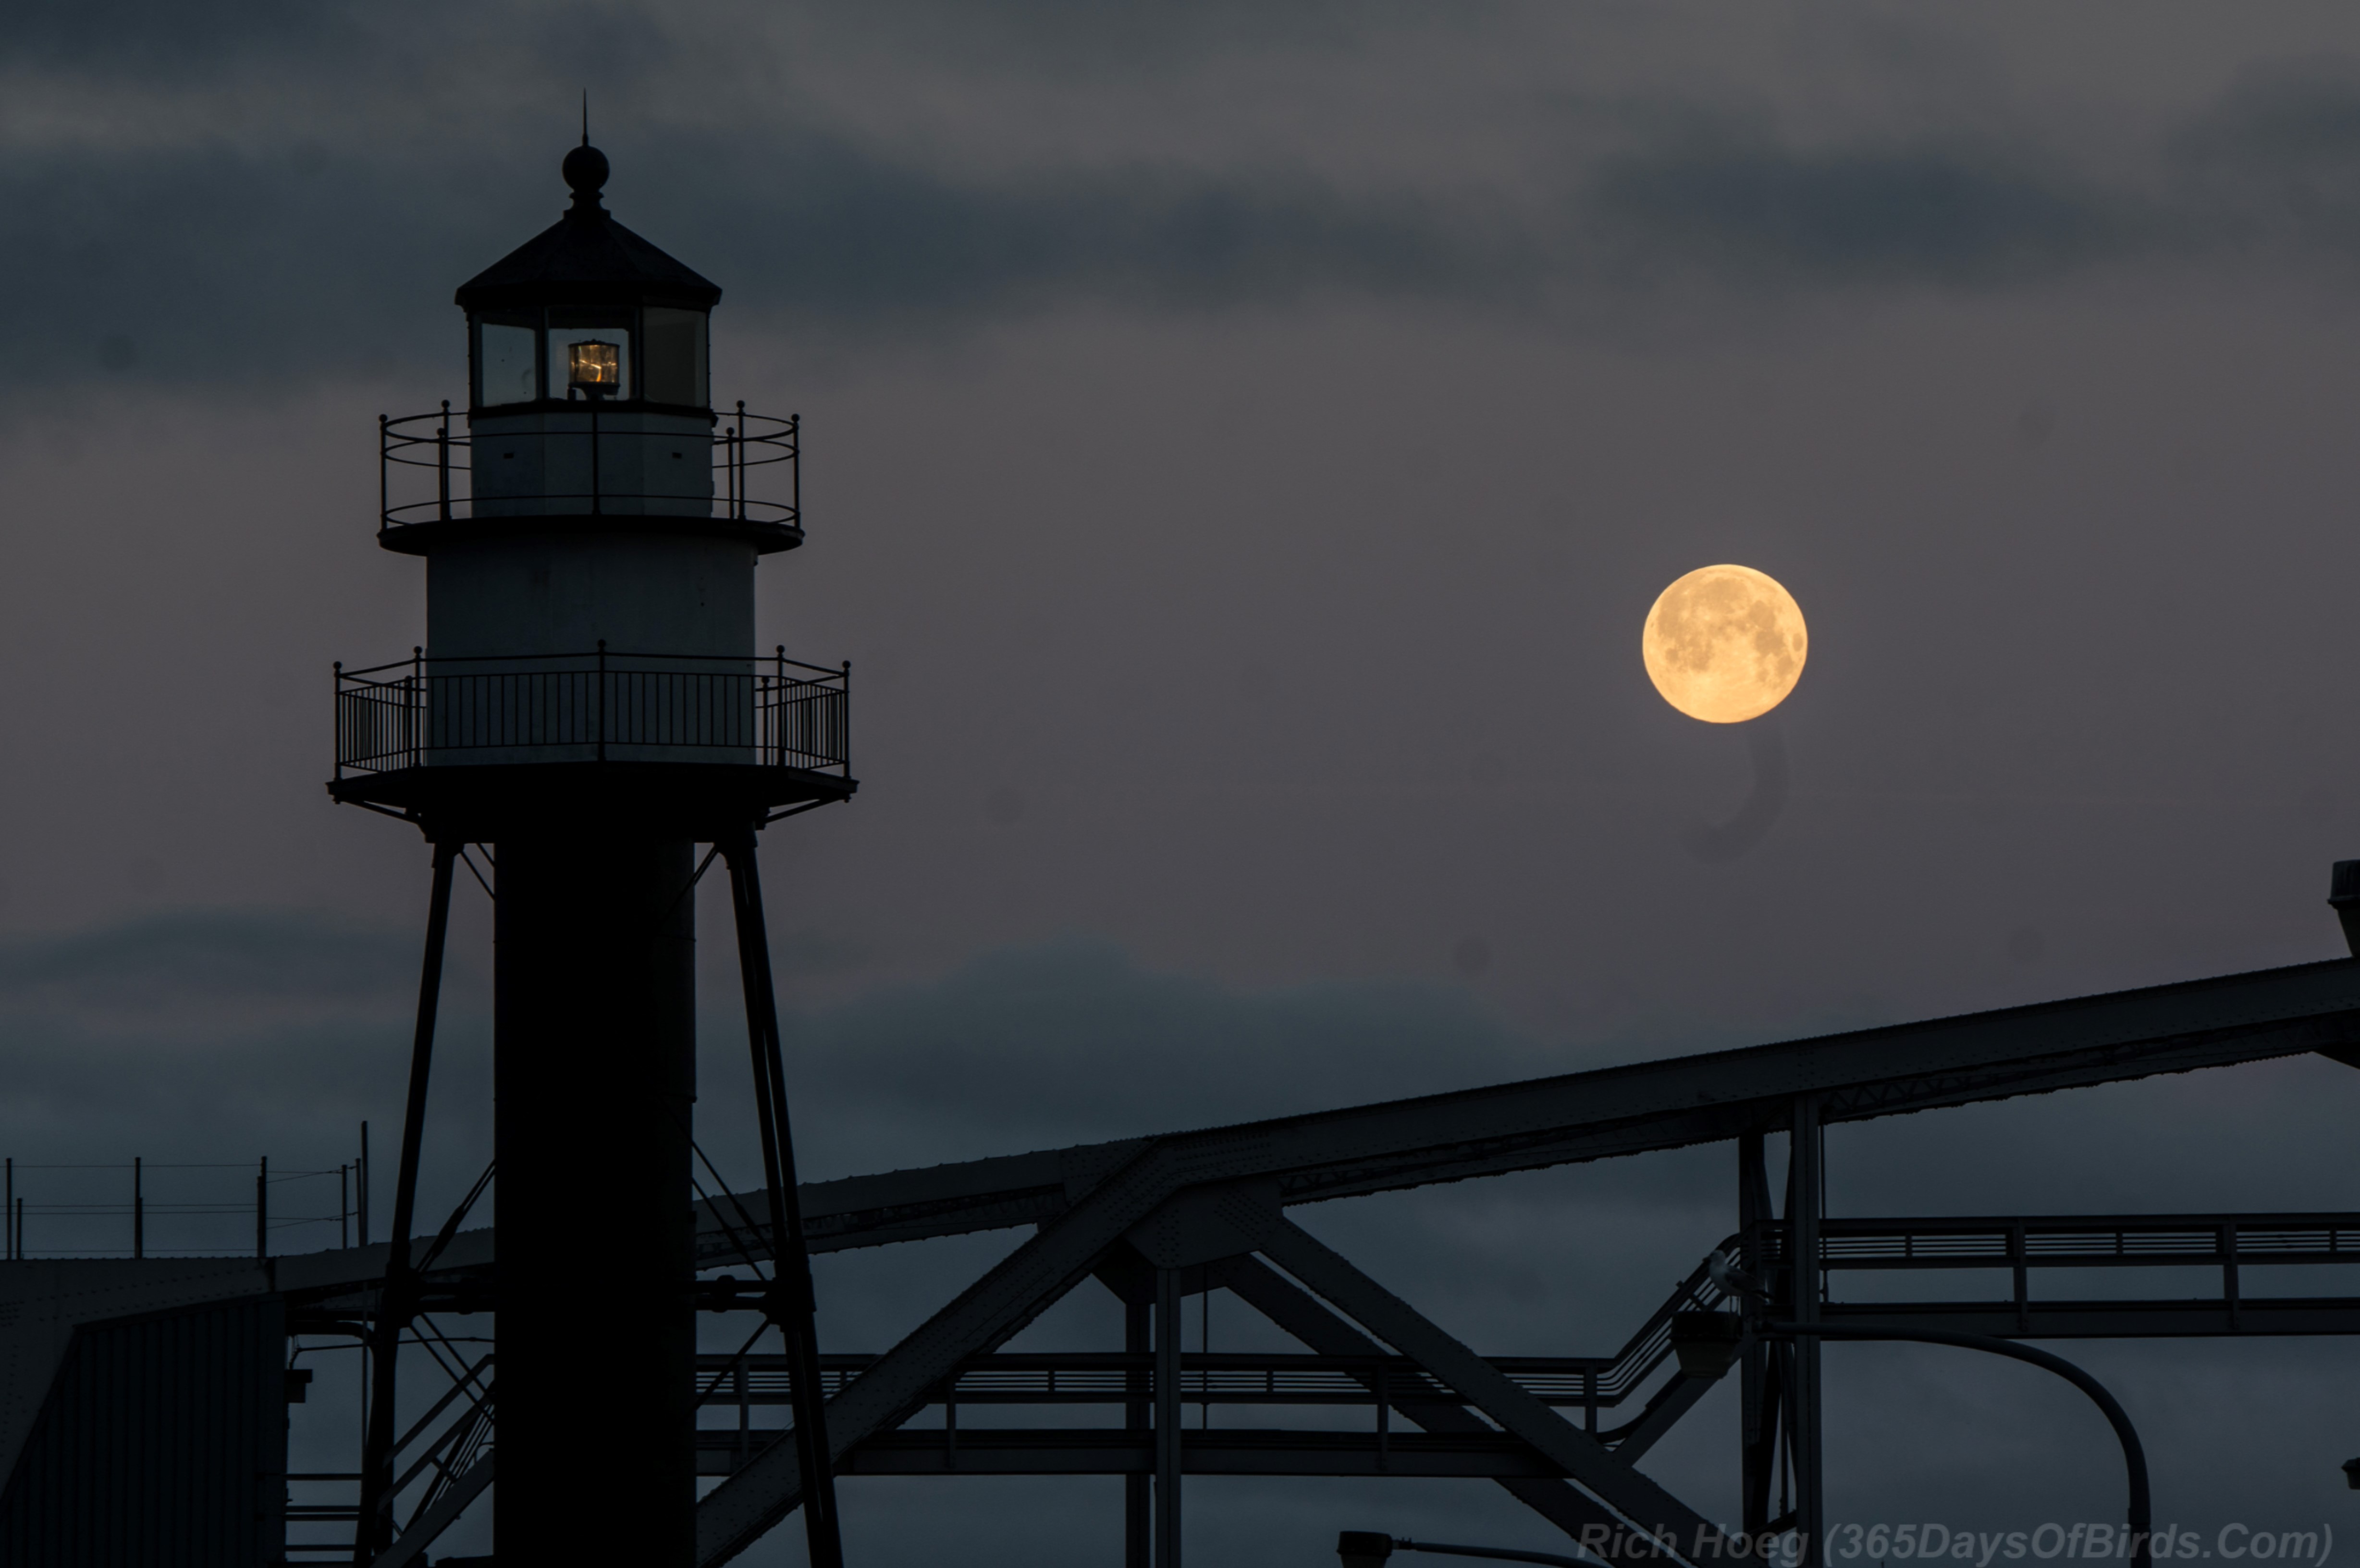
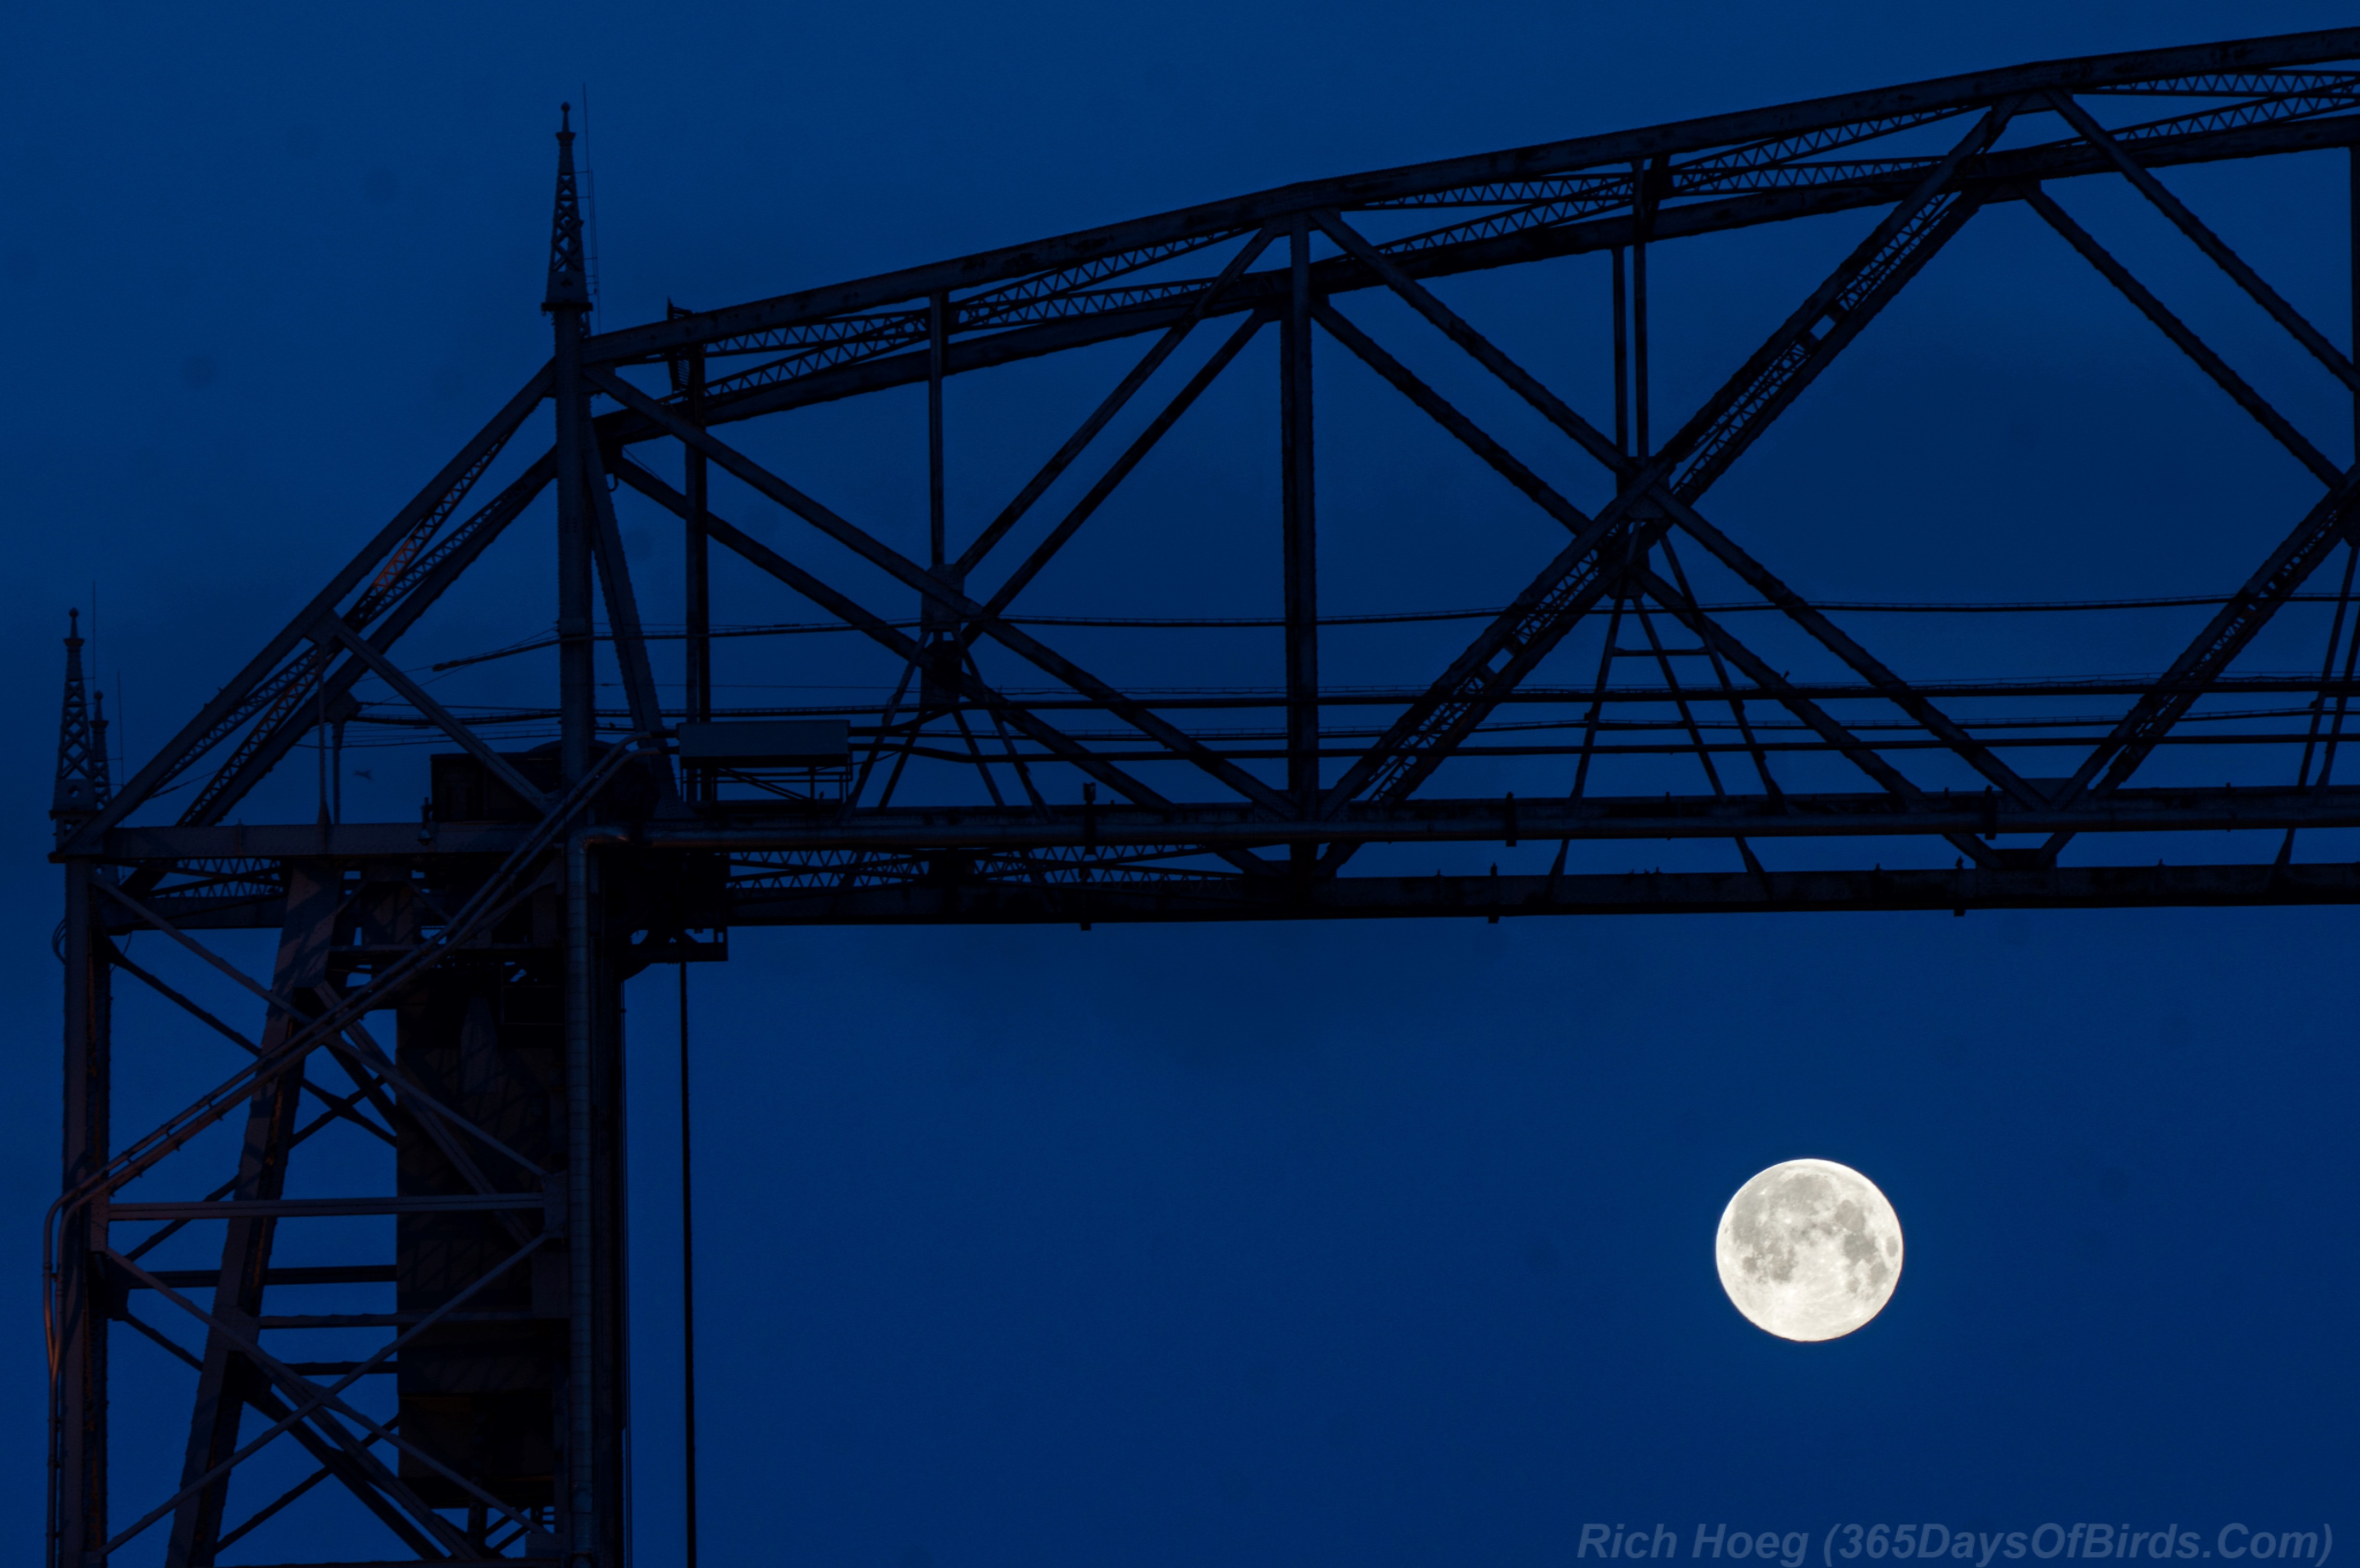
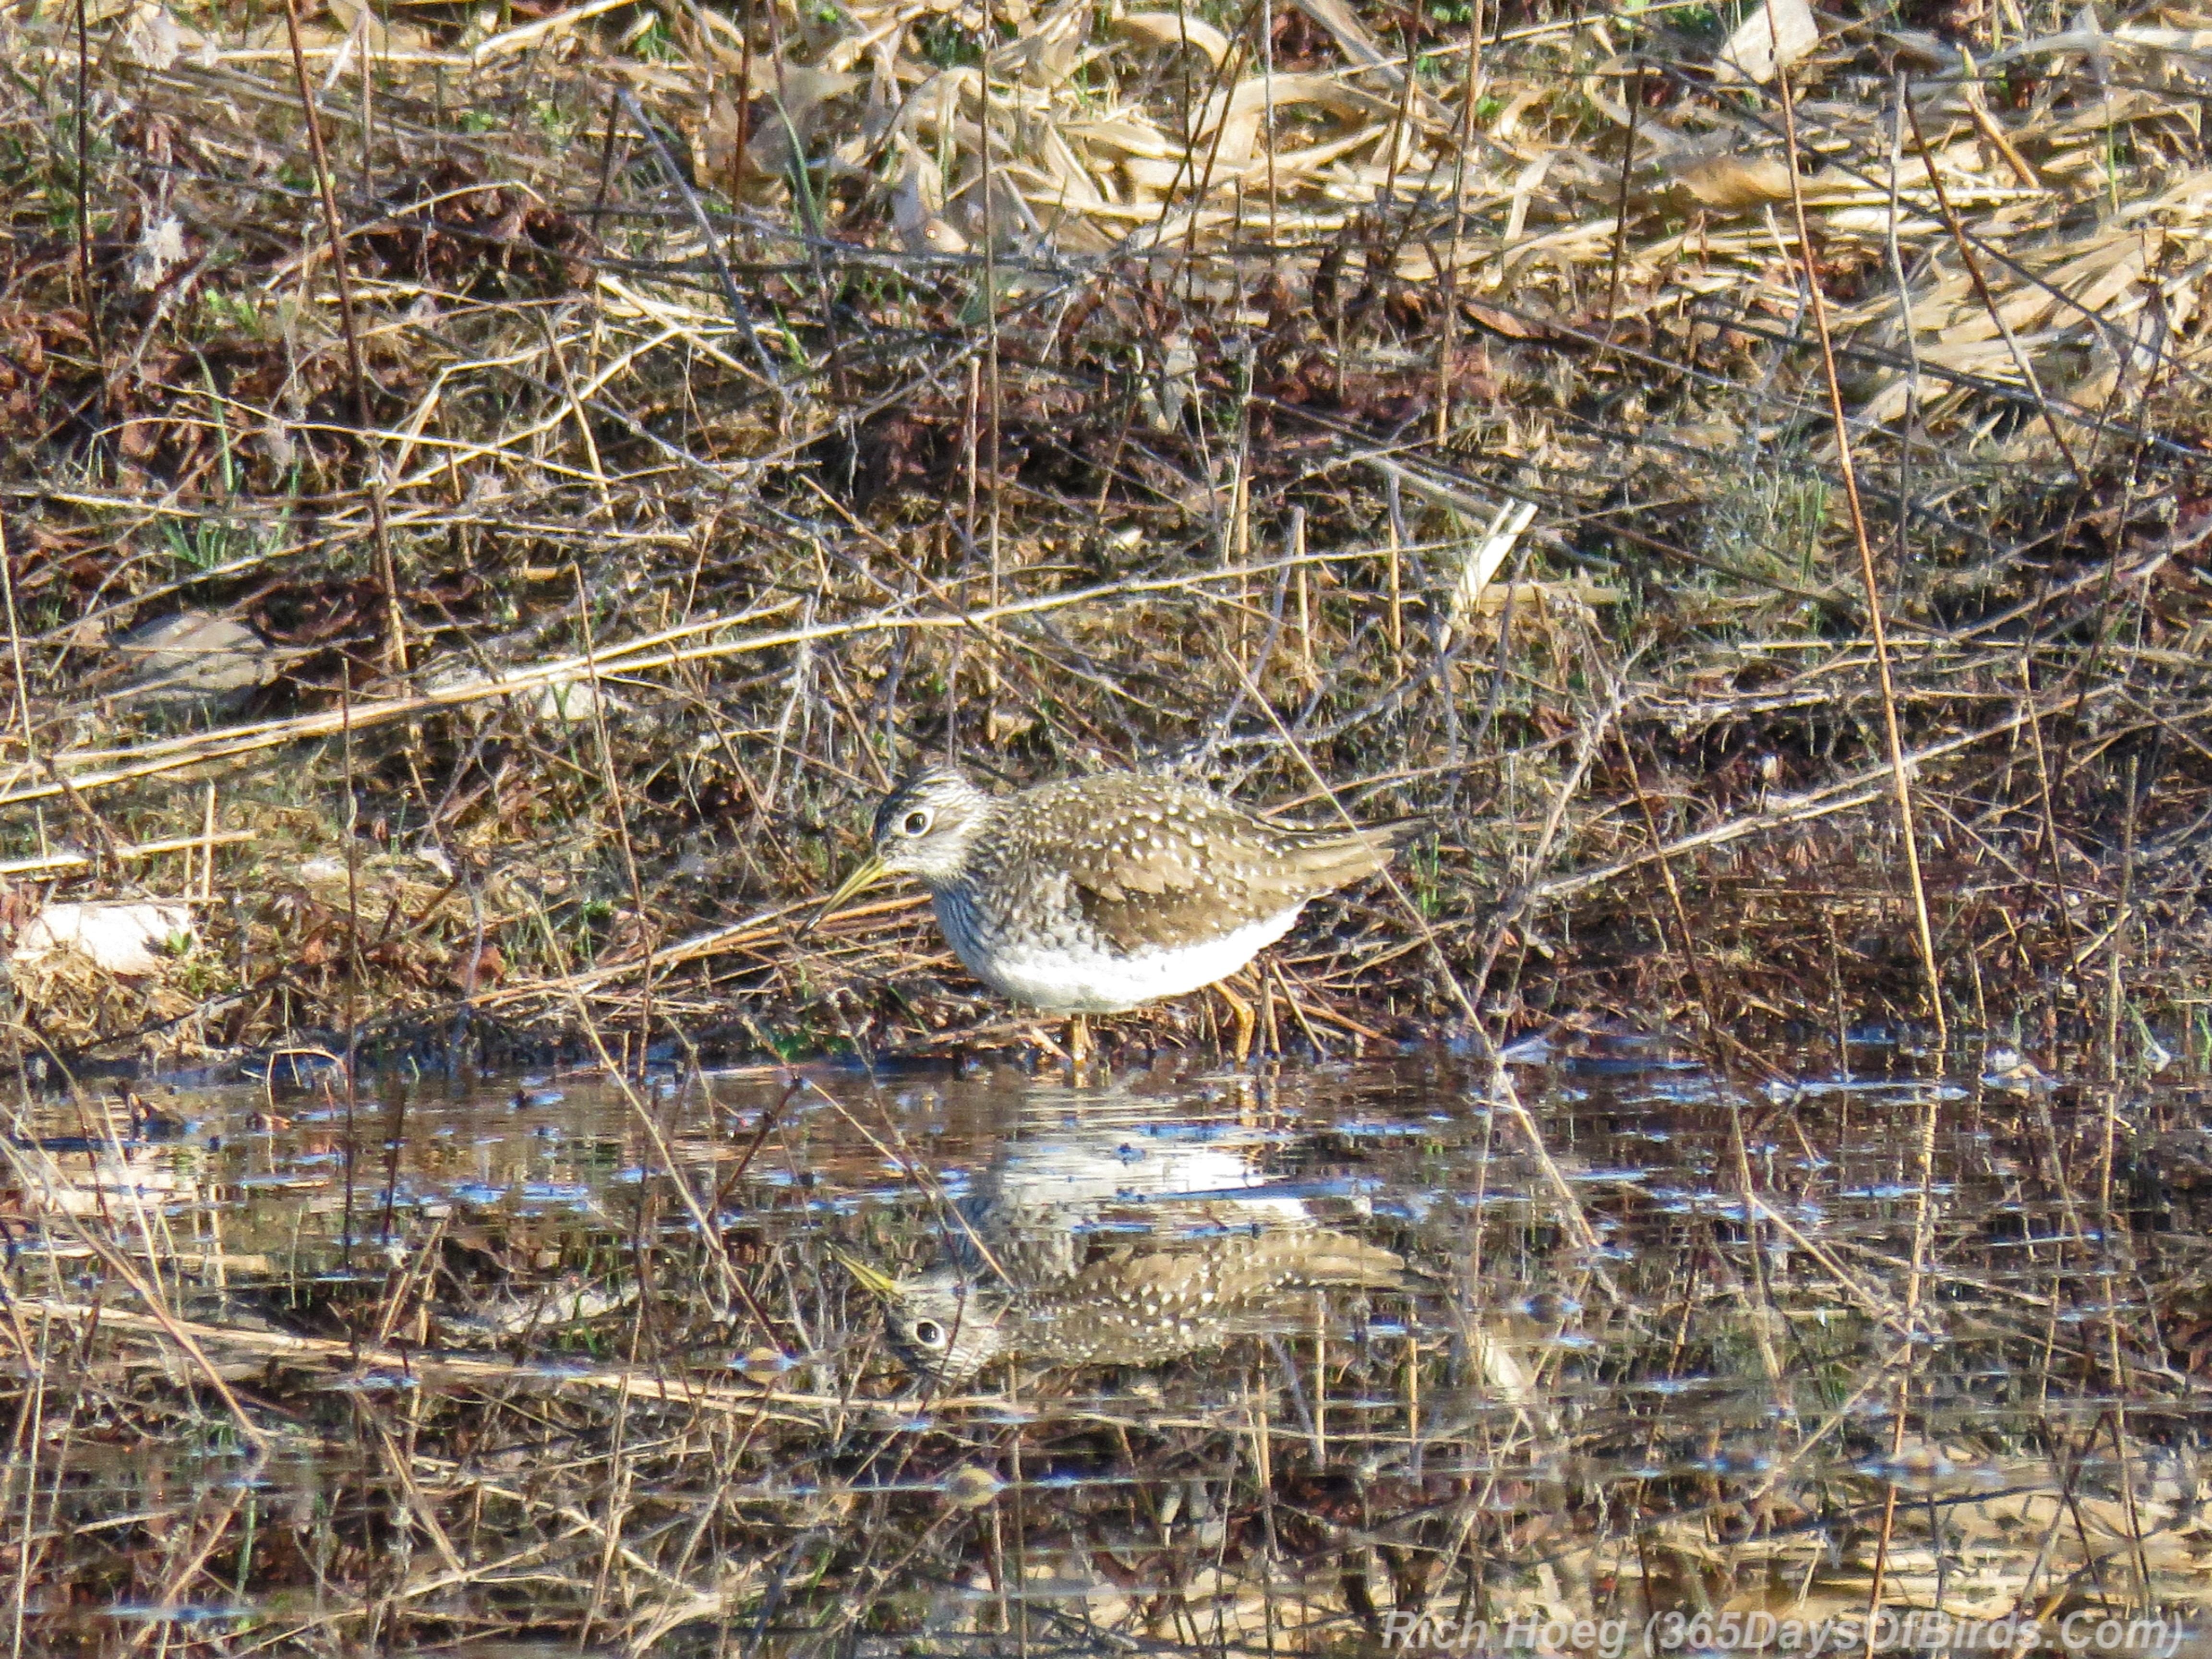
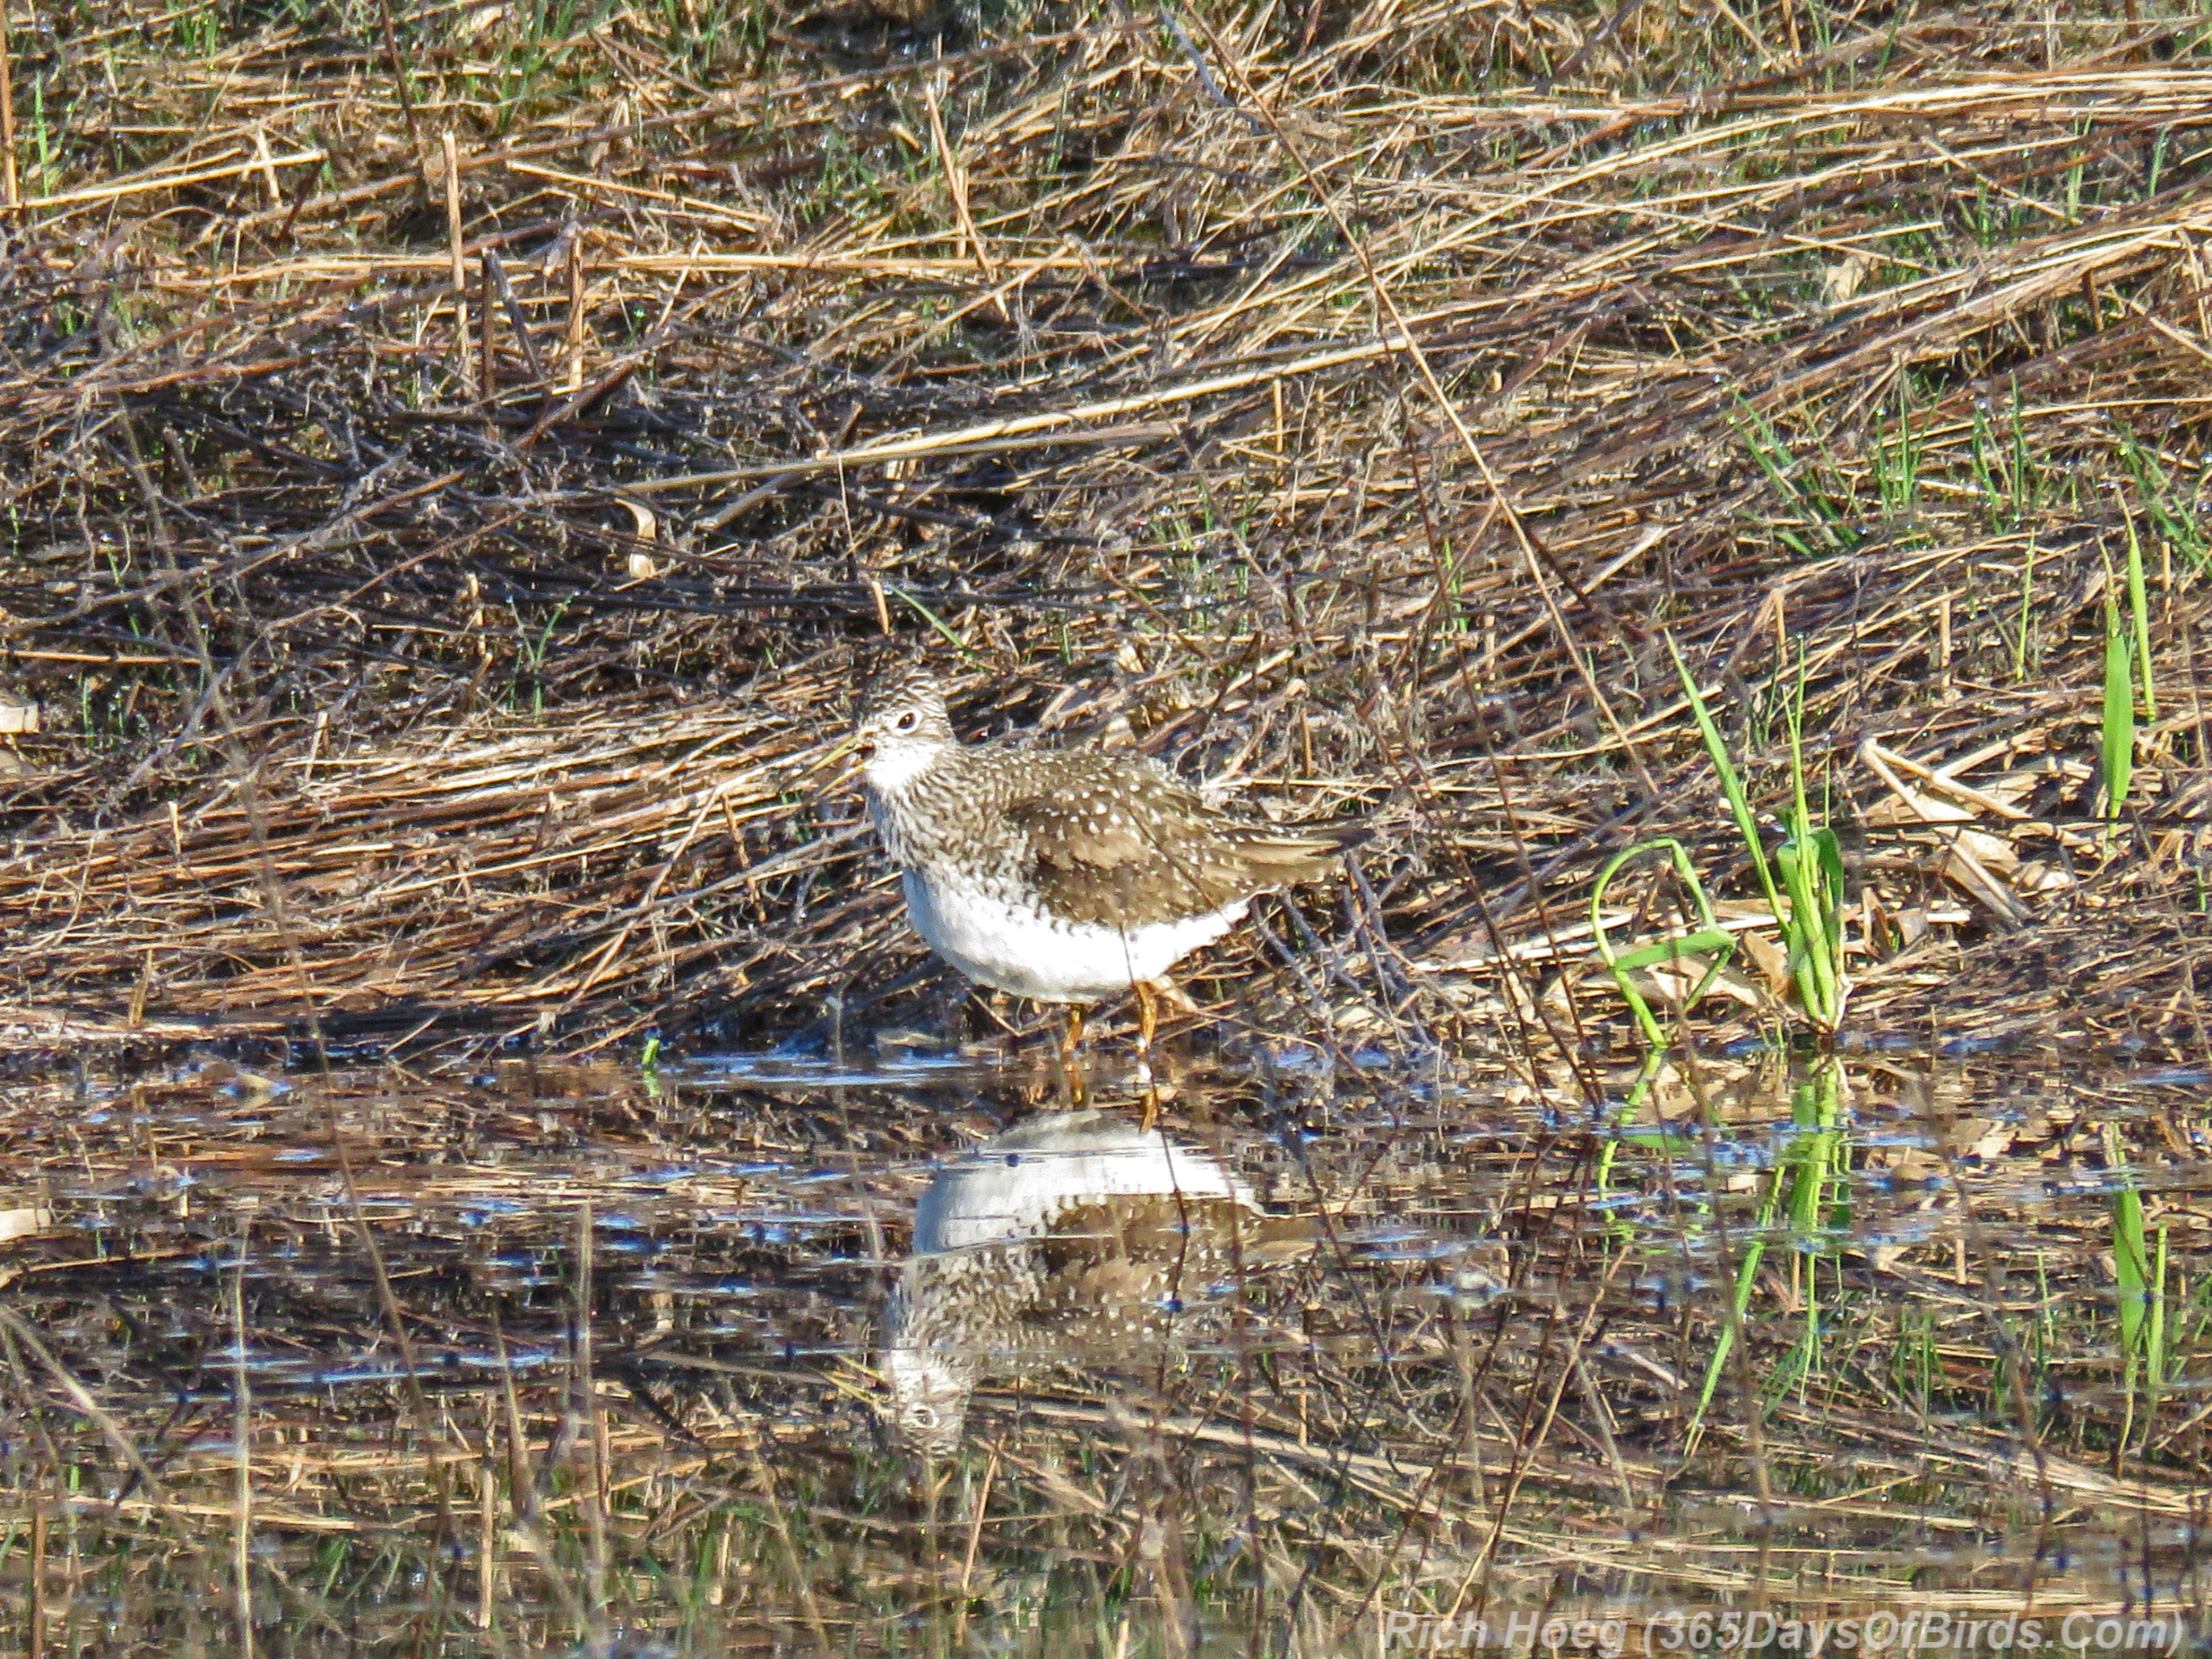
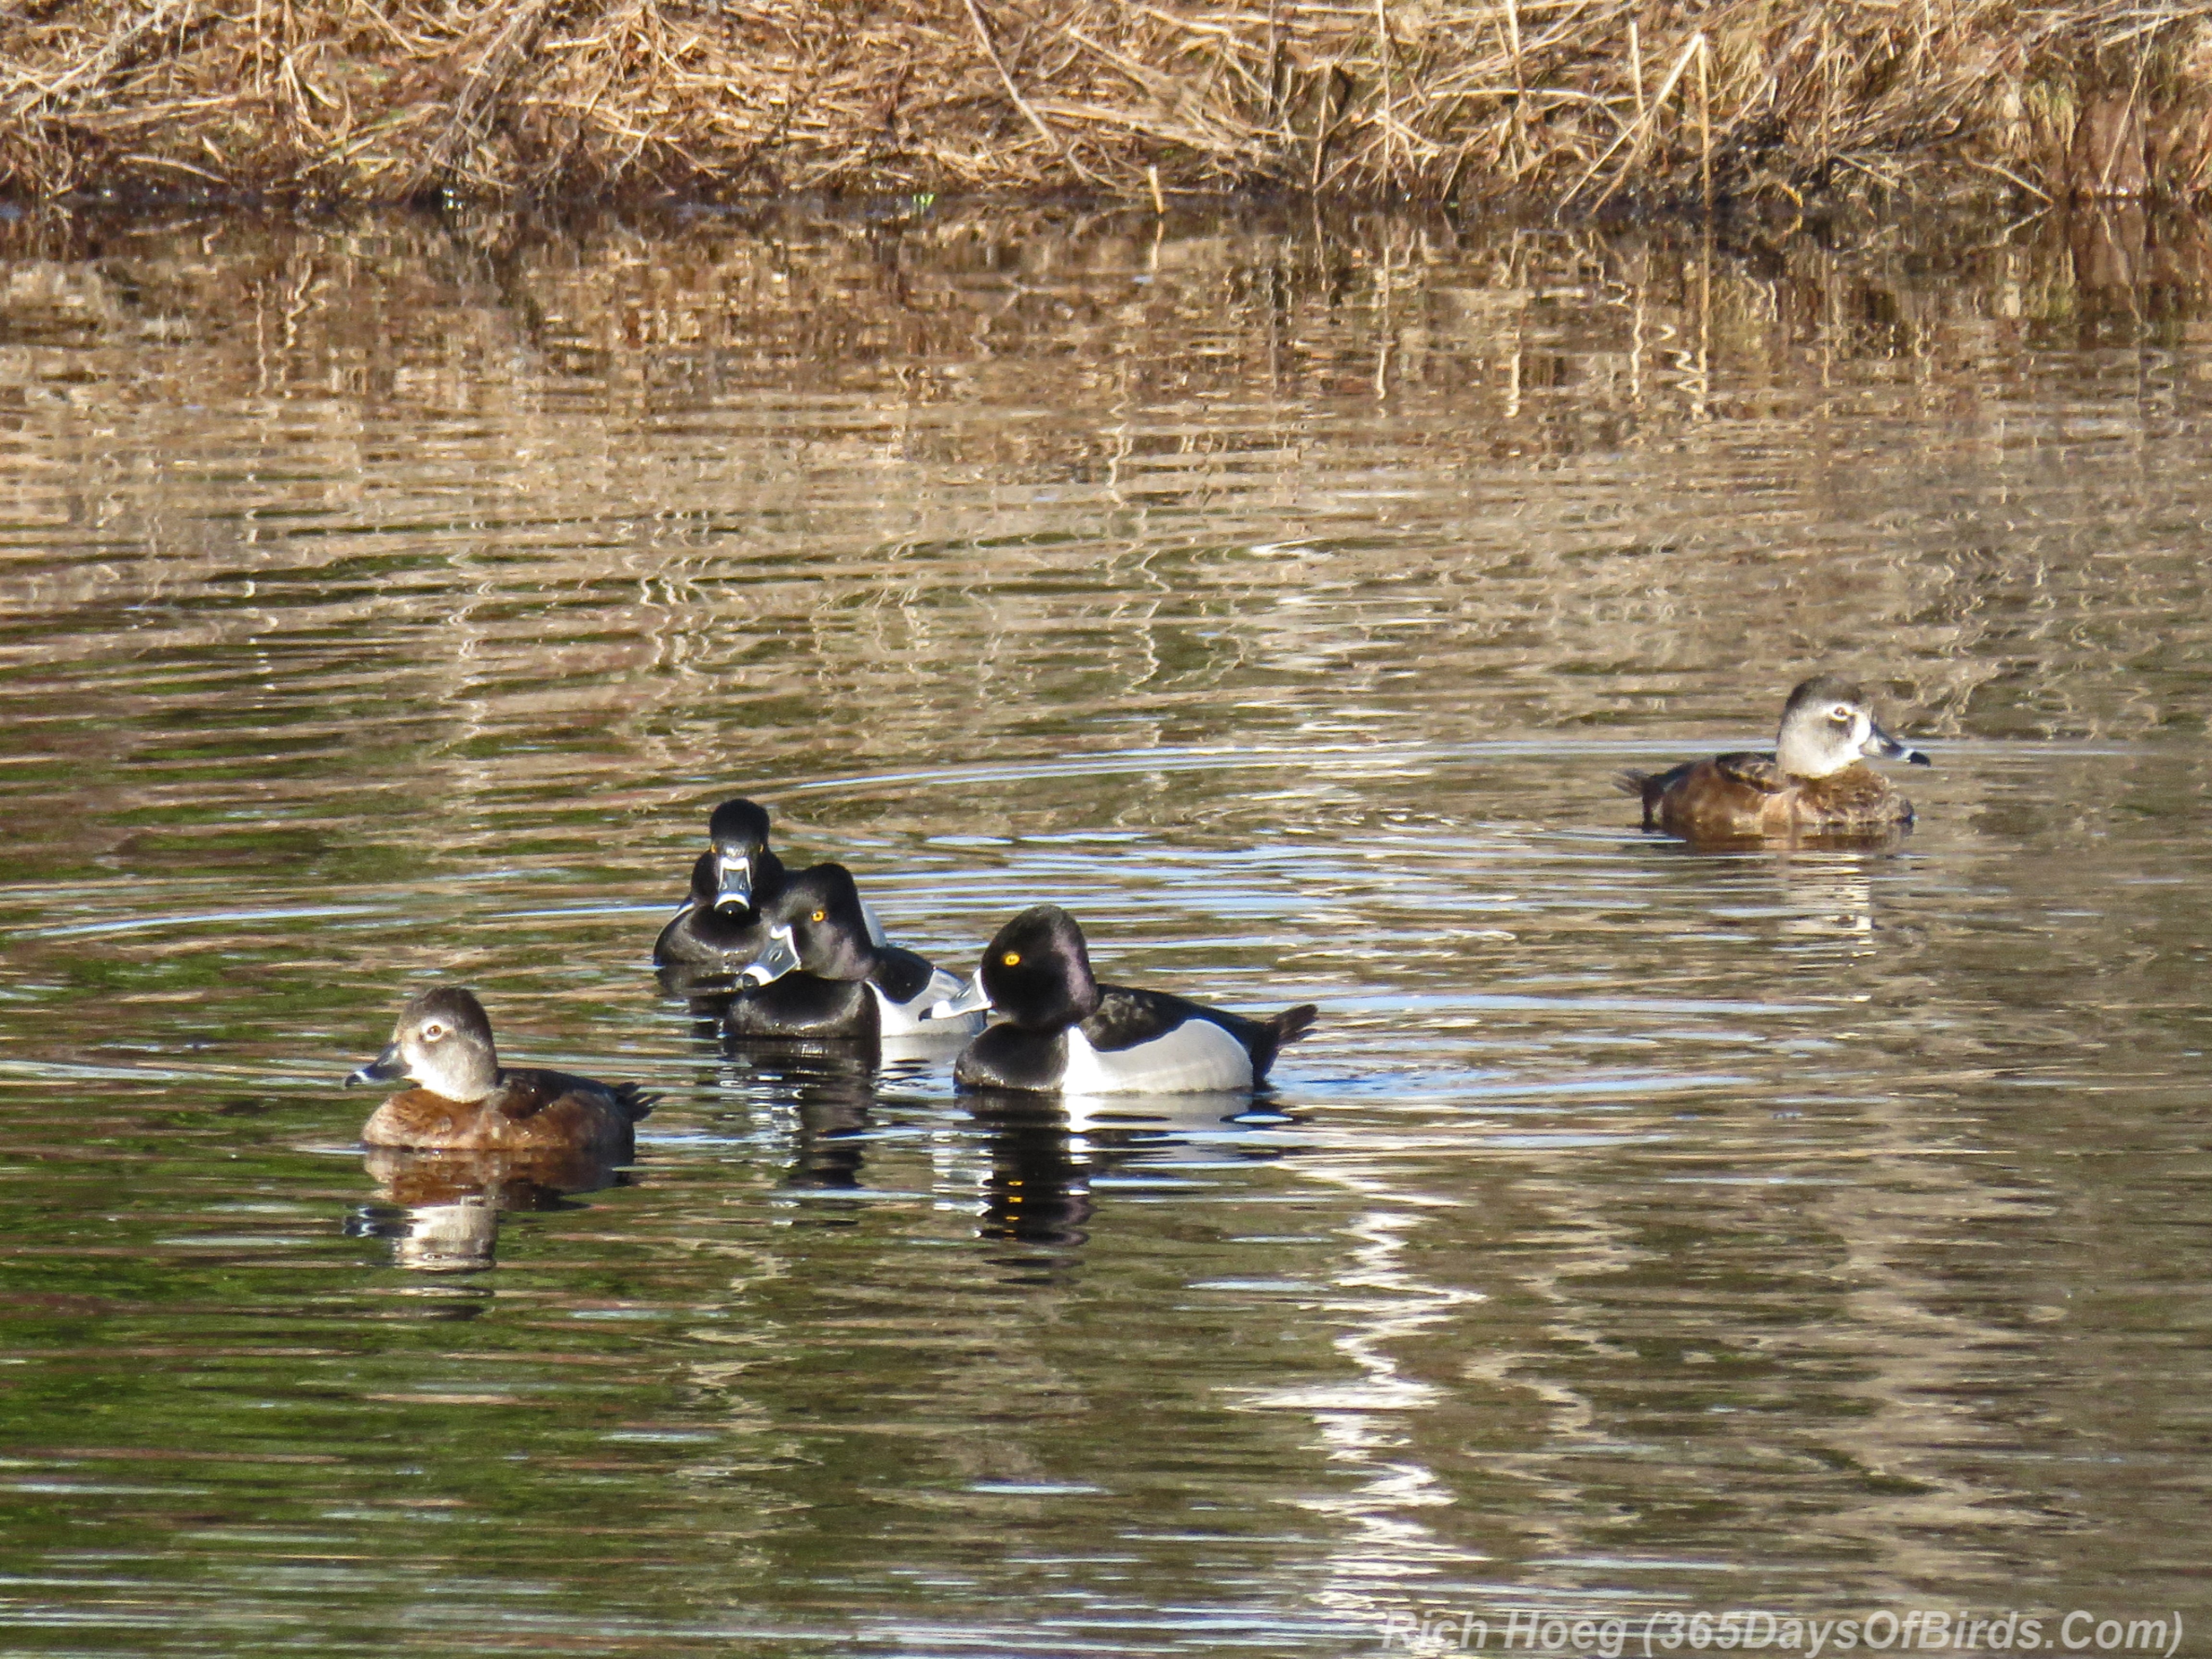
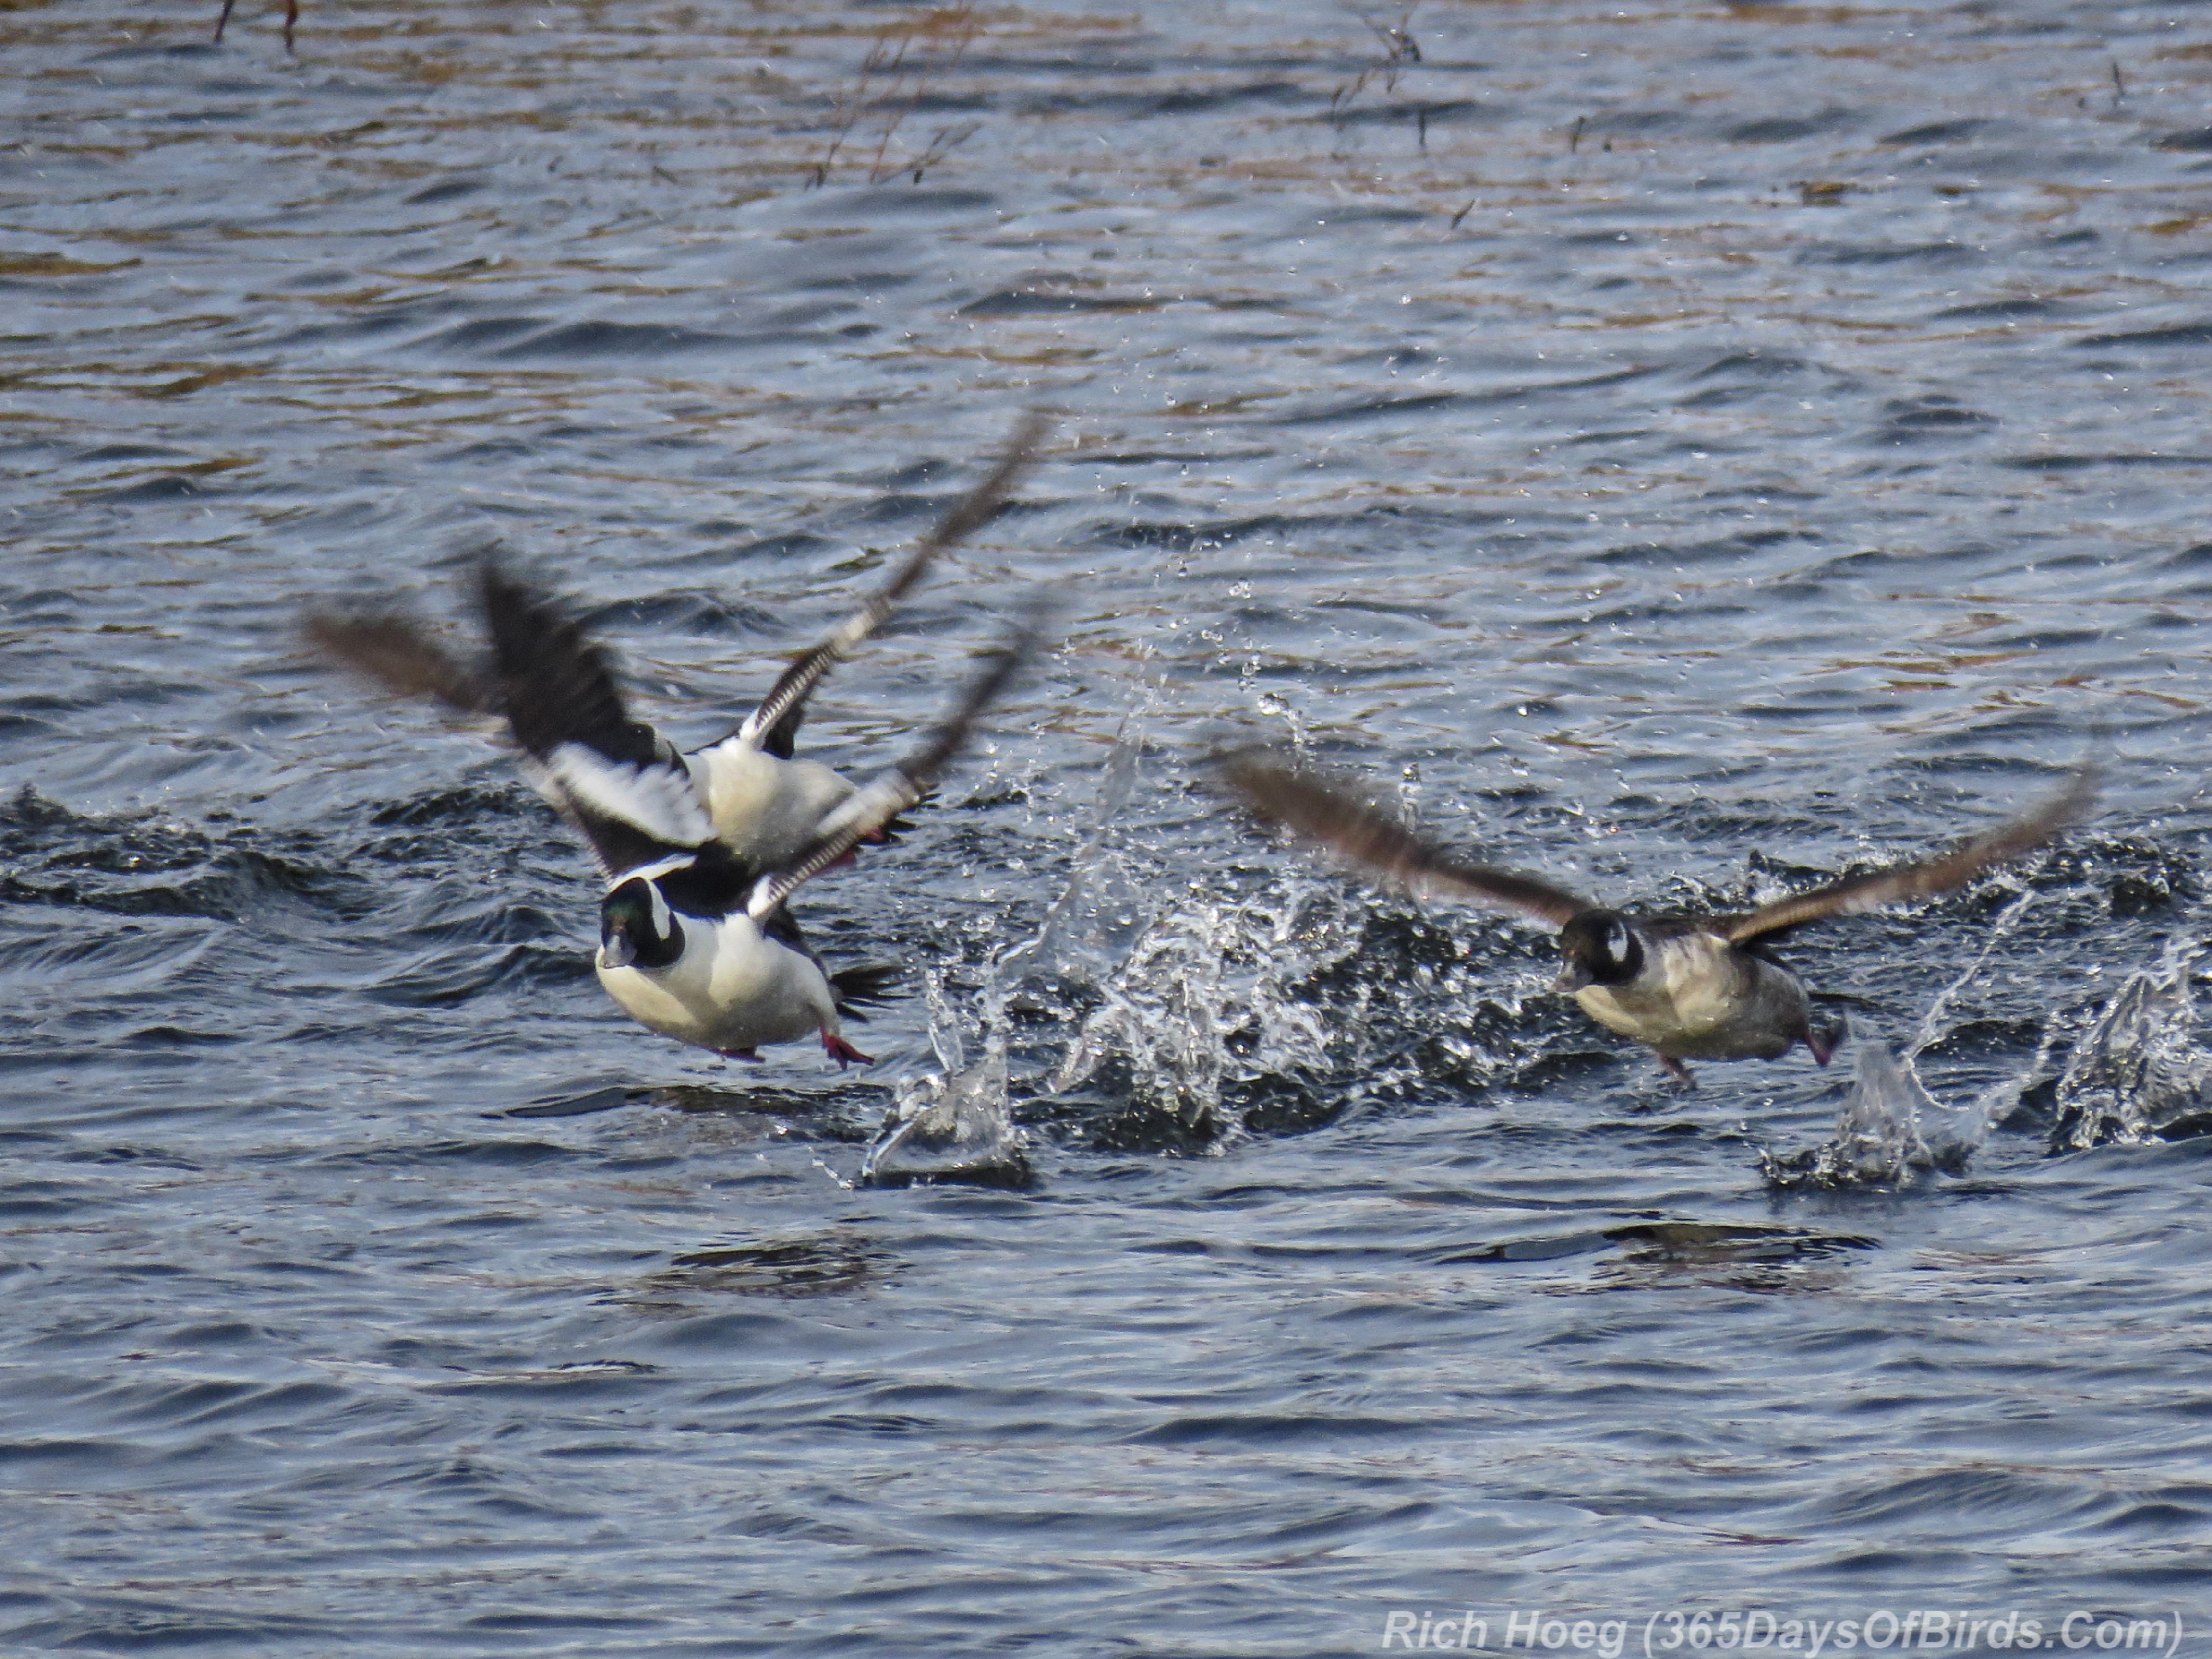
Very Important: Most of my landscape / northern lights photographs are taken with a Sony A6000 mirrorless camera with its kit lens. This camera is great in low light, and also does not cost a fortune. Will review it at a later date. This review applies to wildlife photography where having a zoom to get close to wildlife is very important (my SX60)
Taking Photographs
- Days with strong light help super zoom cameras take great photos
- Days with low light limit the ability of super zoom cameras to take good photos
- Do not use “auto”
- Turn off camera raw. Only take JPG images.
(taking camera raw images greatly slows down burst mode … a HUGE disadvantage)
- Always use burst / continuous shutter release mode … birds move fast
(have the camera NOT try to refocus between shots)
- Never use Digital Zoom (turn it off … do post processing cropping … the equivalent)
- Always use a monopod
(fully zoomed it is almost impossible to take a steady shots w/o using a monopod)
- On bright days, use shutter priority with a setting of about 1/1000 of a second
(freezes the action of most birds while holding down the ISO)
- On dark days, use aperture priority (lowest possible setting) with a max ISO of 400
(you will need to find motionless subjects/birds … forget about flight shots)
Remember these camera settings are ONLY recommended guidelines. Depending upon the bird, the amount of sunlight, clouds or shade, I vary my settings.
Given these settings, I will come home from an birding expedition of a few hours with anywhere from 50 to 500 photographs. My first step after offloading images to my computer is to make a quick quality decision on each photograph. After my first pass I normally have 5 to 25 images remaining. I now do a second pass and delete even more photographs which normally results in a final 3 to 15 photographs upon which I will perform post processing.
Image Post Processing Using Photoshop Elements
- Open Photoshop Elements (I use version 12 … do not need latest version)
- Open the image in Camera Raw (do not need “raw images”, use JPG
- Move Clarity Slides to about +40
- Open the image for editing (button on Camera Raw window)
- Move Shadow Settings about +12
- Move Highlights Settings about +12
- Crop as desired (use original image aspect ratio)
The aforementioned items are normally all of the post processing I perform. I do not add things into an image, change backgrounds, change or enhance colors, change white balance or exposure, remove branches, etc. Essentially I like to keep the image close to what came out of the camera. The items I edit tend to enhance a bird’s plumage / feathers (i.e. helps see the details and/or the delineation between borders/edges)
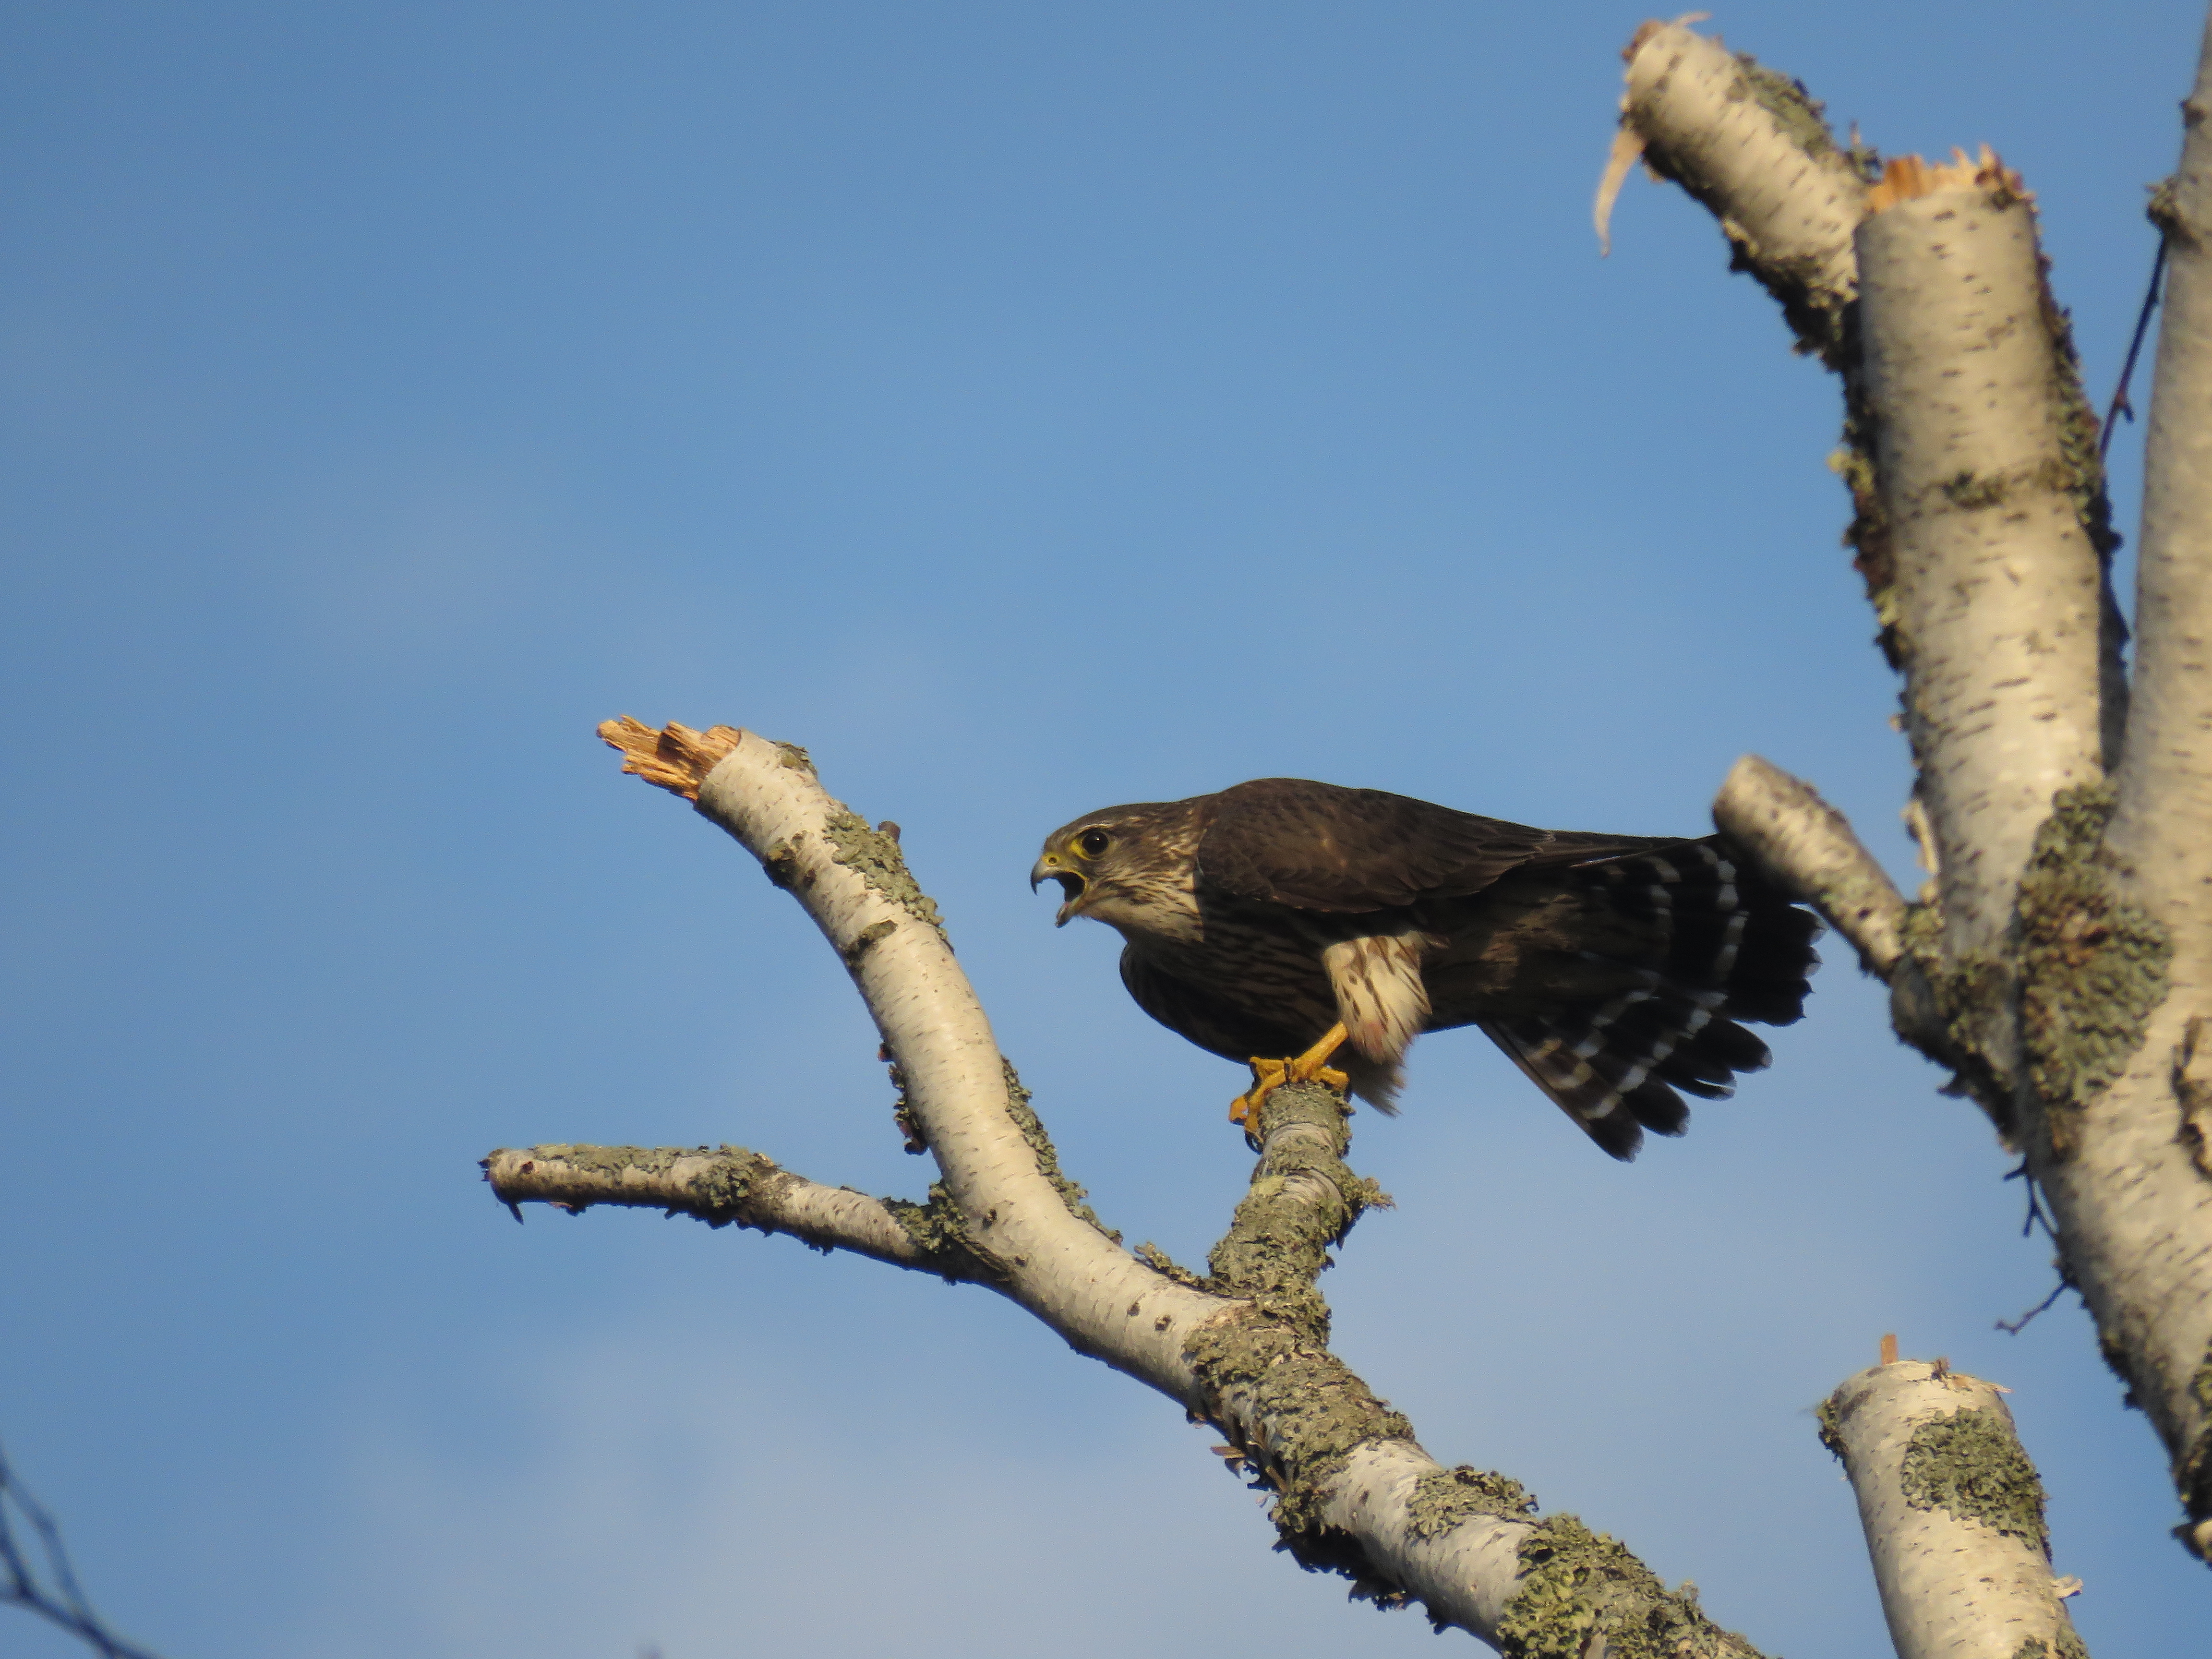
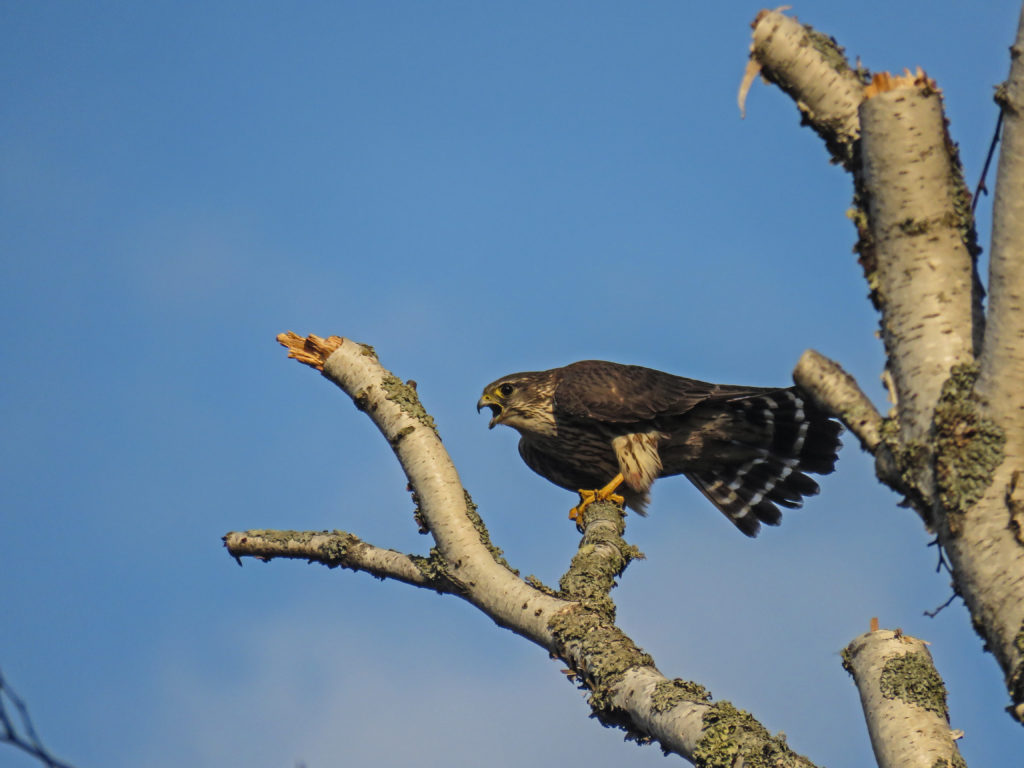
Here is the female Merlin I photographed yesterday on Minnesota Point. I have provided images which document the entire editing processs, the original (unprocessed) through each subsequent image in the editing series. I have also included commentary noting the action I took in Photoshop Elements. These images have not been watermarked. I wanted readers to have full resolution photos. Feel free to download and view on a good monitor.
Remember these recommend Photoshop Elements are guidelines. Depending upon the bird, the amount of sunlight, clouds or shade, I vary my adjustments, but these are the items with which I work 95% of the time.
Original Photograph

———-
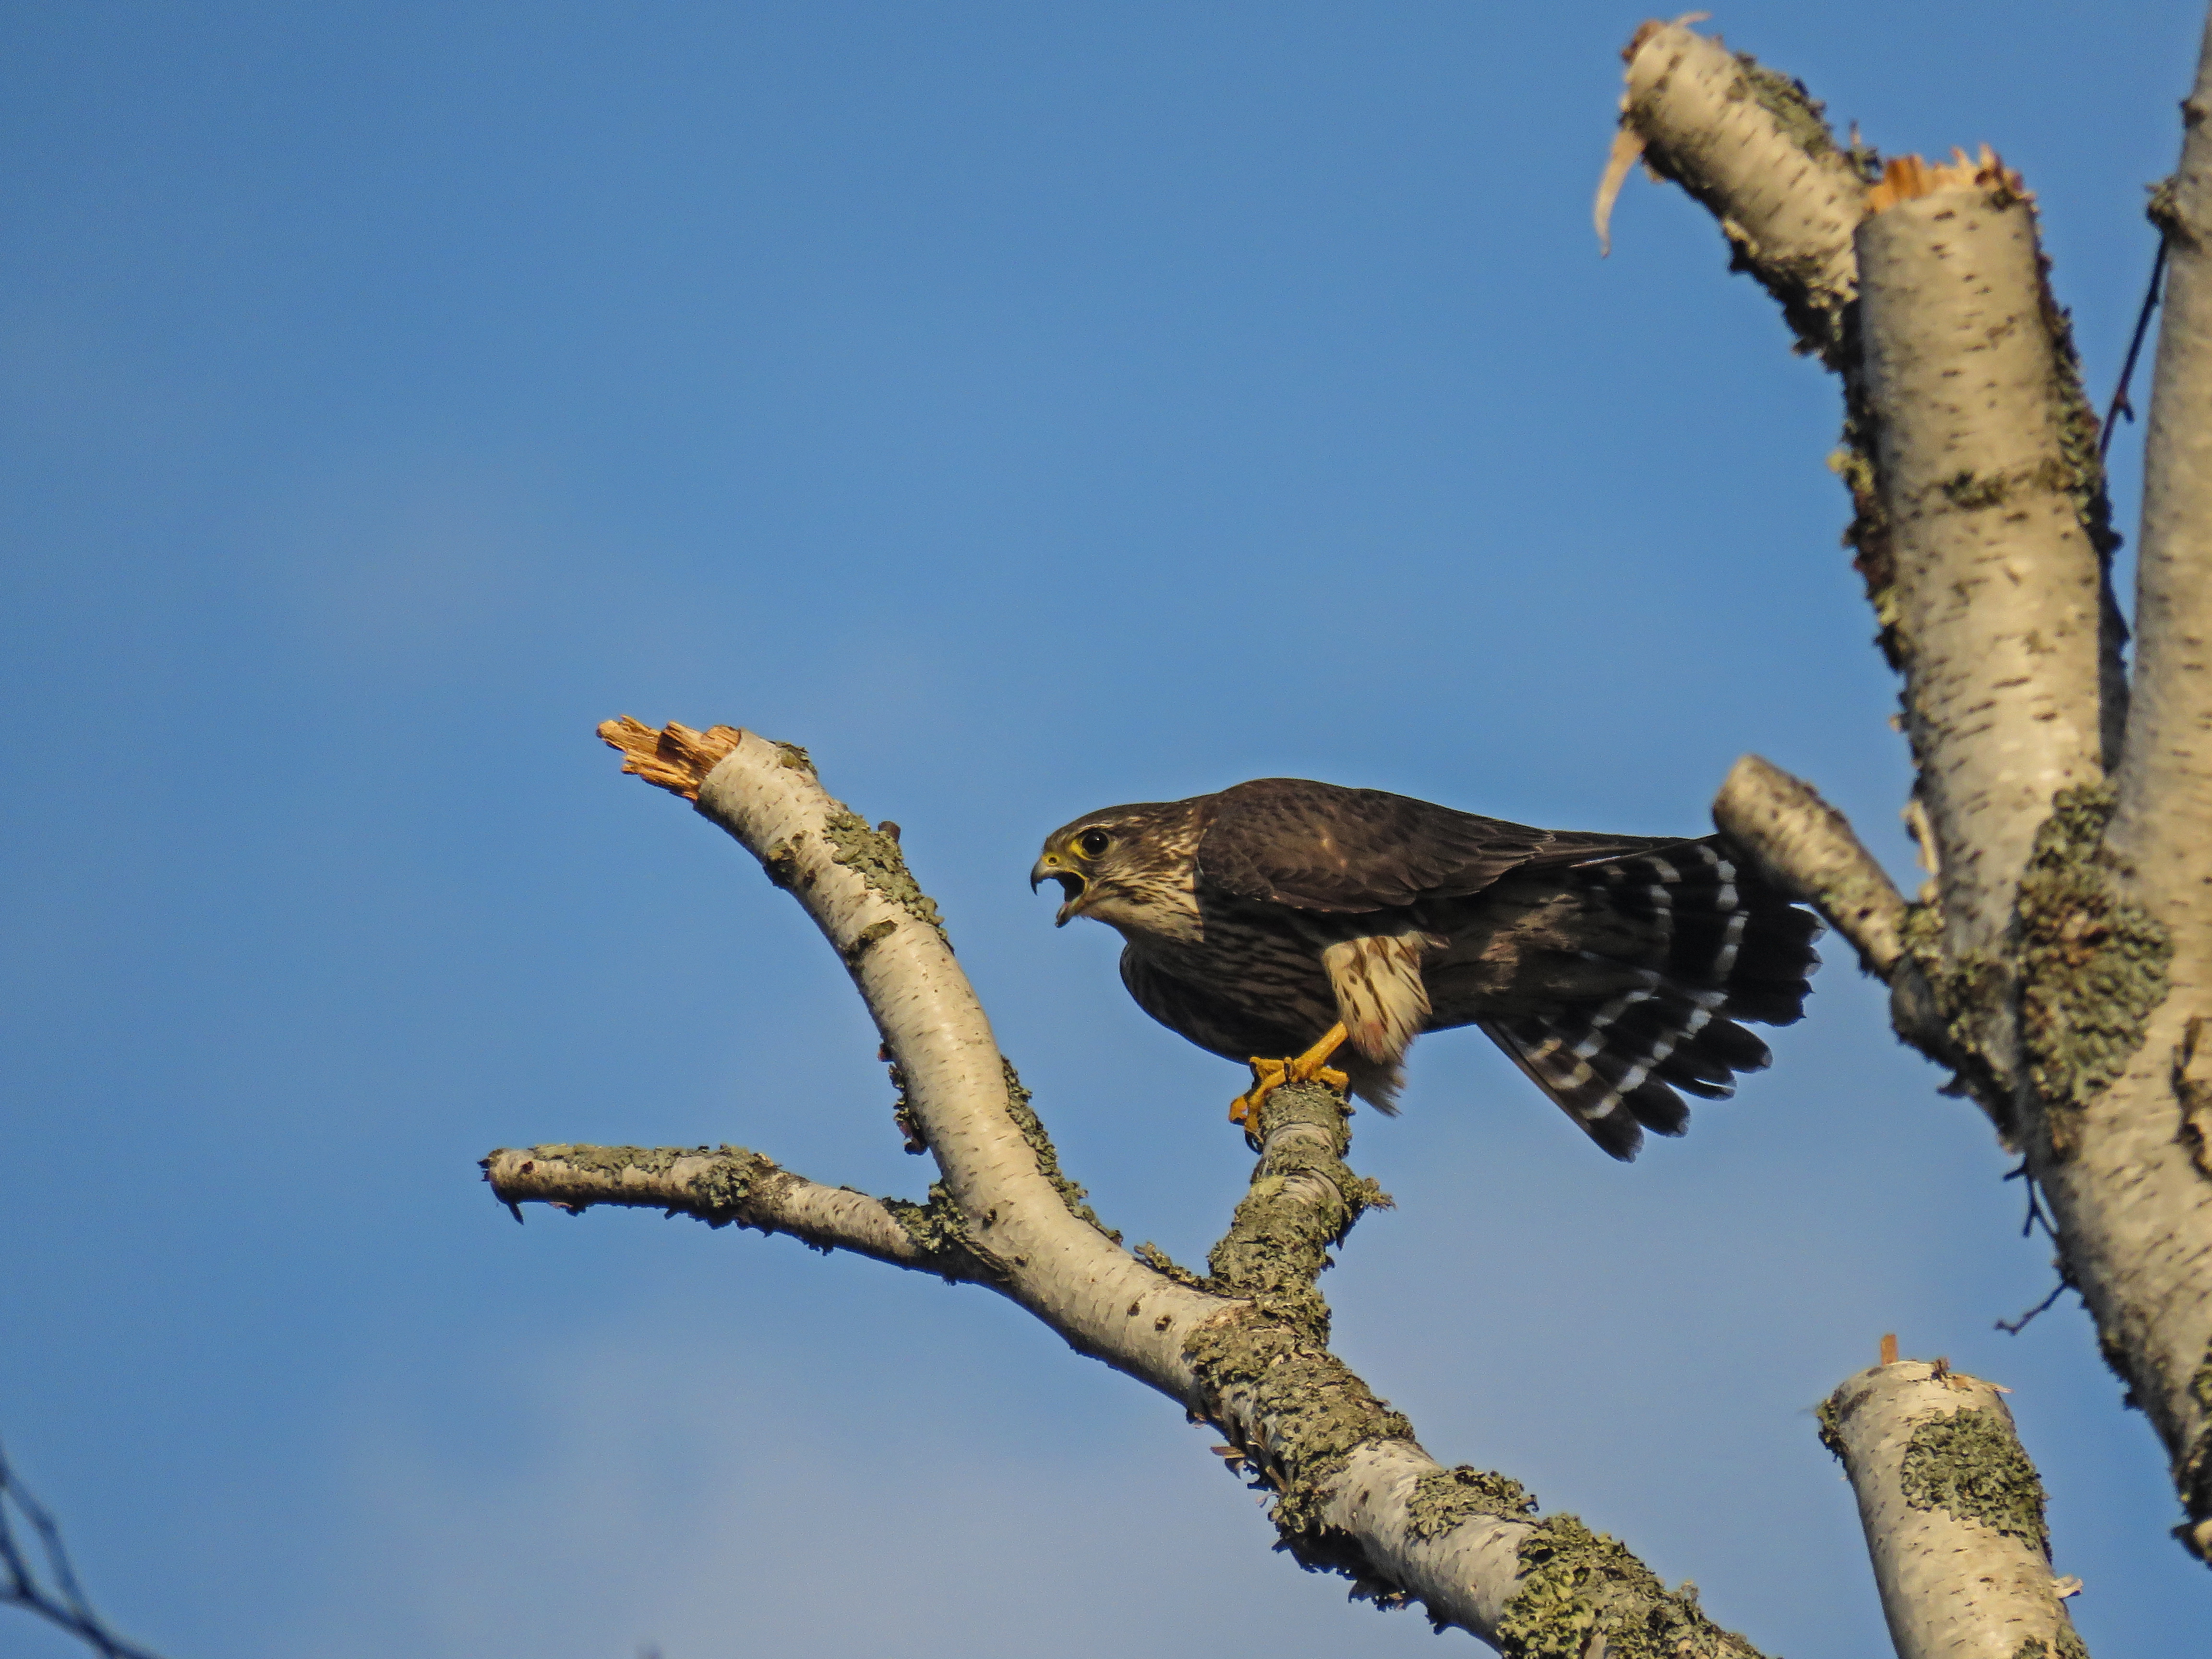
Clarity +40 in Camera Raw
(assits in bringing out details, but darkens photograph a touch)
———-
Clarity +40, Shadows +12 in Photoshop Elements 12 Editor
(assists in bring out out darker details)

———-
Clarity +40, Shadows +12, Highlights +12 in Photoshop Elements 12 Editor
(assists in deepening/strengthening colors)
———-
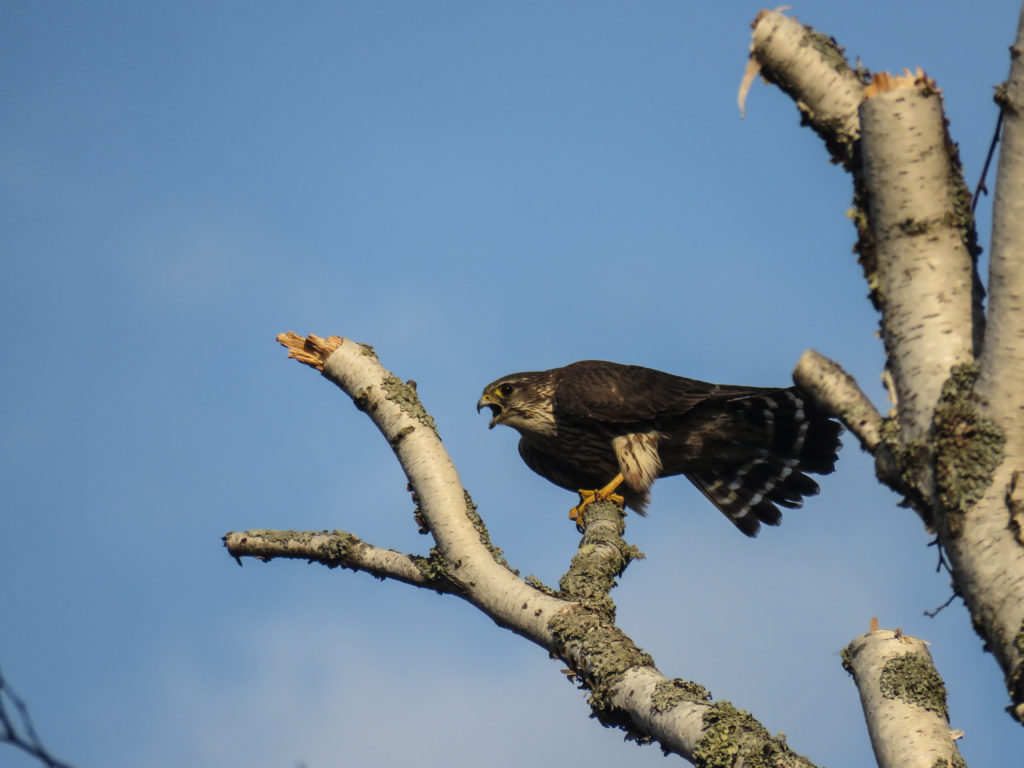
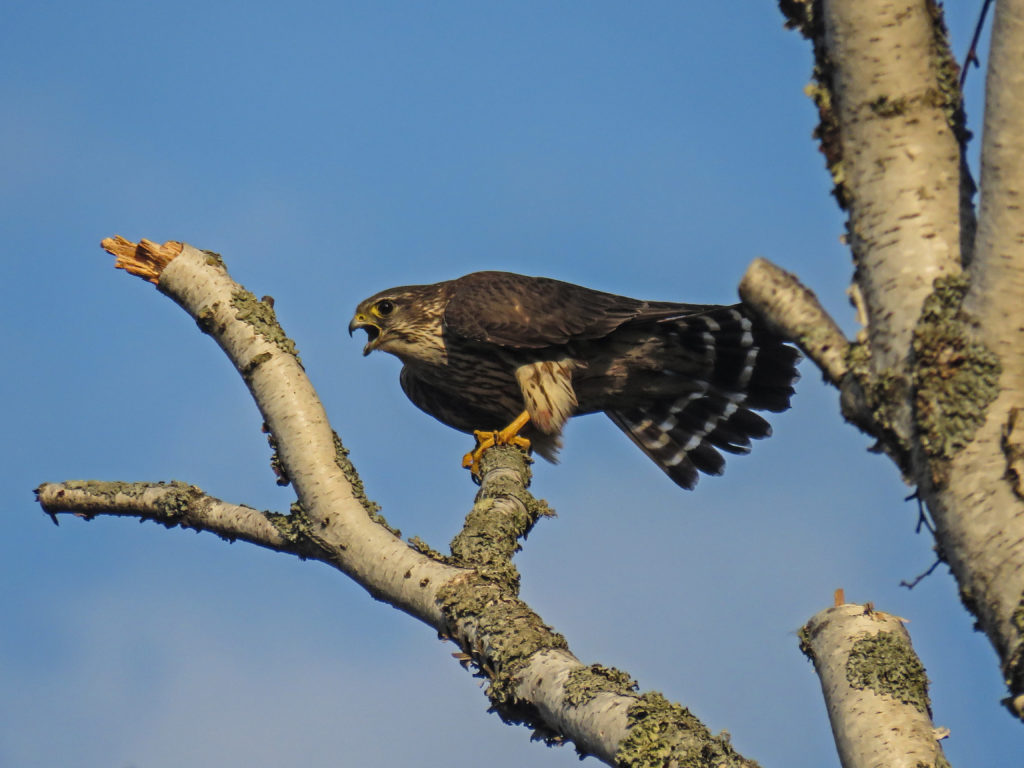
Clarity +40, Shadows +12, Highlights +12 & Cropped in Photoshop Elements 12 Editor
(assists in slightly enlarging the subject … too much cropping can create digital noise)
(assists in focusing the viewing on the desired subject of the image)
———-
Original Photograph One More Time (untouched … compare to immediately above)